
Old School Arcade – PiCade
A scratch needed itching… If you’ve been following my recent blog posts on building a Pi retro gaming machine, then you will have seen the builds from a handheld RetroFlag GameBoy Pi Style build, to a fully fledged Pi4 on your TV screen! The next logical step can only be an arcade cabinet style build. Here it is, a thing of beauty isn’t she?
If like me, you haven’t the joinery/carpentry skills to build your own fully fledged arcade cabinet, there are options available to you on the internet and just before Christmas 2019 I purchased the PiCade arcade console kit with the intent of building this in time for festive entertainment… As many of you know I’ve been very poorly of late and ended up back in hospital again.
It was only during the last week, I’ve felt well enough to tackle this project, and before I go into the build, I would like to say the following…
The test of how good an organisation/company/shop is… not it’s slick advertising campaigns, the frictionless experience when purchasing goods and receiving them… No… The true test is should something go wrong, how well that organisations customer service and support team handle you as a customer. During the course of this project there were a couple of minor issuettes, and I was seriously impressed by Pimorini’s customer support, not only were Pimorini quick to respond, support resolved the issues and exceeded my expectations. I also had the good fortune of having Matt from the instructional videos answer one of my queries, I cheekily asked for an autograph, though thinking about it… a signed photo would be just as sweet, he hasn’t yet responded, but then I think it’s probably just plain weird I asked 🤣🤣🤣
Anyhoo, back to the build. Pimorini say to set aside around three hours to build your arcade cabinet, and that’s a fair estimate depending on your skill of assembling Ikea furniture and electronics. Although in my younger days I was adept with a soldering iron and building stuff, I haven’t had to do it in decades and was a little overwhelmed to start with. Thankfully the team have provided stage by stage video tutorials on how to approach and build your machine, take a look!
https://learn.pimoroni.com/tutorial/sandyj/assembling-your-picade
I found the tutorials better to follow than the written instructions, but then again why eyesight didn’t pick up the subtleties of black on black writing on the cabinet parts. Younger me would have no issue at all.
The kit provided everything I needed to build the arcade cabinet, however you will need to supply your own Raspberry Pi, Power Supply and Micro SD Card with your RetroPie Build. My kit was the latest USB-C version of the Picade X HAT.
What’s included I hear you ask? The kit included: –
- Screen and Driver Board
- Cabinet Pieces (MDF and Perspex)
- All fixings you need for the build
- Joystick, Arcade Buttons
- Speaker
- Pimorini Arcade Board
I also installed the optional Ten Button Plasma Arcade Button pack and I’m so glad I did, though it’s not essential as the kit provides all necessary arcade buttons you need, I just wanted something that glows and looks pretty!
The quality of the screen provided with the kit is impressive and extremely good picture. Given the price point I really didn’t expect such a high quality display (1024 x 768) to be included.
The build took a couple of hours, wishing I had thinner fingers at times to get the buttons in, but following the instructions and the video’s tutorials, my arcade cabinet was up and running that evening. I t is important that you do follow the instructions and not jump ahead a tad!
What I love about this is: –
- The screen and build quality.
- How responsive the joystick and buttons are.
- The joystick is micro-switch based and has a good solid feel about it.
- An appreciation of the time and effort needed to build consumer electronics.
- How customisable this unit is.
- The illuminated Off button also acts as a Safe Shutdown for RetroPie.
The best thing is, this gives you a fully functional mini-arcade cabinet for a reasonable price point, and only your imagination limits how you can further customise this. Don’t like the supplied artwork? No problem at all, print your own and sandwich inbetween the perspex plates provided. Templates are provided on the official GitHub repository: https://github.com/pimoroni/picade/blob/master/picade-docs/Picade-Retail-BYO-Art.pdf and the later model post 2018 https://github.com/pimoroni/picade/blob/master/picade-docs/picade-artwork-templates-a4.pdf
Want a lit marquee? Then simply add LED Strips to the plate and away you go. There’s headers available on the Picade HAT to provide the necessary regulated voltage.
Don’t like the colour? A lick of paint and the jobs a good ‘un.
Want to know a secret? Pimorini also provided in the kit a range of stickers to customise your cabinet. What’s not to like?
Any regrets/downside?
Only the one, when I purchased the kit, I bought the 8 inch model (Which is fantastic), I wish I knew about the 10 inch version, because lets face it, bigger is better! Maybe that will be my next project.
If you’re looking for your next arcade project, you can’t go wrong with one of these gadgets, and if you have children that are interested in STEM or you want to kickstart their interest, then this is a great opportunity for you to both learn together and play some old school classics whilst you’re at it.
Finally, once lockdown is lifted, this will get very competitive amongst friends very quickly!
Extra Hints
When I fired up the arcade cabinet, the sound from the speaker was very loud, in fairness this was on a par with the Arcades back in the 80’s, but after midnight the neighbours may become a tad angsty, you may want to adjust the volume. But how? there isn’t a volume control button…
Move to the RetroPie menu and select the RetroArch menu. Select Settings, then Audio, finally Volume Gain (DB) and select -25db. This will be applied globally across all your games, you can play around with this value until you find something that works well for you. Alternatively, there are a number of scripts available (google is your friend) that let you map a hot key to the joystick to control volume in game! This video may help.
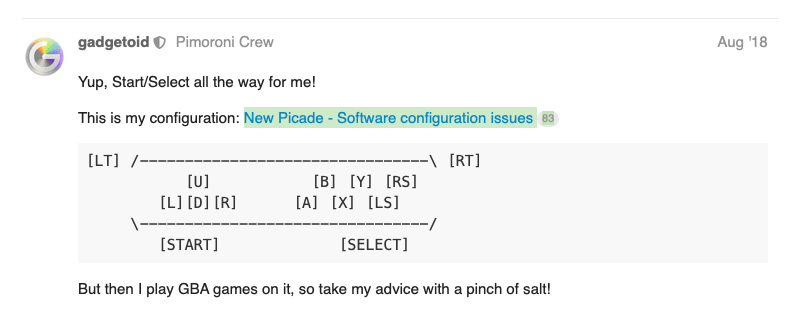
The PiCade script doesn’t automatically configure the joystick and controls for you, and I understand why as this depends largely on the games you plan to play. I did find the following article that has a suggested configuration approach.
The build is fanless which makes it silent in operation, this also means the Pi4 can run rather hot at times, I used the XL Heat Sink from ThePiHut.com which was low enough that the Picade X HAT could be used without interference, with this I found that the Pi runs around 63 degrees when running intensive emulation and about 54 degrees when not. The Pi4 will throttle at around 86 Degree’s.
If heat is an issue, you can add a portable fan to the build, like a USB fan, however I found that unnecessary since there is sufficient ventilation on the arcade cabinet itself. Though if you’re in a country with a lot of heat, you may want to reconsider! Alternatively, you can use a Pi3b since this is more than adequate for running the emulators, lets face it, a Pi-Zero will run most of the arcade games from the 80s.
Project Costs
What’s this gonna cost me then? The following prices I paid are correct at the time of the build June 2020. Sure you could buy a PS4 or XBox One X or even a Nintendo for this kind of money, but you just don’t get the same sense of joy and satisfaction from building your own gaming machine and discovering the thousands of classics that await you.
What do you have to lose? Give it a go, do it… do it… DO IT…. and most of all have fun!
| Item | Link | Cost |
| Raspberry Pi4 – 2Gb | https://thepihut.com/collections/featured-products/products/raspberry-pi-4-model-b | £34 |
| Official USB-C Power Supply | https://thepihut.com/products/raspberry-pi-psu-uk | £8 |
| XL Heat Sink | https://thepihut.com/products/xl-raspberry-pi-4-heatsink | £2 |
| 64Gb Micro SD Card | https://smile.amazon.co.uk/SanDisk-Extreme-microSDXC-Adapter-Performance/dp/B07FCMBLV6 | £14 |
| Pimorini PiCade Kit | https://shop.pimoroni.com/?q=picade | £165 |
| Pimorini Plasma Button Kit | https://shop.pimoroni.com/products/picade-plasma-kit-illuminated-arcade-buttons | £51 |
| RetroPie | https://retropie.org.uk | Freeware |
| Tutorials | https://muckypaws.com/category/raspberry-pi/ | |
| PiCade Build | https://learn.pimoroni.com/tutorial/sandyj/assembling-your-picade | |
| Plasma Buttons Install | https://learn.pimoroni.com/tutorial/sandyj/fitting-picade-plasma-buttons | |
| Total Approx. (excluding Postage and Packaging) | £274 |
Photos
I won’t win any prizes for neat cabling or tidying of cables.
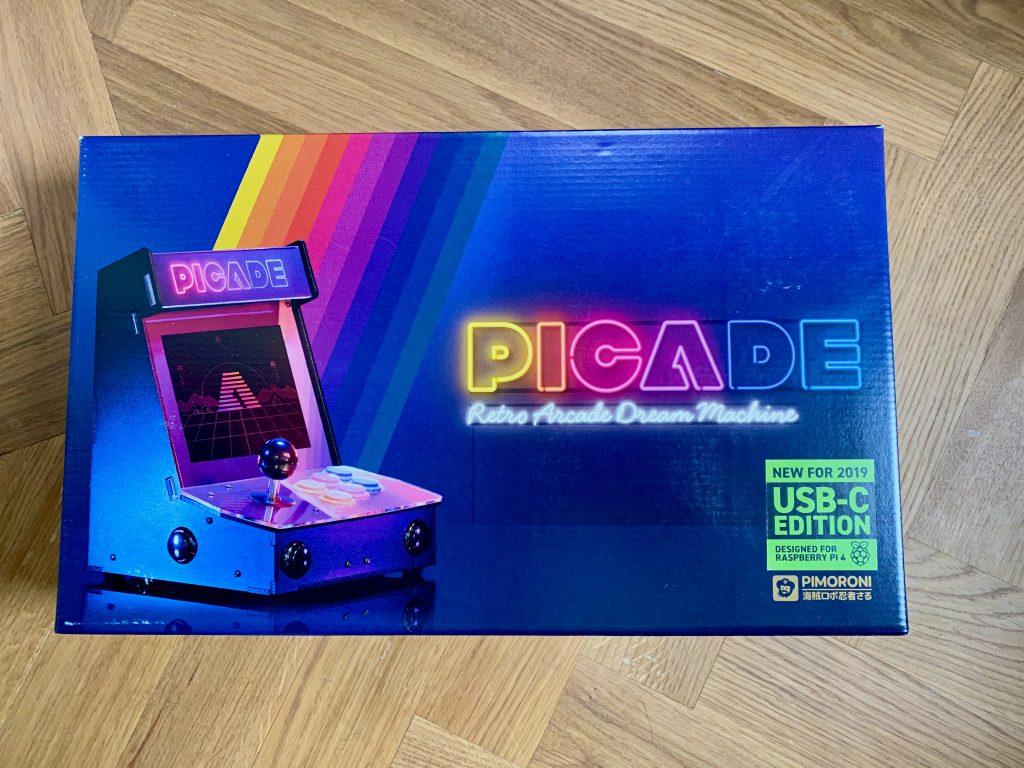
The box 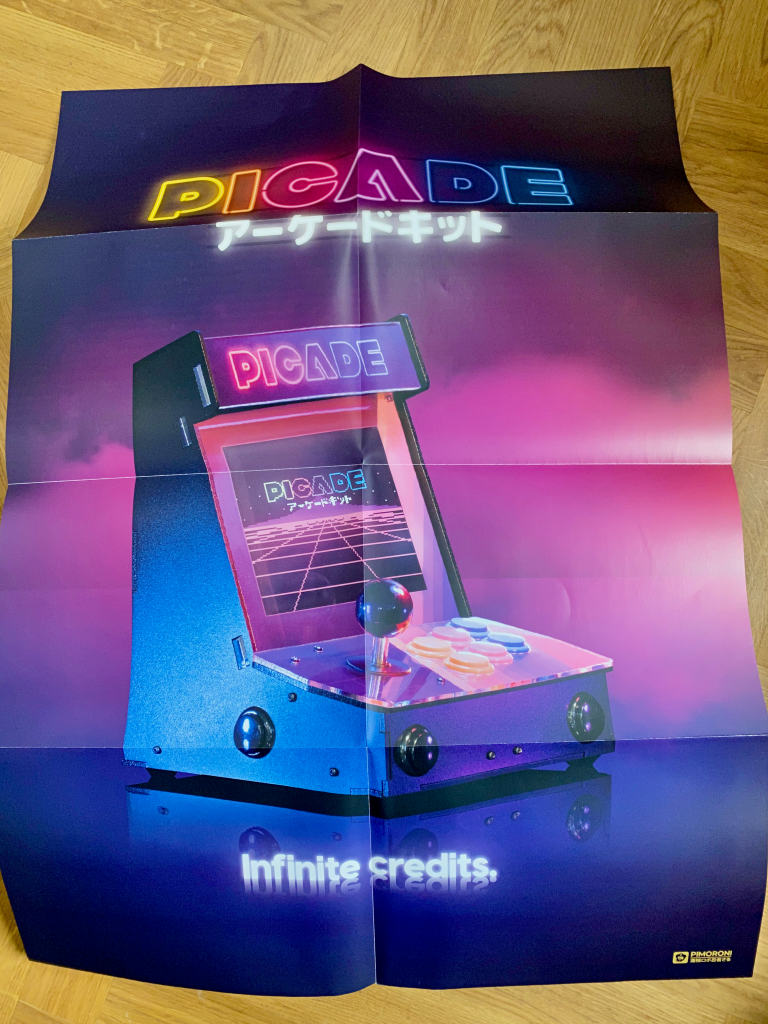
Free Poster ❤️ 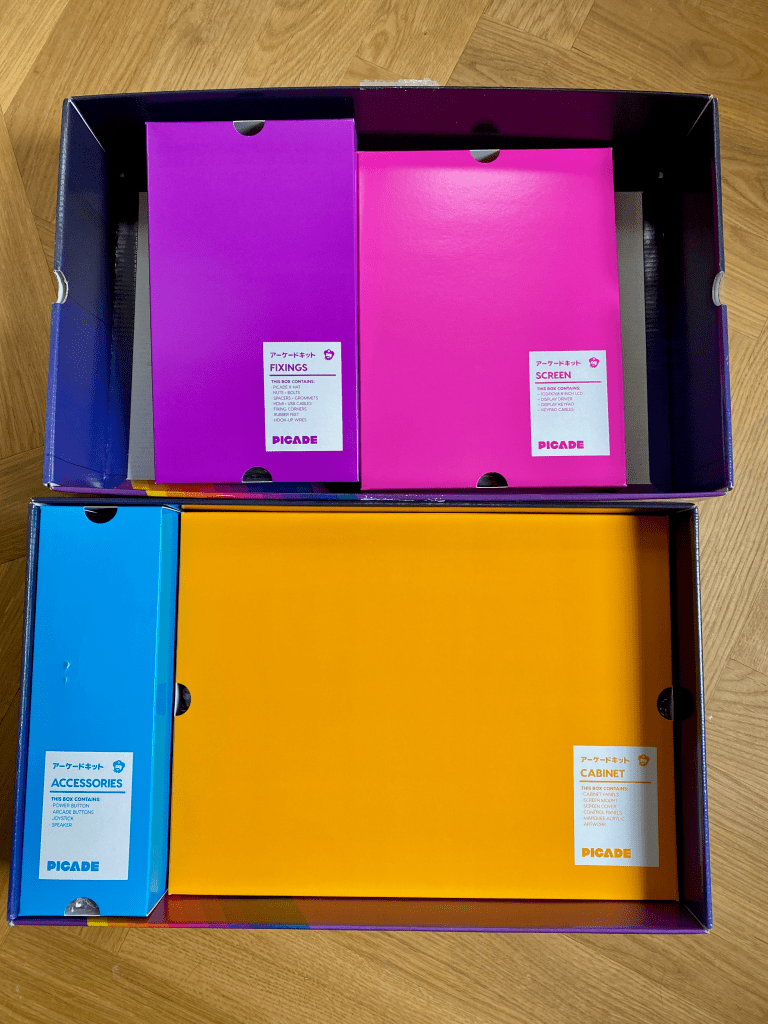
What’s In the Box? 
What’s In the Box? 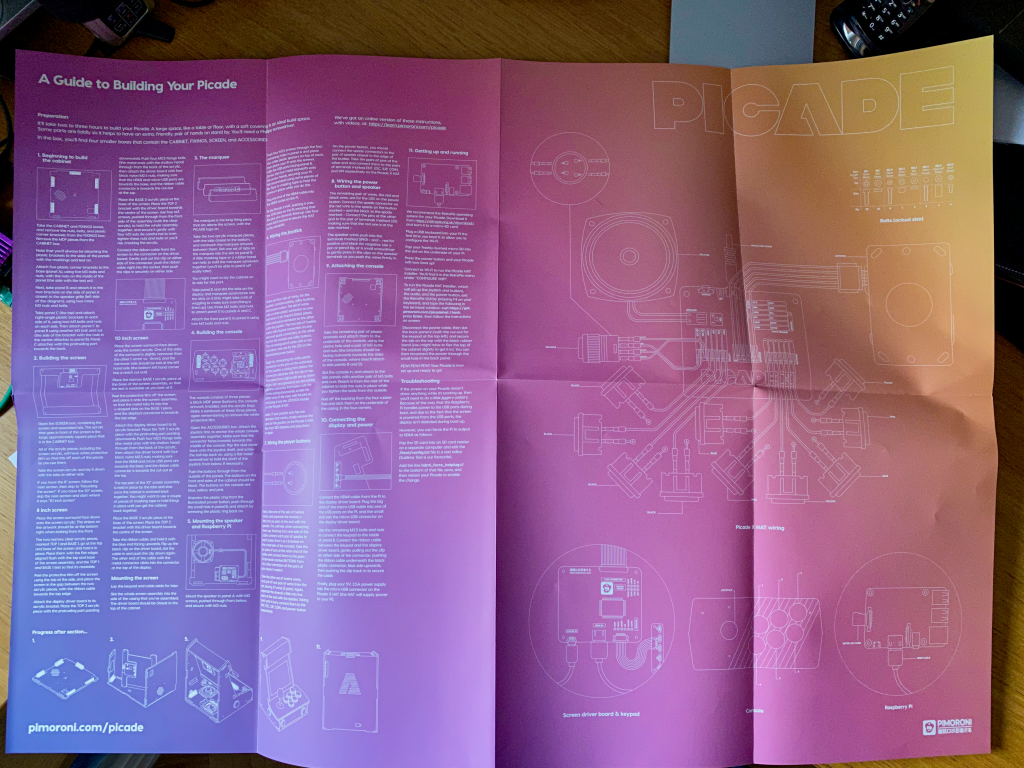
Instructions 
Start of the Build 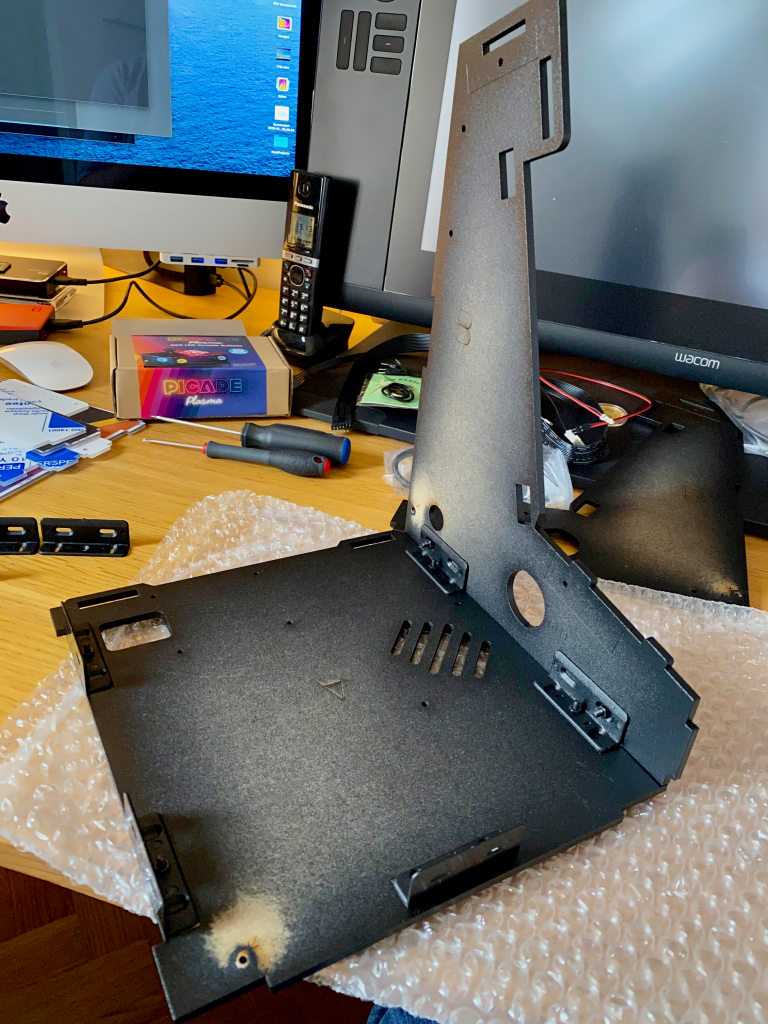
Let the Assembly Begin 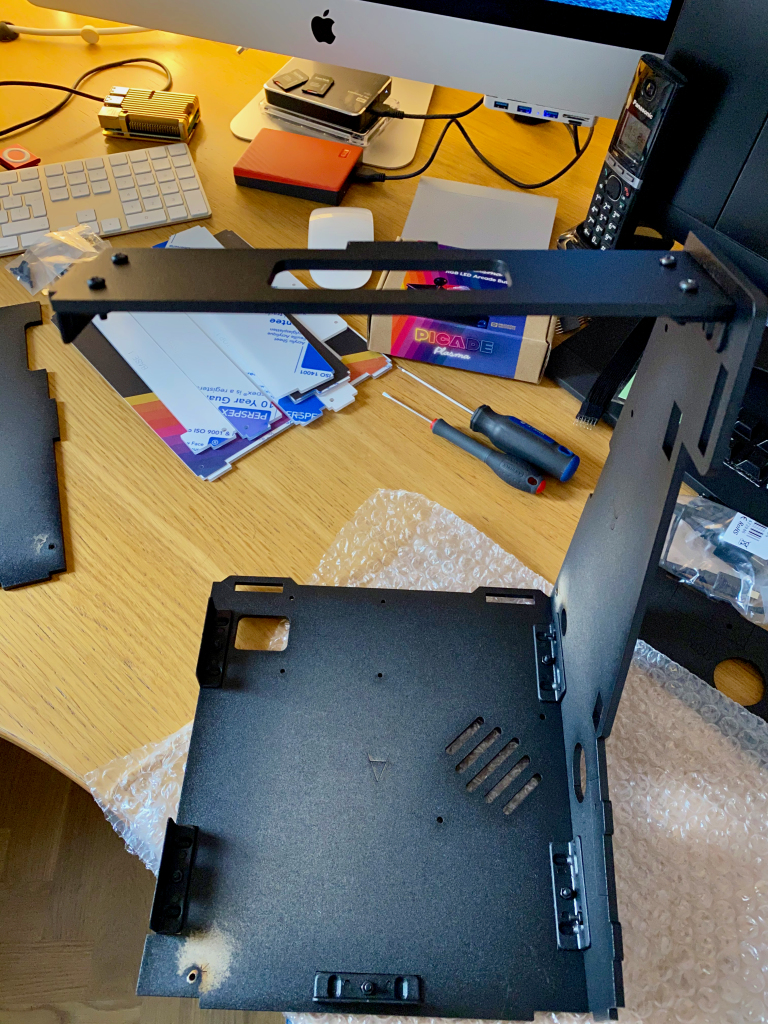
Starting to take shape 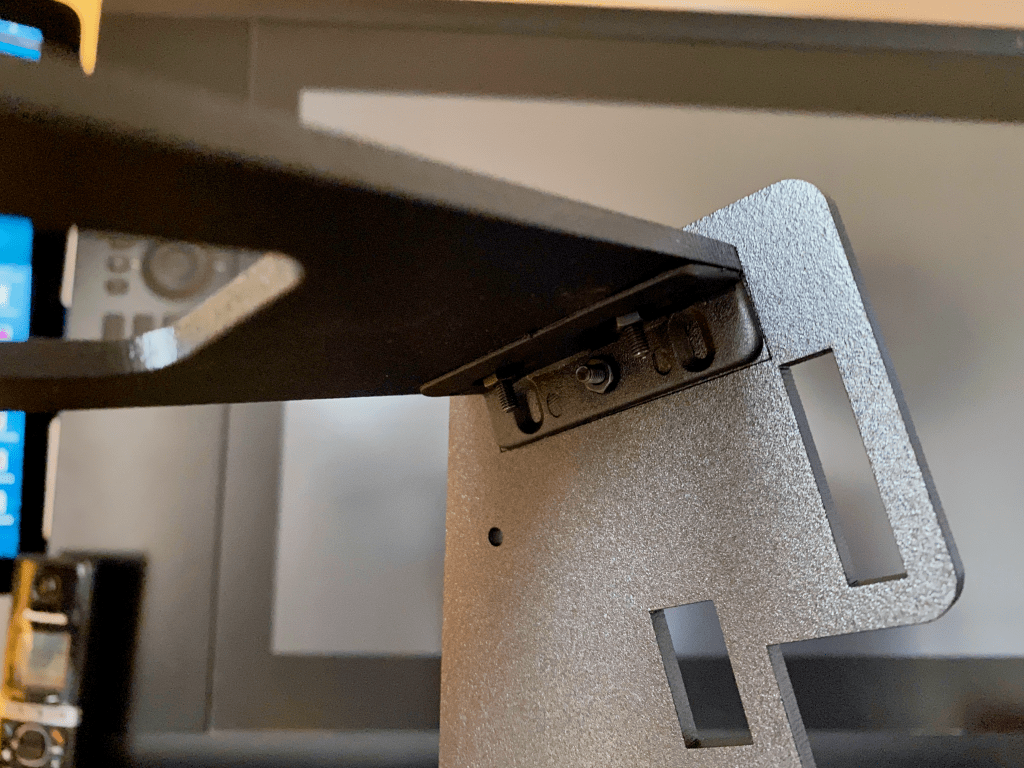
Bracket Love 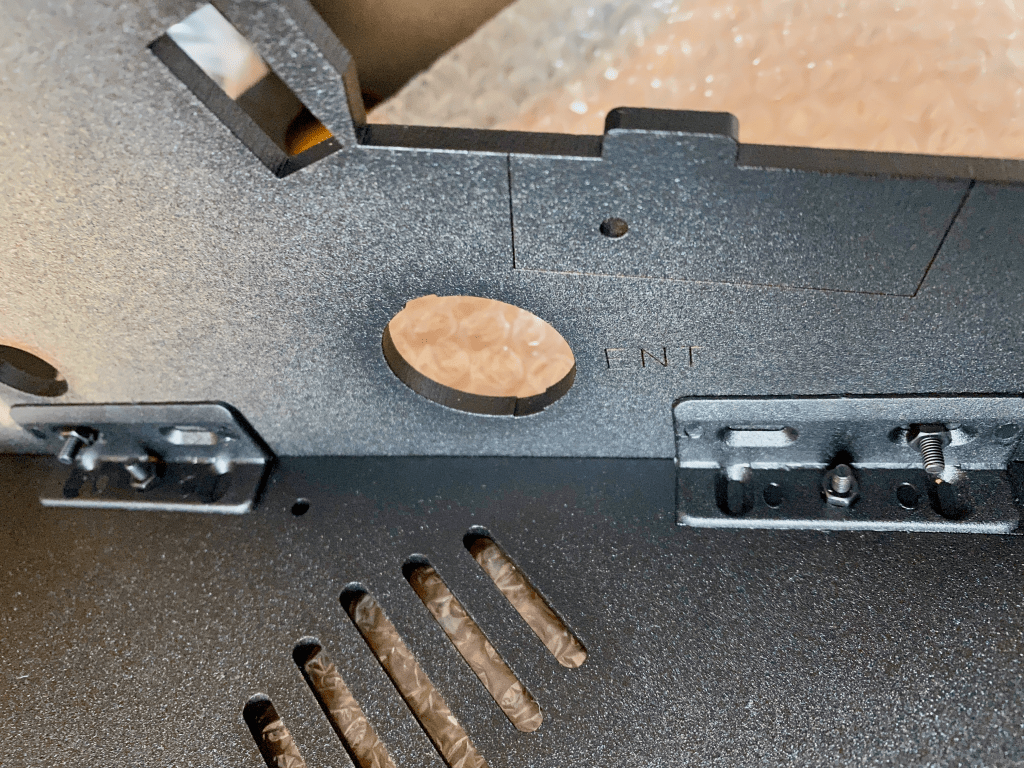
Strengthening the Sides 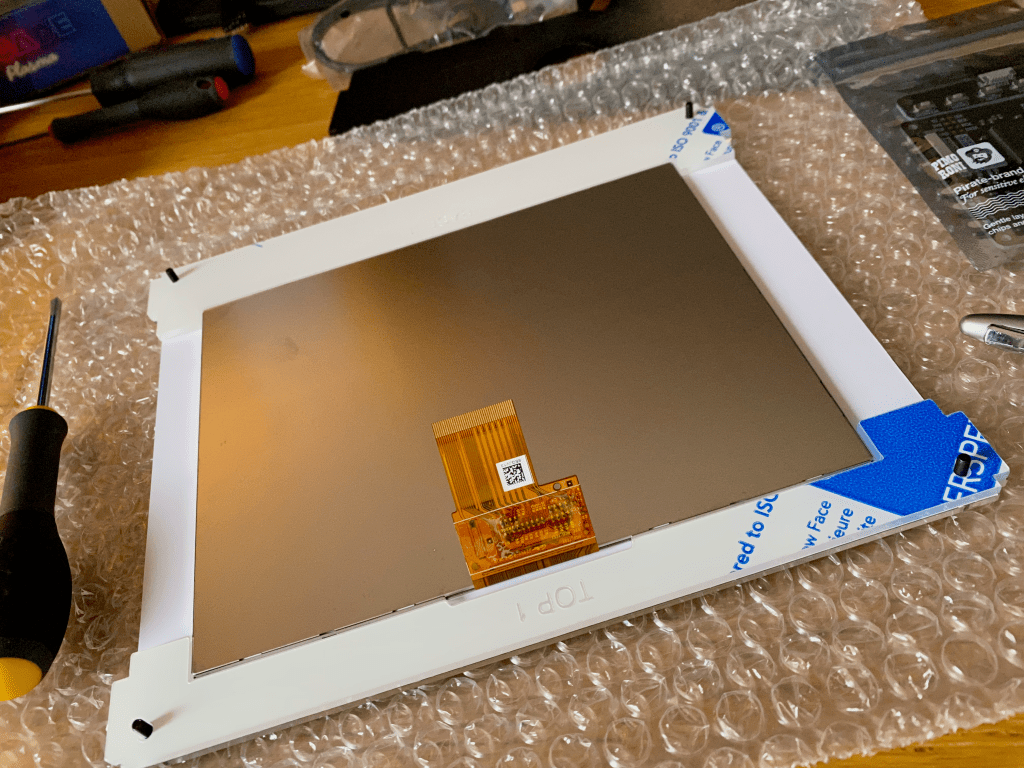
The Display Panel 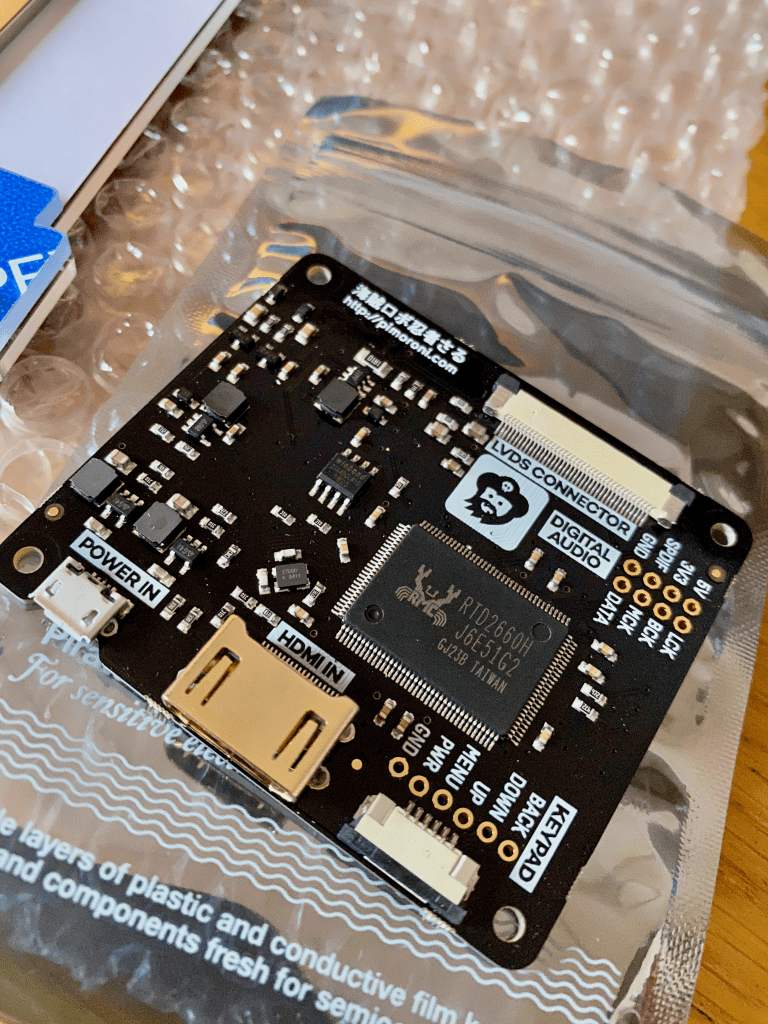
Display Driver 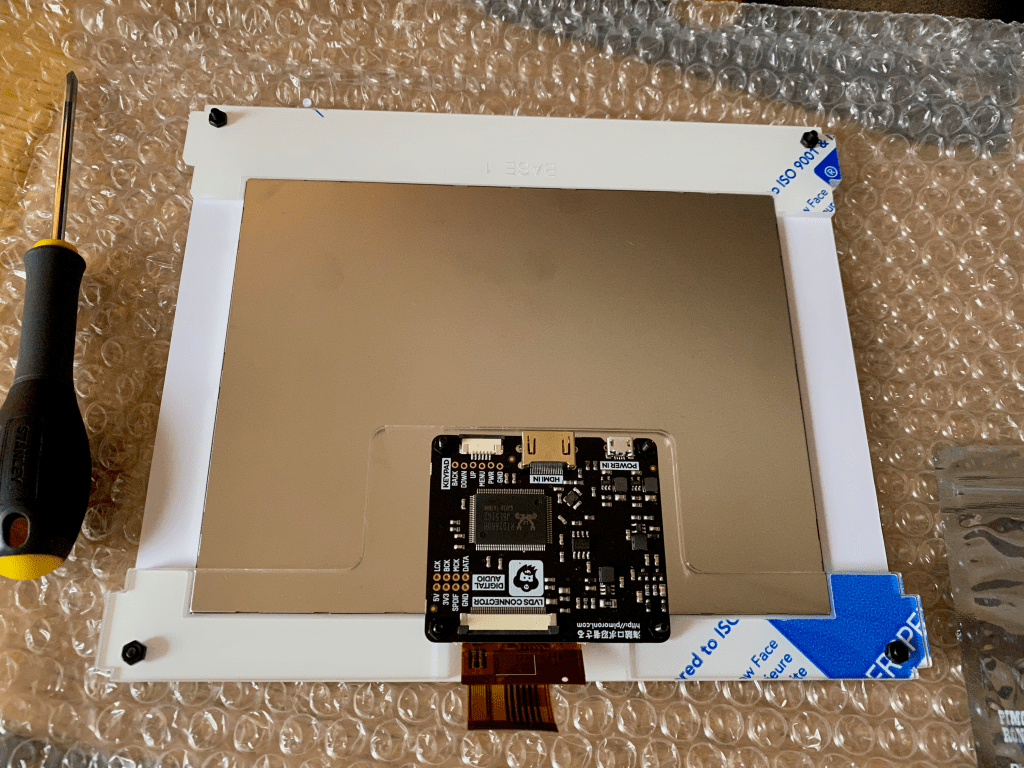
Display Assembly 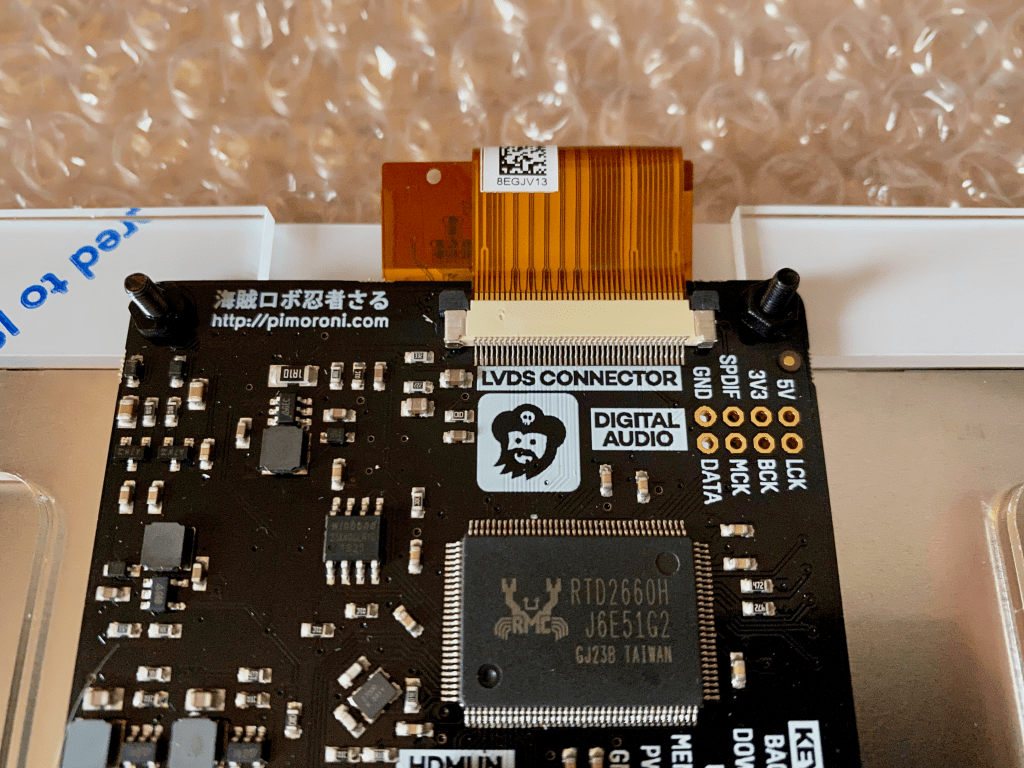
Connect the Display to the Driver 
It looks very shiny! 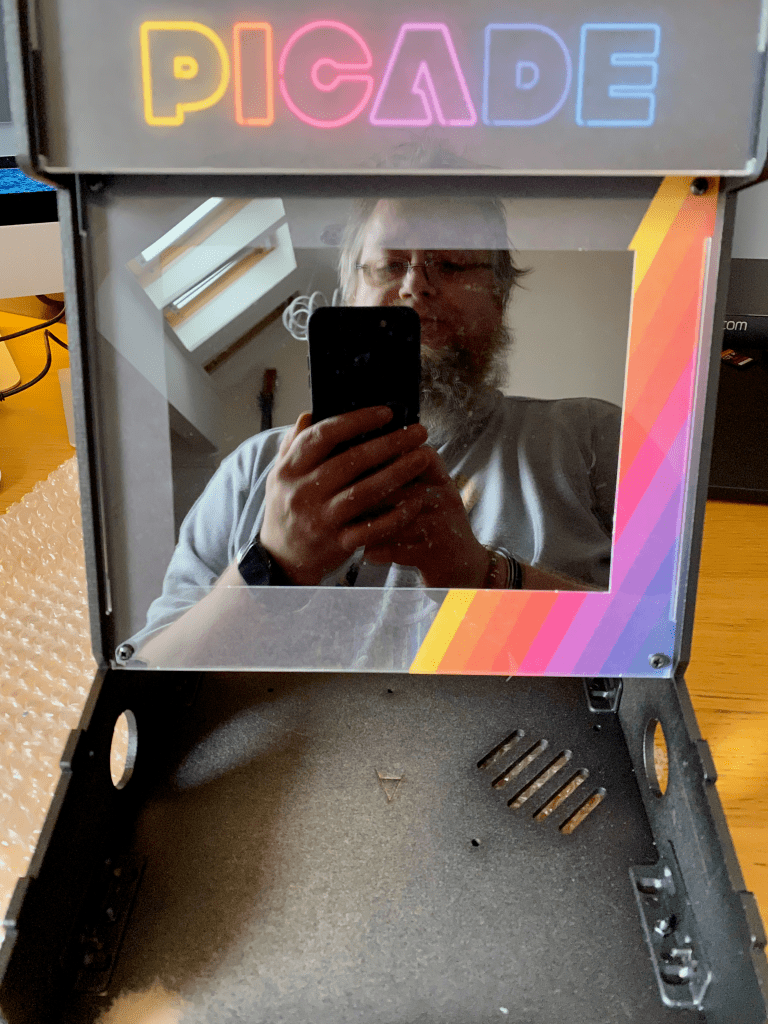
Marquee Assembled 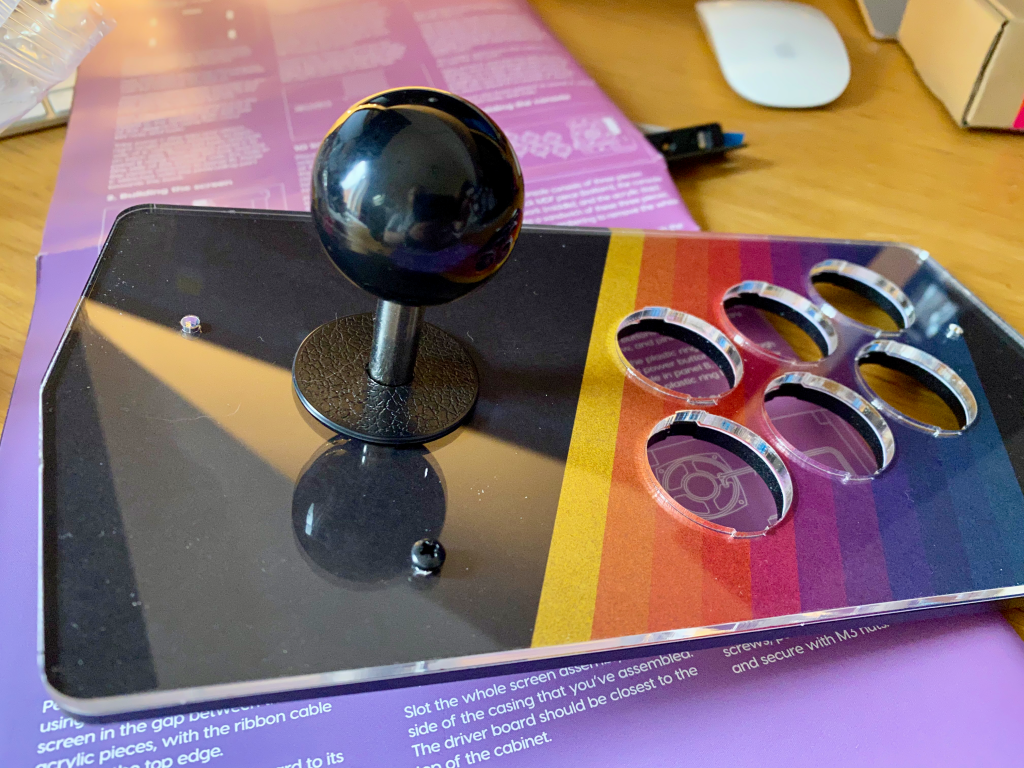
Add a Joystick 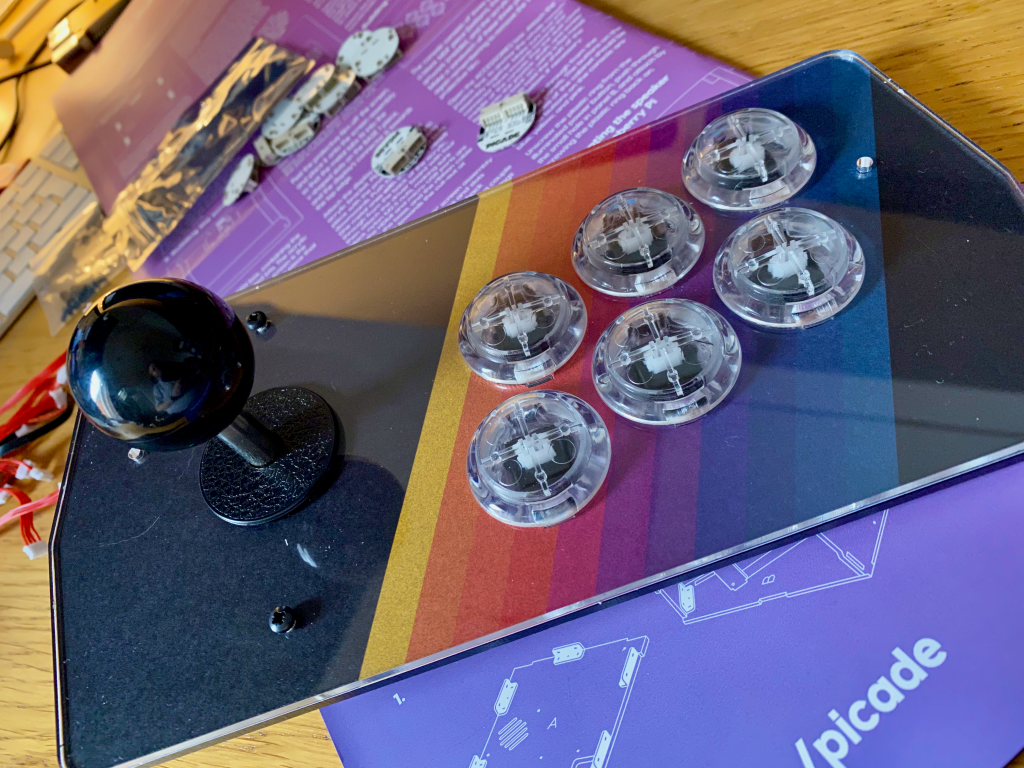
A sprinkle of Plasma Buttons 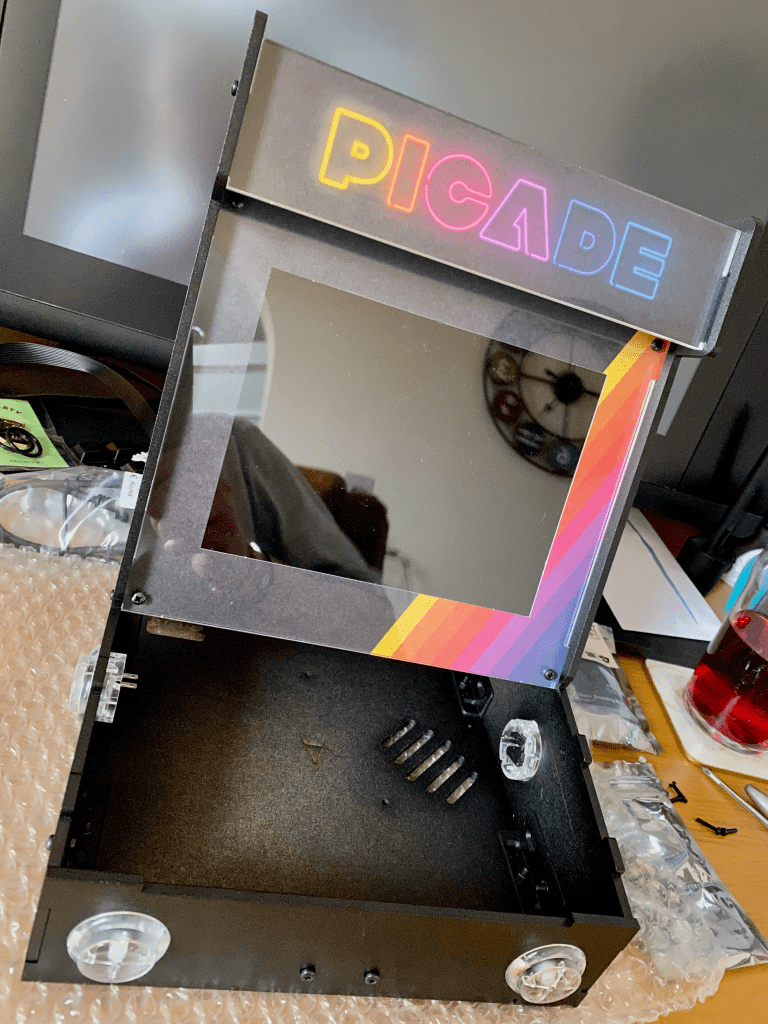
Nearly Ready to Wire it Up 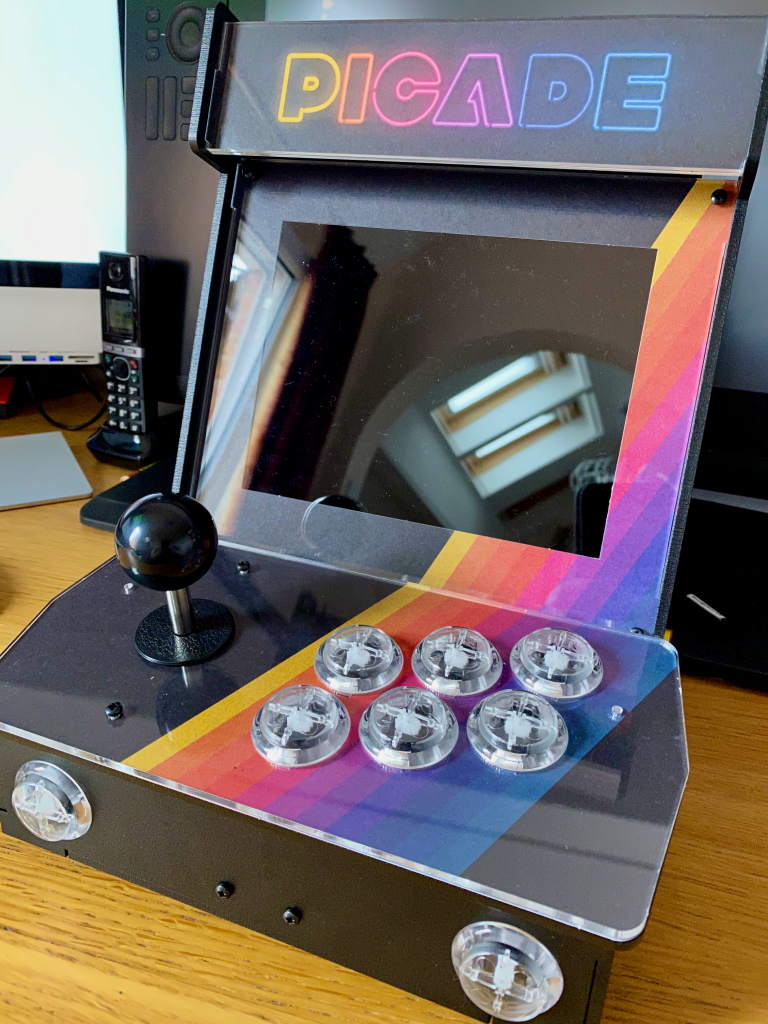
Partially Assembled 
Heatsink works well 
Starting to connect it all up 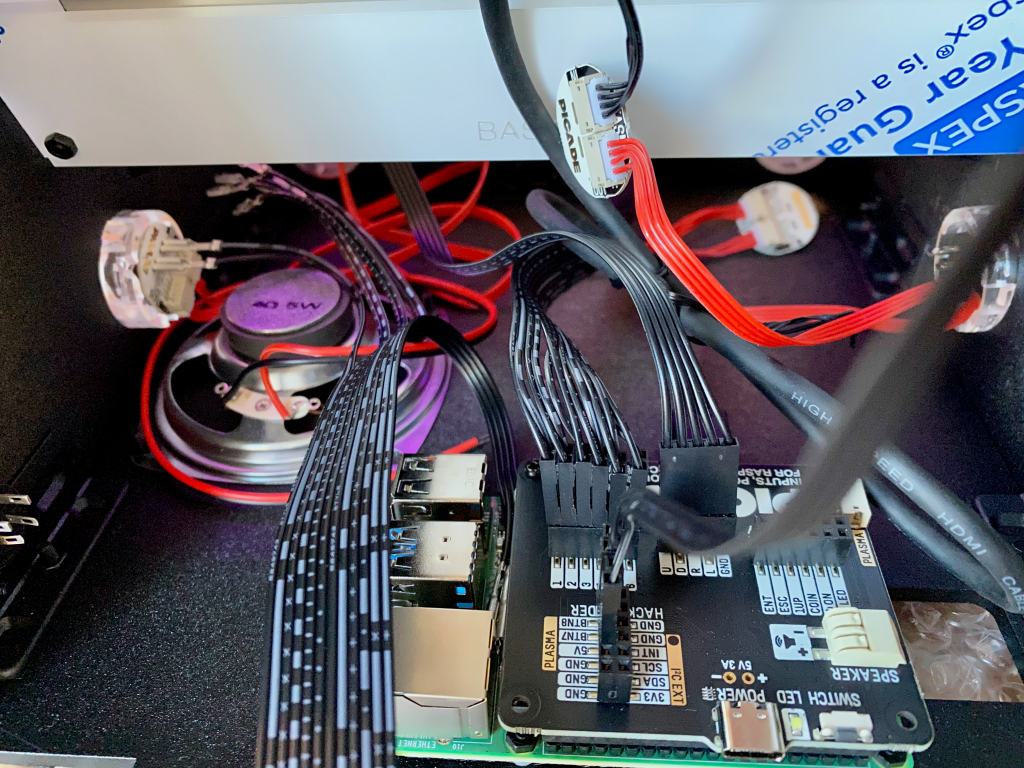
Picade X-HAT and Pi 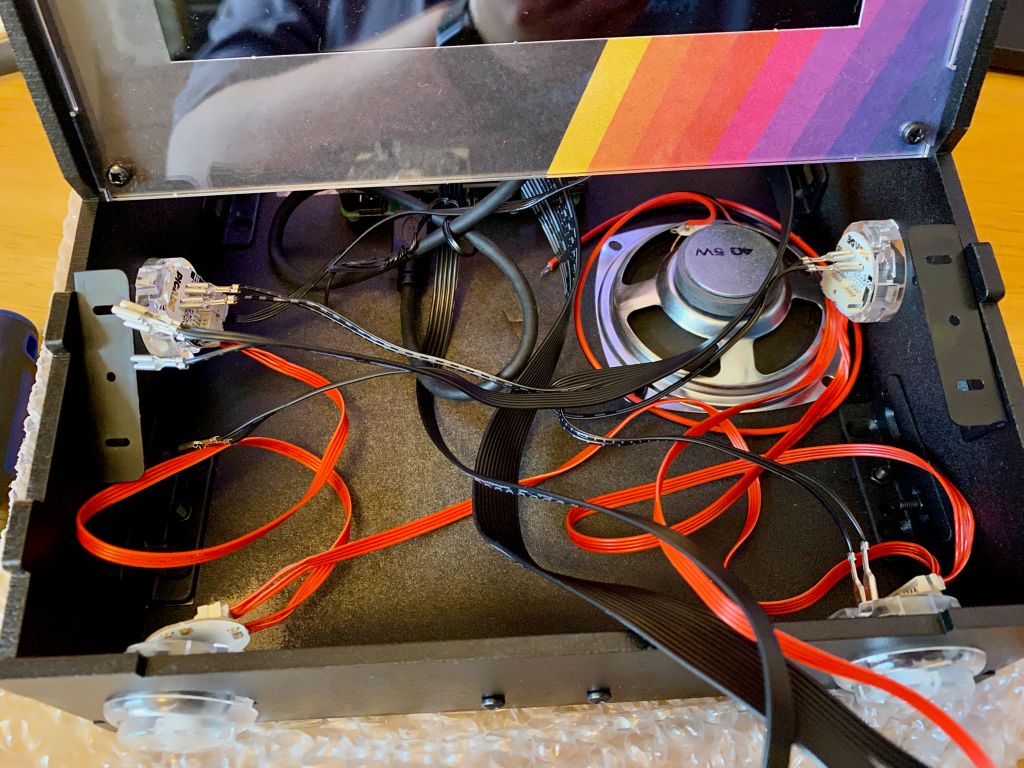
Speaker and Cables 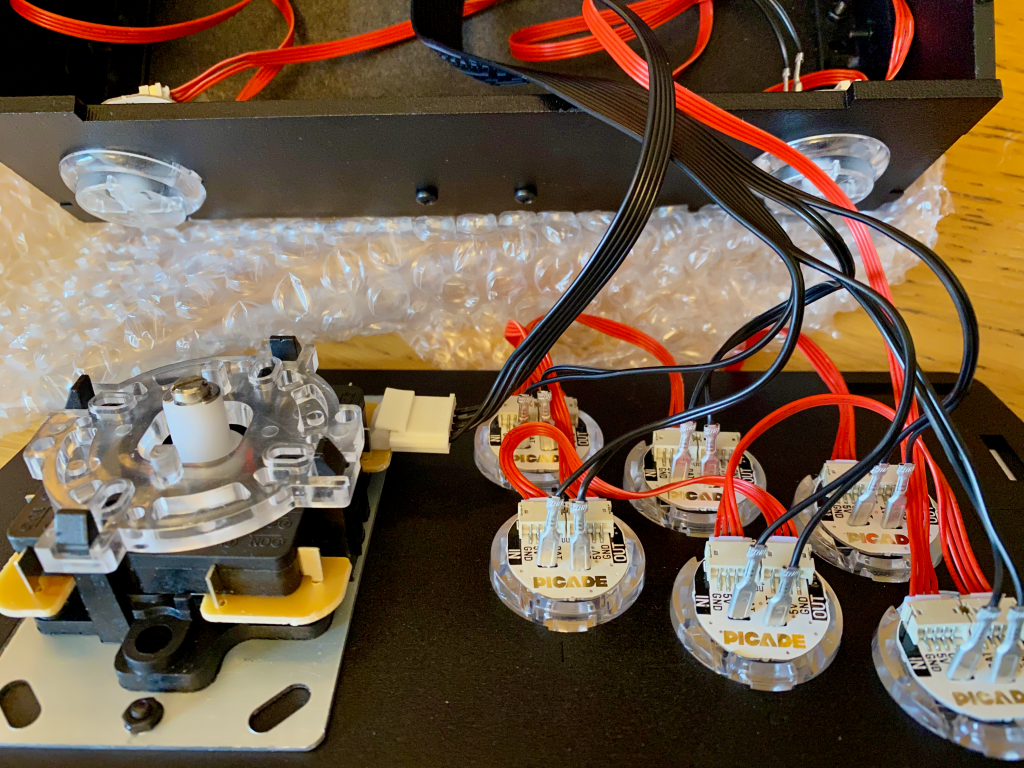
Wiring the buttons and LEDs 
The Power Button 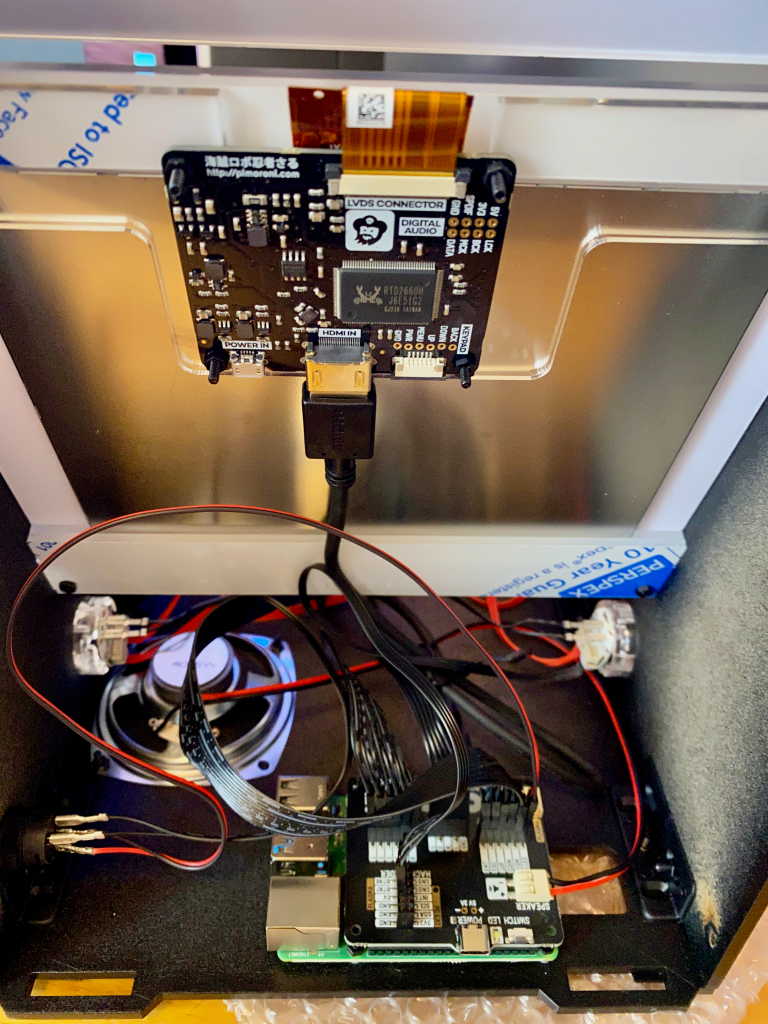
Almost There 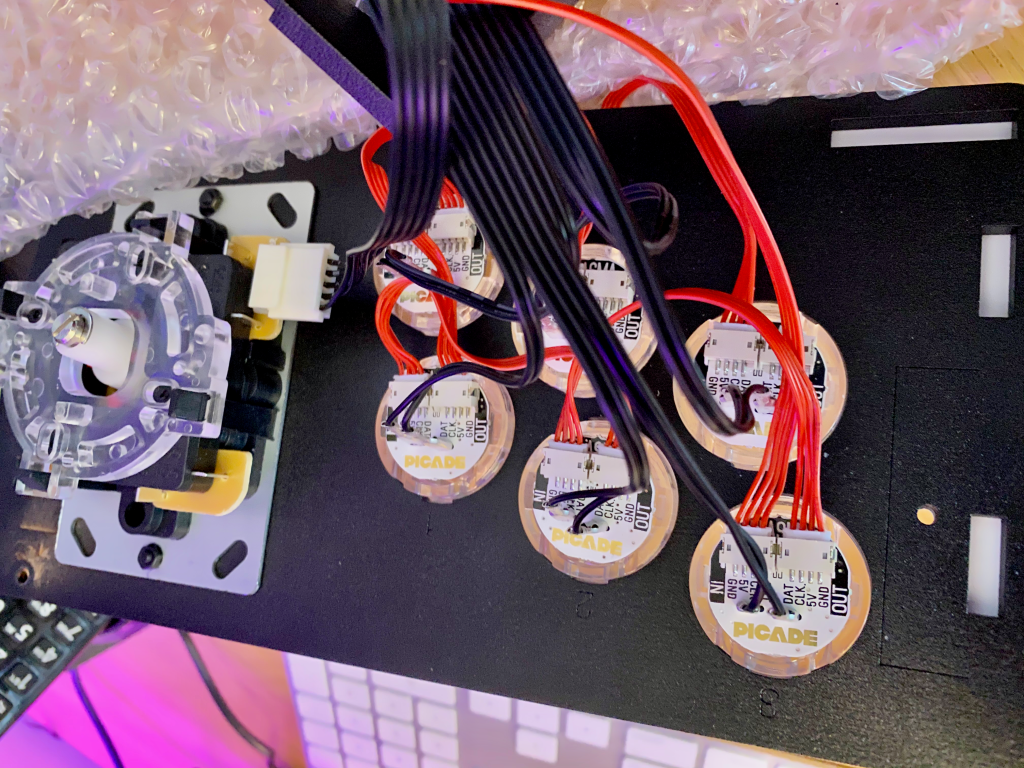
Checking the LEDs 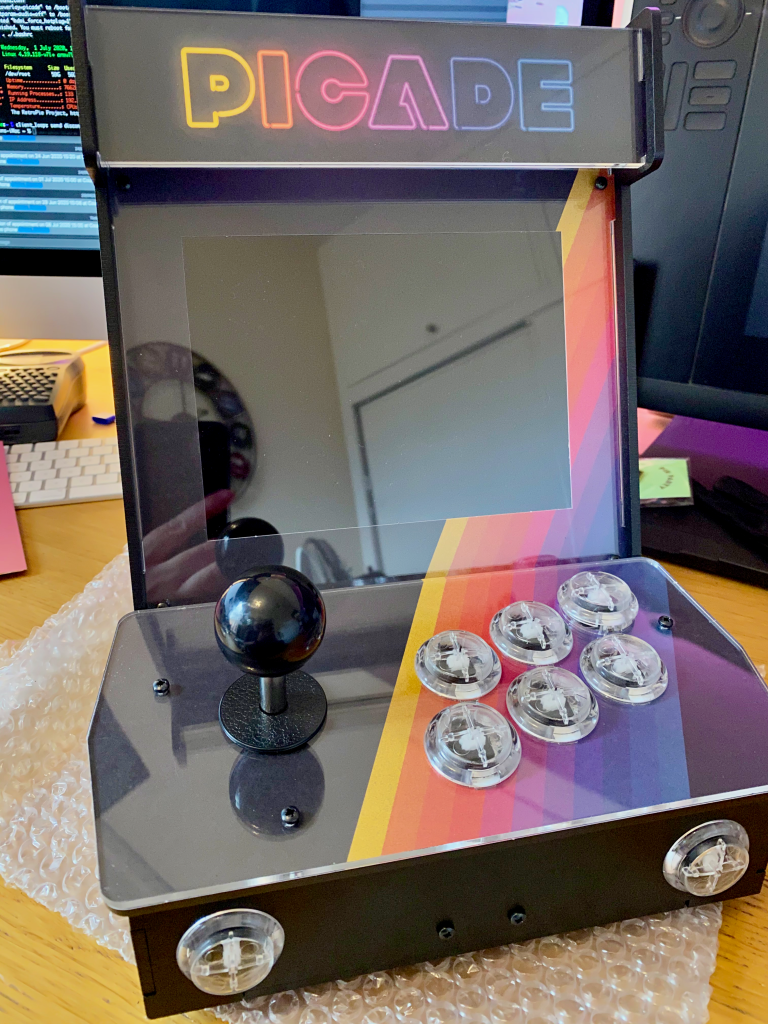
Isn’t she a thing of beauty? 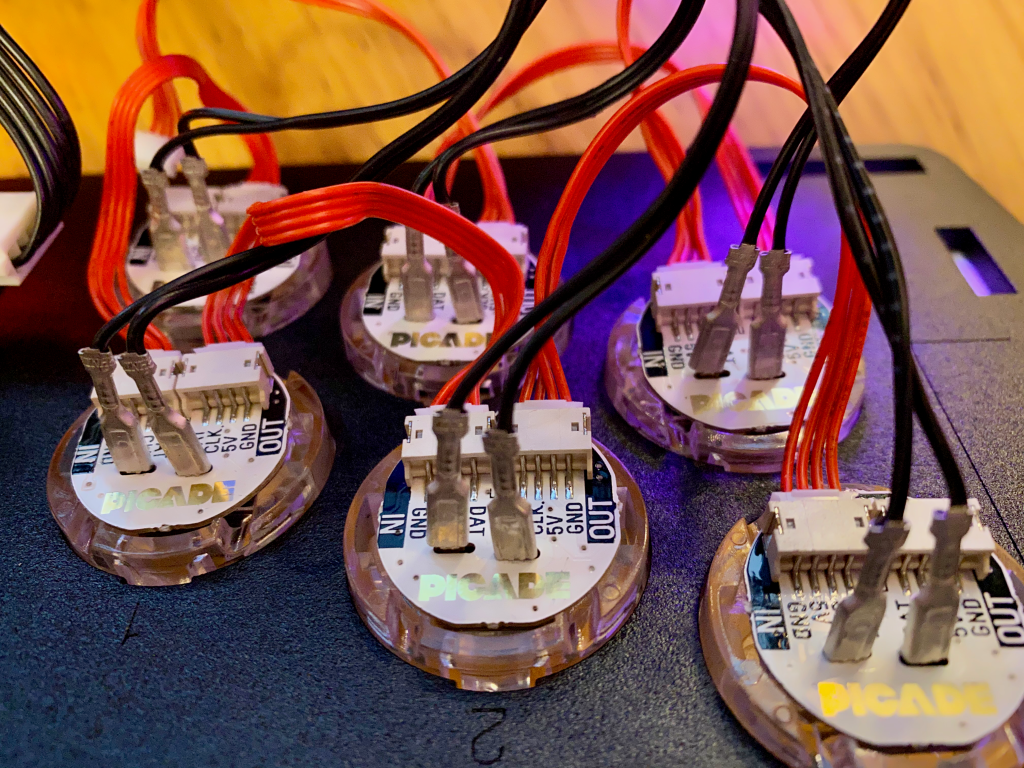
LED Shot 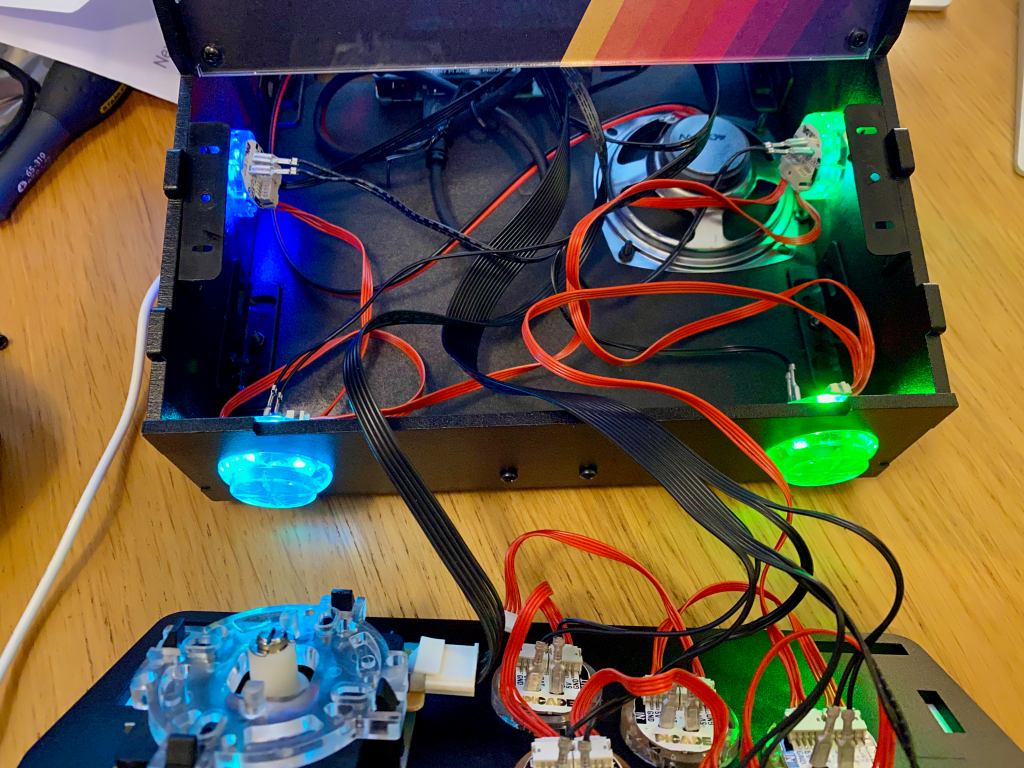
Testing the LED buttons 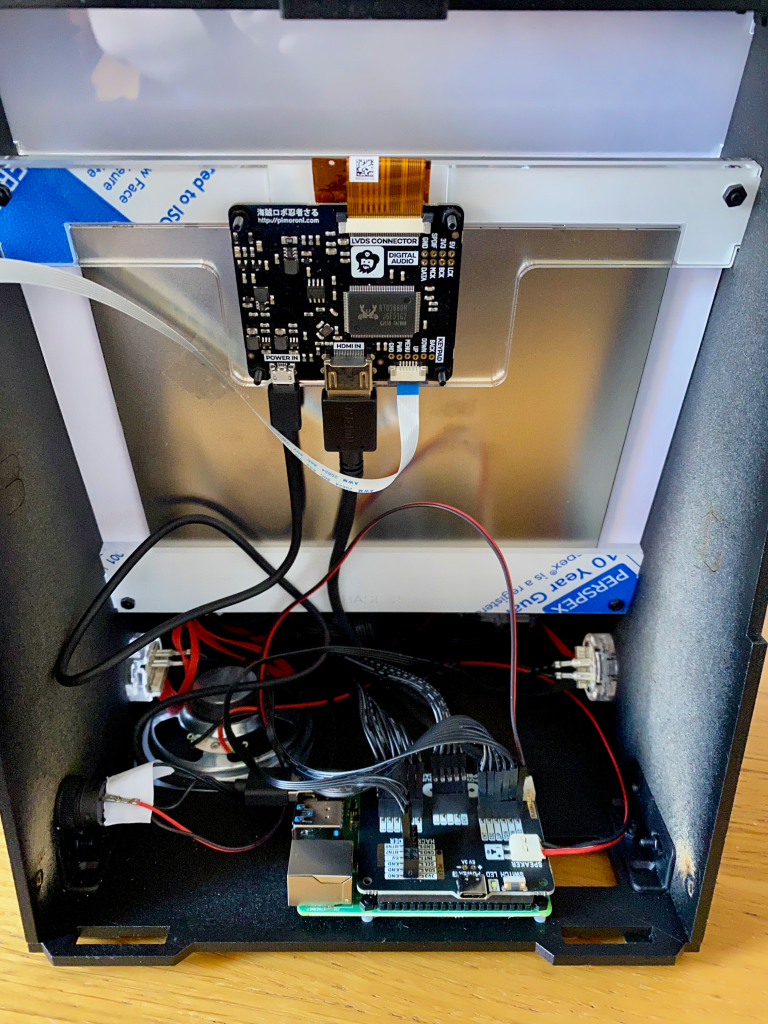
Connect the Display Keyboard 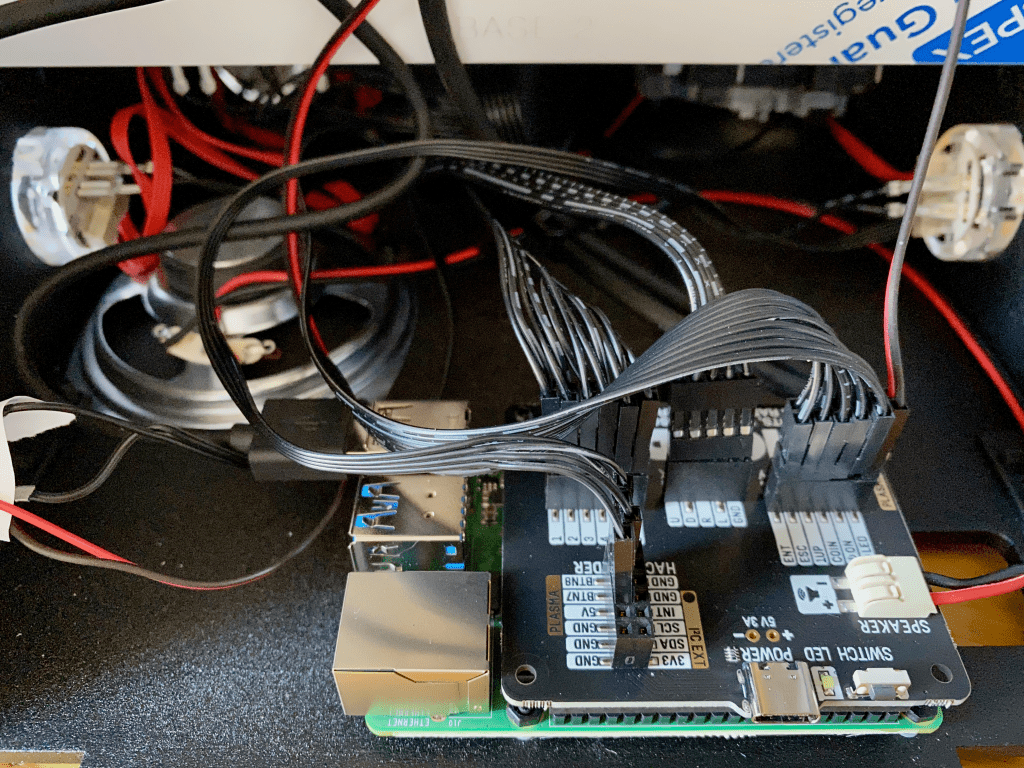
Check the header 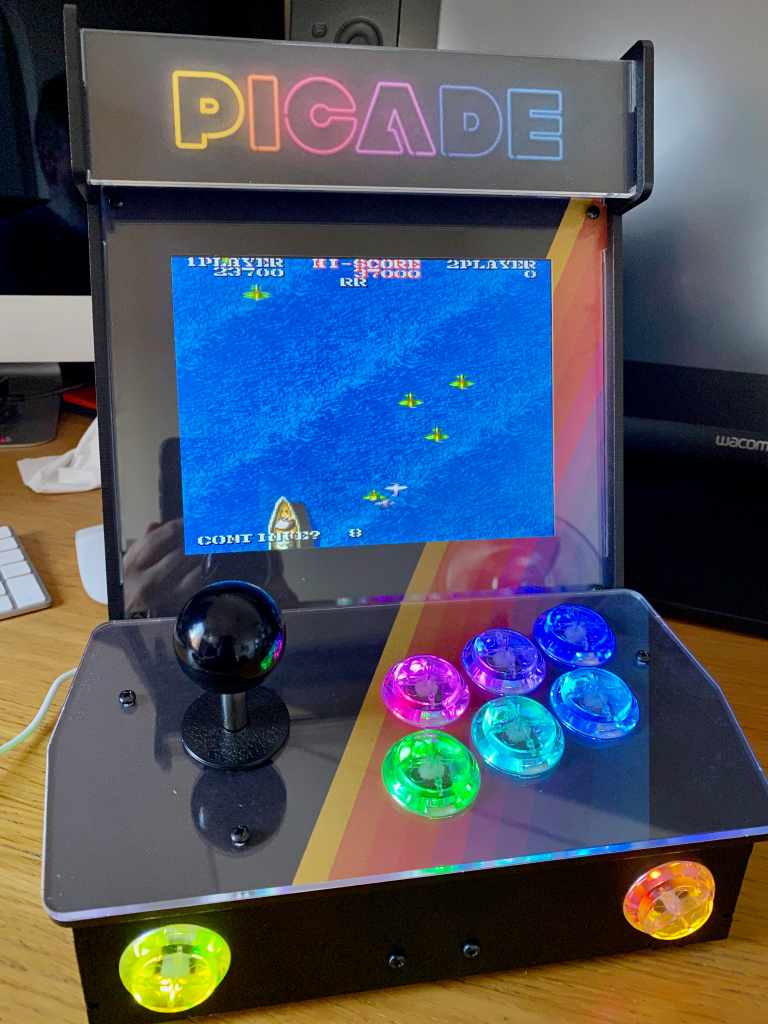
Fire her up! 
Ghost and Goblins Anyone?

