
Ground Control to Major Tom – Part 2 – External
Welcome back to the second part of my Flight Tracking project. If you haven’t already, check out part 1 for information on how to build one of these amazing devices. https://muckypaws.com/2021/02/08/ground-control-to-major-tom-part-1-internal/
Here’s the parts list used: –
| Stuff | Where | Notes | Approx Cost |
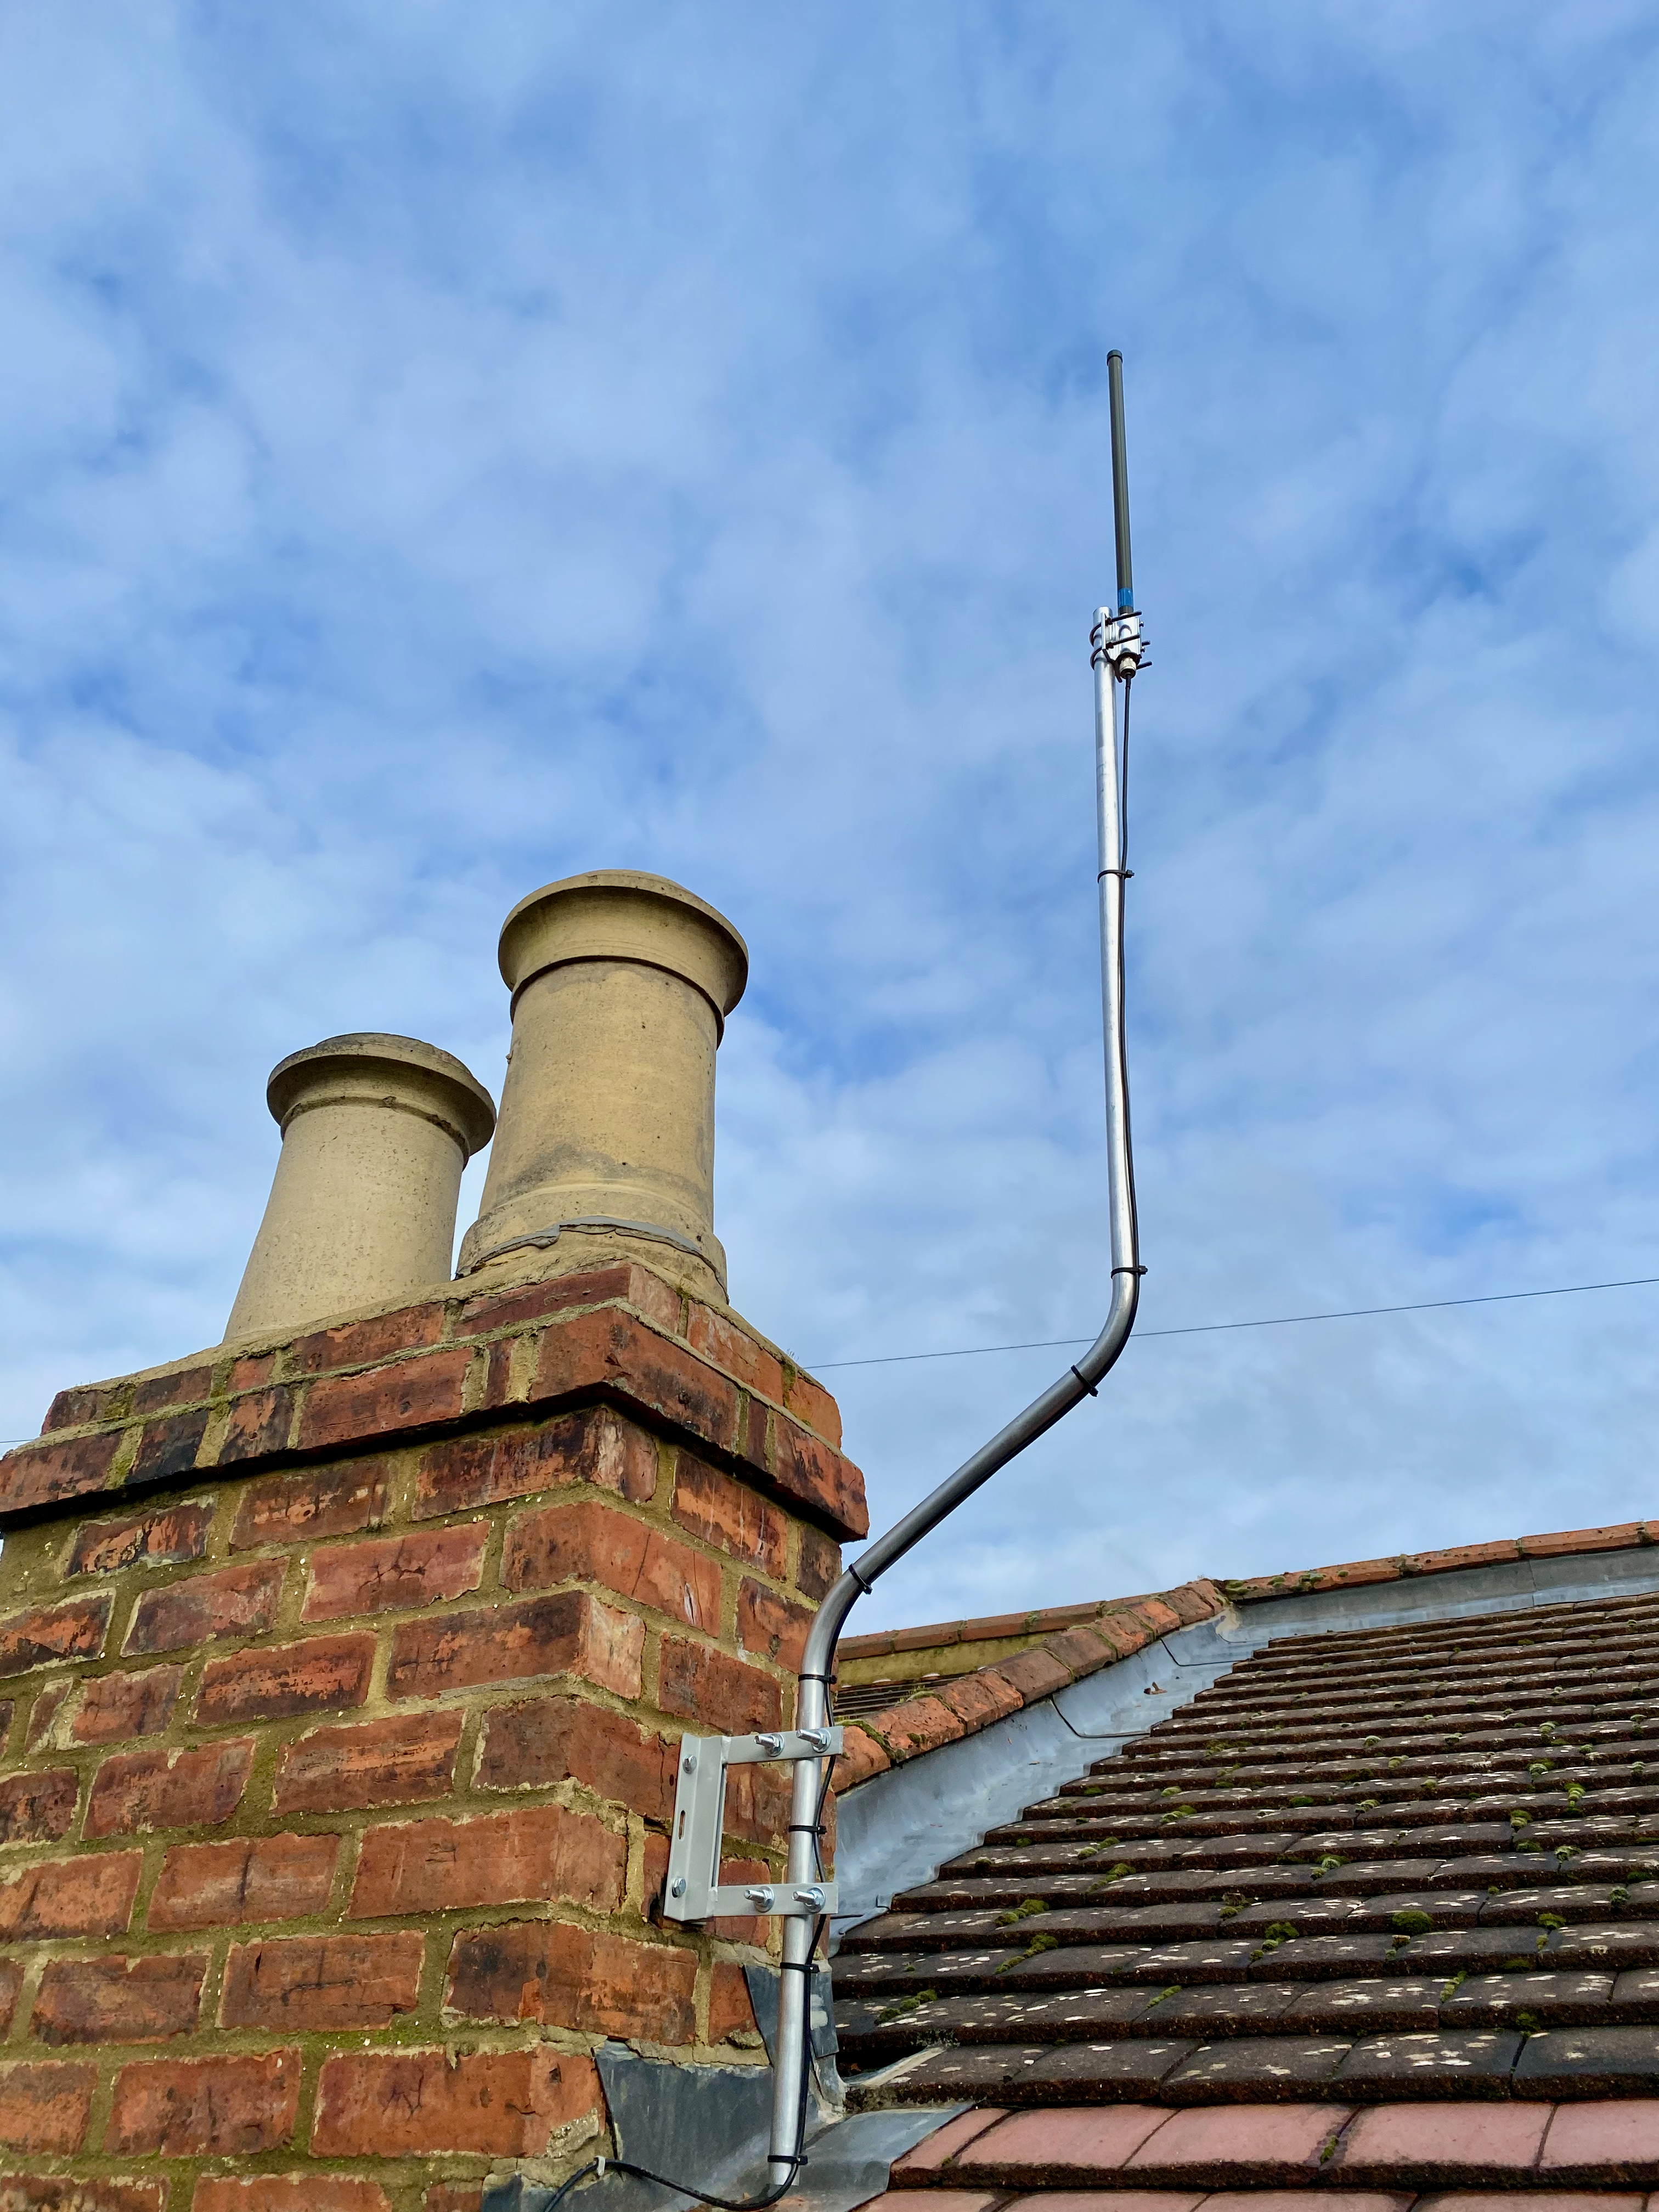
| External Aerial – 1090Mhz ADS-B | https://thepihut.com/products/flightaware-1090mhz-ads-b-antenna-66cm-26in | You will need additional fittings if you don’t already have an aerial mast. | £44 |
| SMA-Male to N-Type Male Antenna Cable | https://thepihut.com/products/sma-male-to-n-type-male-antenna-cable-5m | Available pre-made in lengths up to 10m | £5-£11 |
| ADS-B 1090Mhz Filtered Preamplifier | https://thepihut.com/products/ads-b-1090mhz-filtered-preamplifier | Clean an improve the signal processing, especially in urban areas. | £43.50 |
| 1090Mhz ADS-B Bandpass SMA Filter | https://thepihut.com/products/flightaware-1090-mhz-ads-b-bandpass-sma-filter | Additional signal filtering. | £17 |
| SMA Coupler | https://thepihut.com/products/sma-coupler-sma-male-to-sma-male | For joining the main aerial and cable to the pre-amplifier. | £2 |
| USB to Mini-USB Cable | https://smile.amazon.co.uk/AmazonBasics-Male-Mini-B-Cable-Feet/dp/B00NH11N5A | Got loads of these knocking about as I’m sure you will. | £5 |
| Aerial Mast Pole Mounting Bracket | https://smile.amazon.co.uk/gp/product/B00OU19WH2 | Something to mount the aerial mast to. | £7 |
| Aerial Mast | https://smile.amazon.co.uk/gp/product/B003GSNWJE | I used an offset mast to avoid the chimney stack. | £20 |
| Anchor Bolts for Mounting Bracket | https://www.screwfix.com/p/easyfix-shield-anchors-m8-x-70mm-5-pack/9650g | Bolts of course for the mounting bracket. M8/M10 70mm are suitable. | £5 |
The total cost of additional components is around £150 depending on your needs and how you can mount the aerial. If you have a mast that is readily accessible you can shave about £32 off this since the external aerial is equipped with U-Brackets.
Assembly is very straight forward. Disconnect the internal aerial from the Decoder USB Dongle connect up the equipment as shown below. Add the external aerial to the pre-amp, add power via Mini-USB to the Pre-Amp and Power up the Raspberry Pi again.

I’ve seen increased range in all directions to 250 miles with craft at altitudes of 33,000ft which is pretty impressive given I’m not using radar!

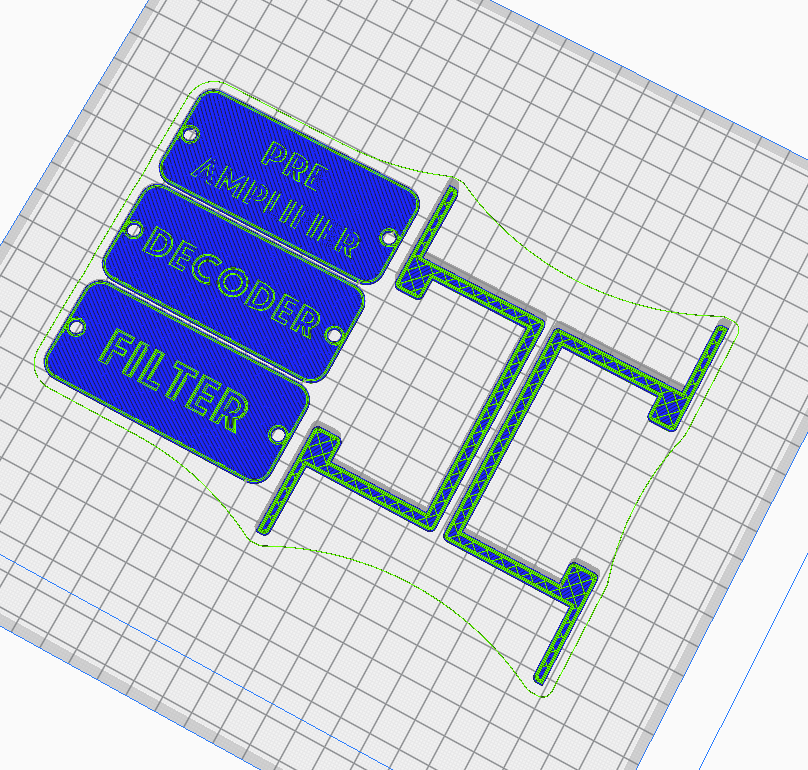
If you’re interested in mounting the various components on a backboard or your wall at home, I’ve provided the STL files for you to print, found here: https://www.thingiverse.com/thing:4755544


1 Comment »