
Ground Control to Major Tom – Part 3 – Dashboard

Welcome back to my Ground Control to Major Tom Project utilising Open Source FlightAware software and hardware (https://flightaware.com/adsb/piaware/build/). If you haven’t already you may want to check out my previous two articles.
In this post, I wanted to create a simple dashboard displaying the current number of flights my receiver is detecting along with some metrics, such as the most number of flights per minute, Alerts for monitored/emergency squawk codes, volume of daily flights etc. and the project continues to grow as I added Temperature and Humidty sensors for monitoring the room.
What will you need?
In addition to your existing Raspberry Pi, I’m assuming you have a breadboard/breakout board, though it will be helpful if you have a Pi T-Cobbler. The final project uses the following additional components, many of which can be found in standard Pi Kits :-
| Item | Where | Cost |
| I2C RGB LCD1602 Display | https://thepihut.com/products/rgb-16×2-i2c-lcd-display-3-3v-5v | £9.50 |
| PIR Sensor | https://thepihut.com/products/pir-motion-sensor-module | £3 |
| LED | https://thepihut.com/products/ultra-bright-led-5mm-blue-10-pack | £0.15 |
| Dupont Cables | https://thepihut.com/products/thepihuts-jumper-bumper-pack-120pcs-dupont-wire | |
| Resistors | 680Ω, 3 x 10KΩ | |
| DHT11 Temperature/Humidty Sensor | https://thepihut.com/products/dht11-temperature-humidity-sensor | £4 |
It’s likely you’ll have Dupont Cables, LEDs and Assorted Resistors.
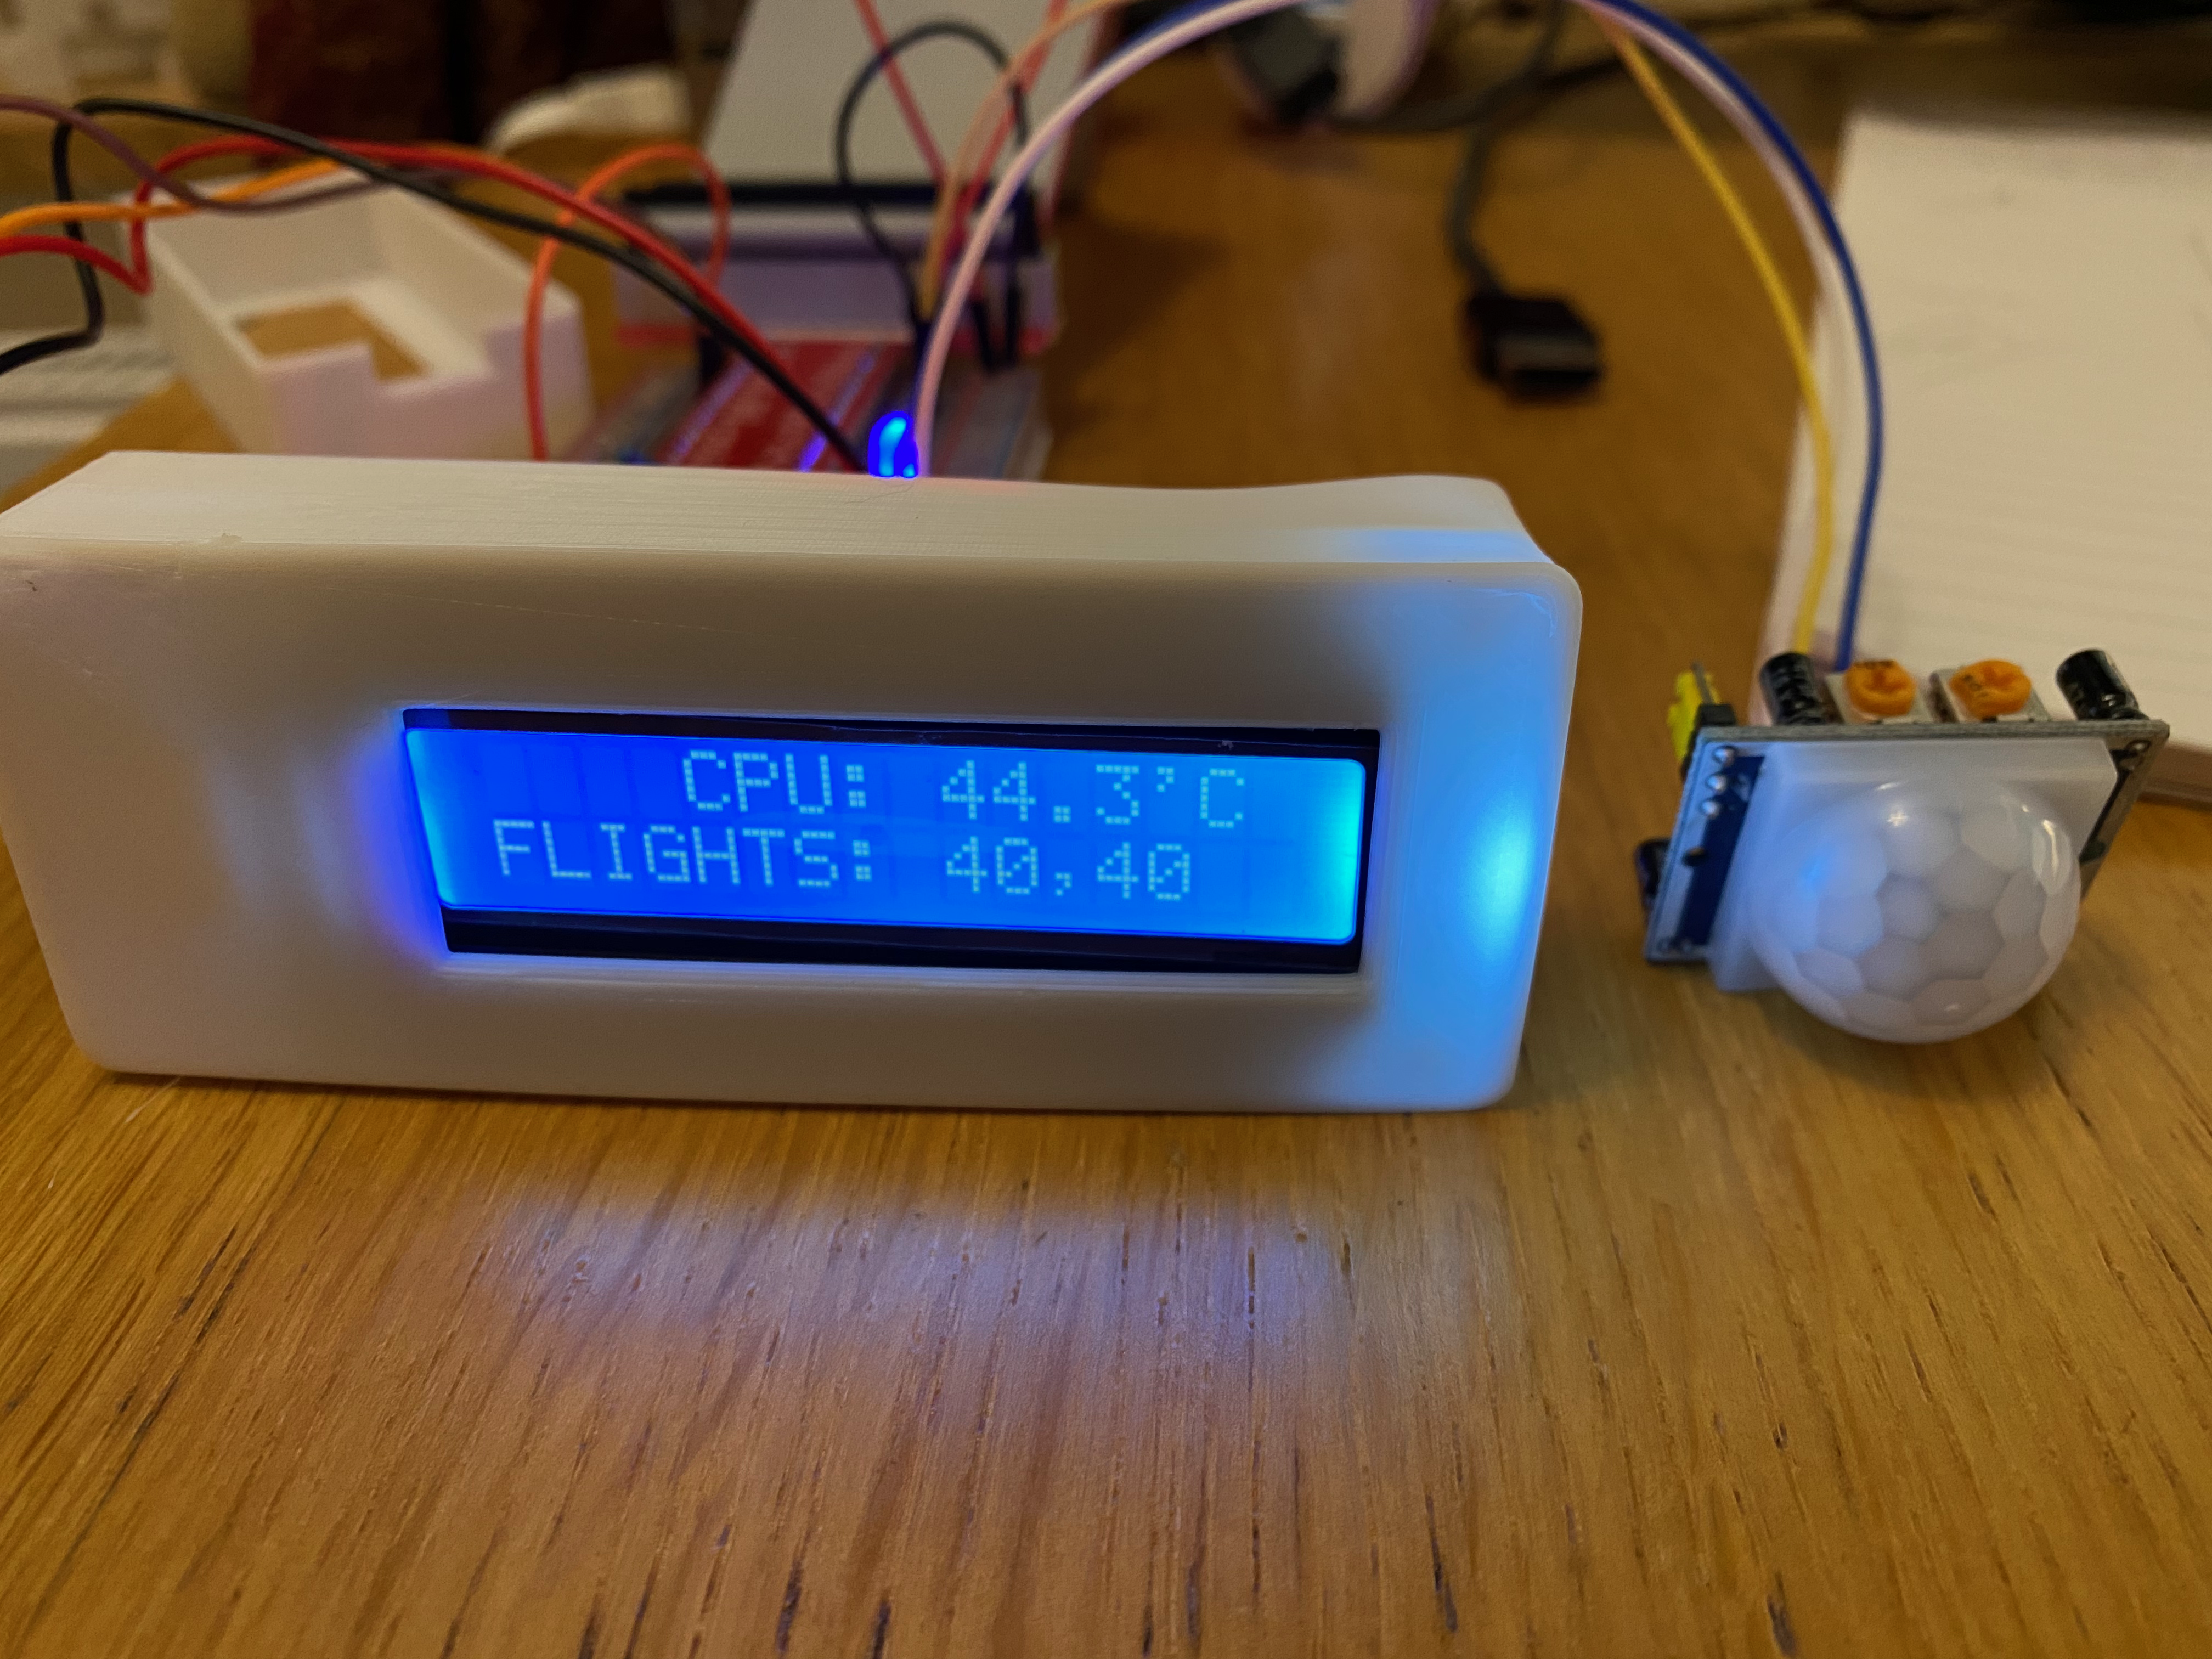
I chose the I2C Enabled 1602 LCD initially as it’s easy to work with, requiring only four cable connections (+V, GND, Clock, Data). Later in the project I changed the Monochrome LCD Display to an RGB Enabled one. It isn’t essential for the project, though it allows me to change the LCD display colour when emergency Squawks are detected.
The design evolved over time, including adding a PIR and Temperature Sensor. The idea behind the PIR is to switch off the LCD Display if no one was present to glance at it, saving power and hopefully giving extra life to the LCD display.
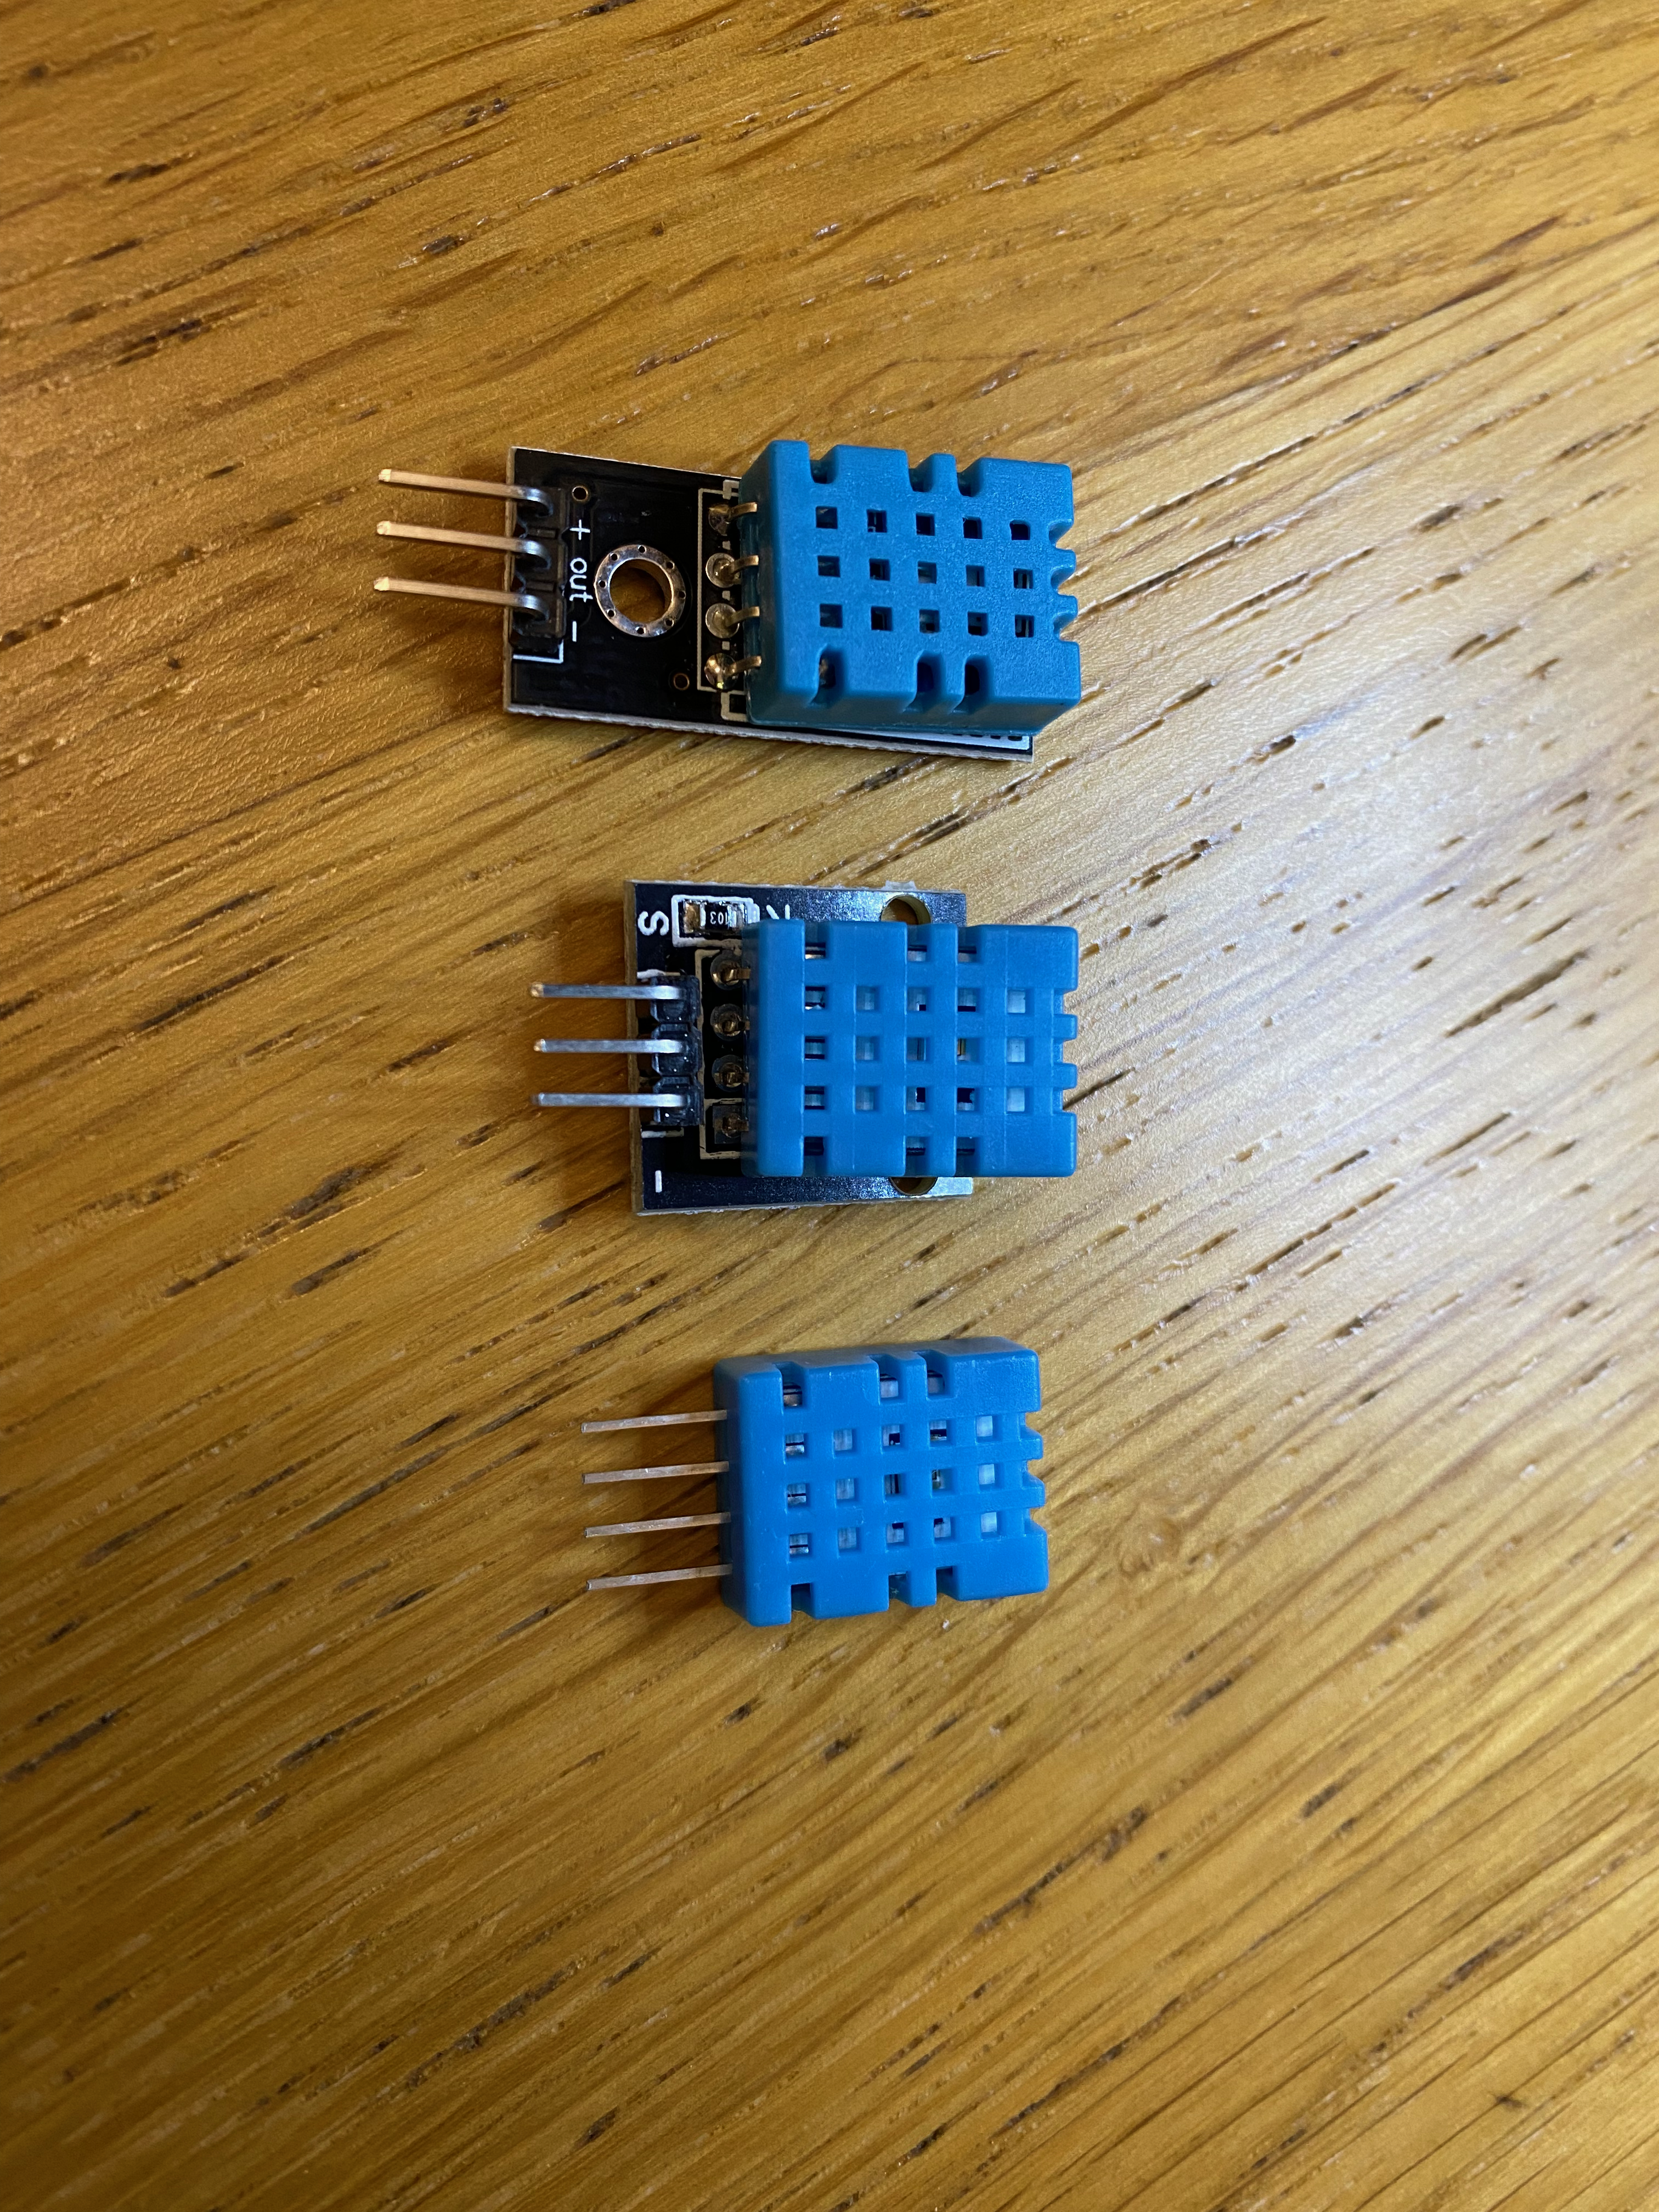
Temperature and Humidity Sensor
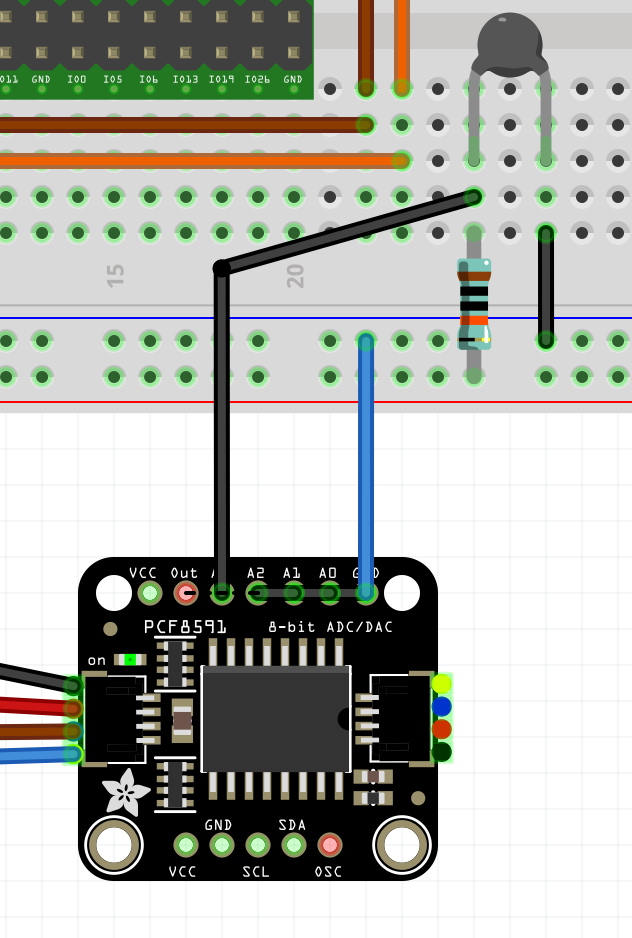
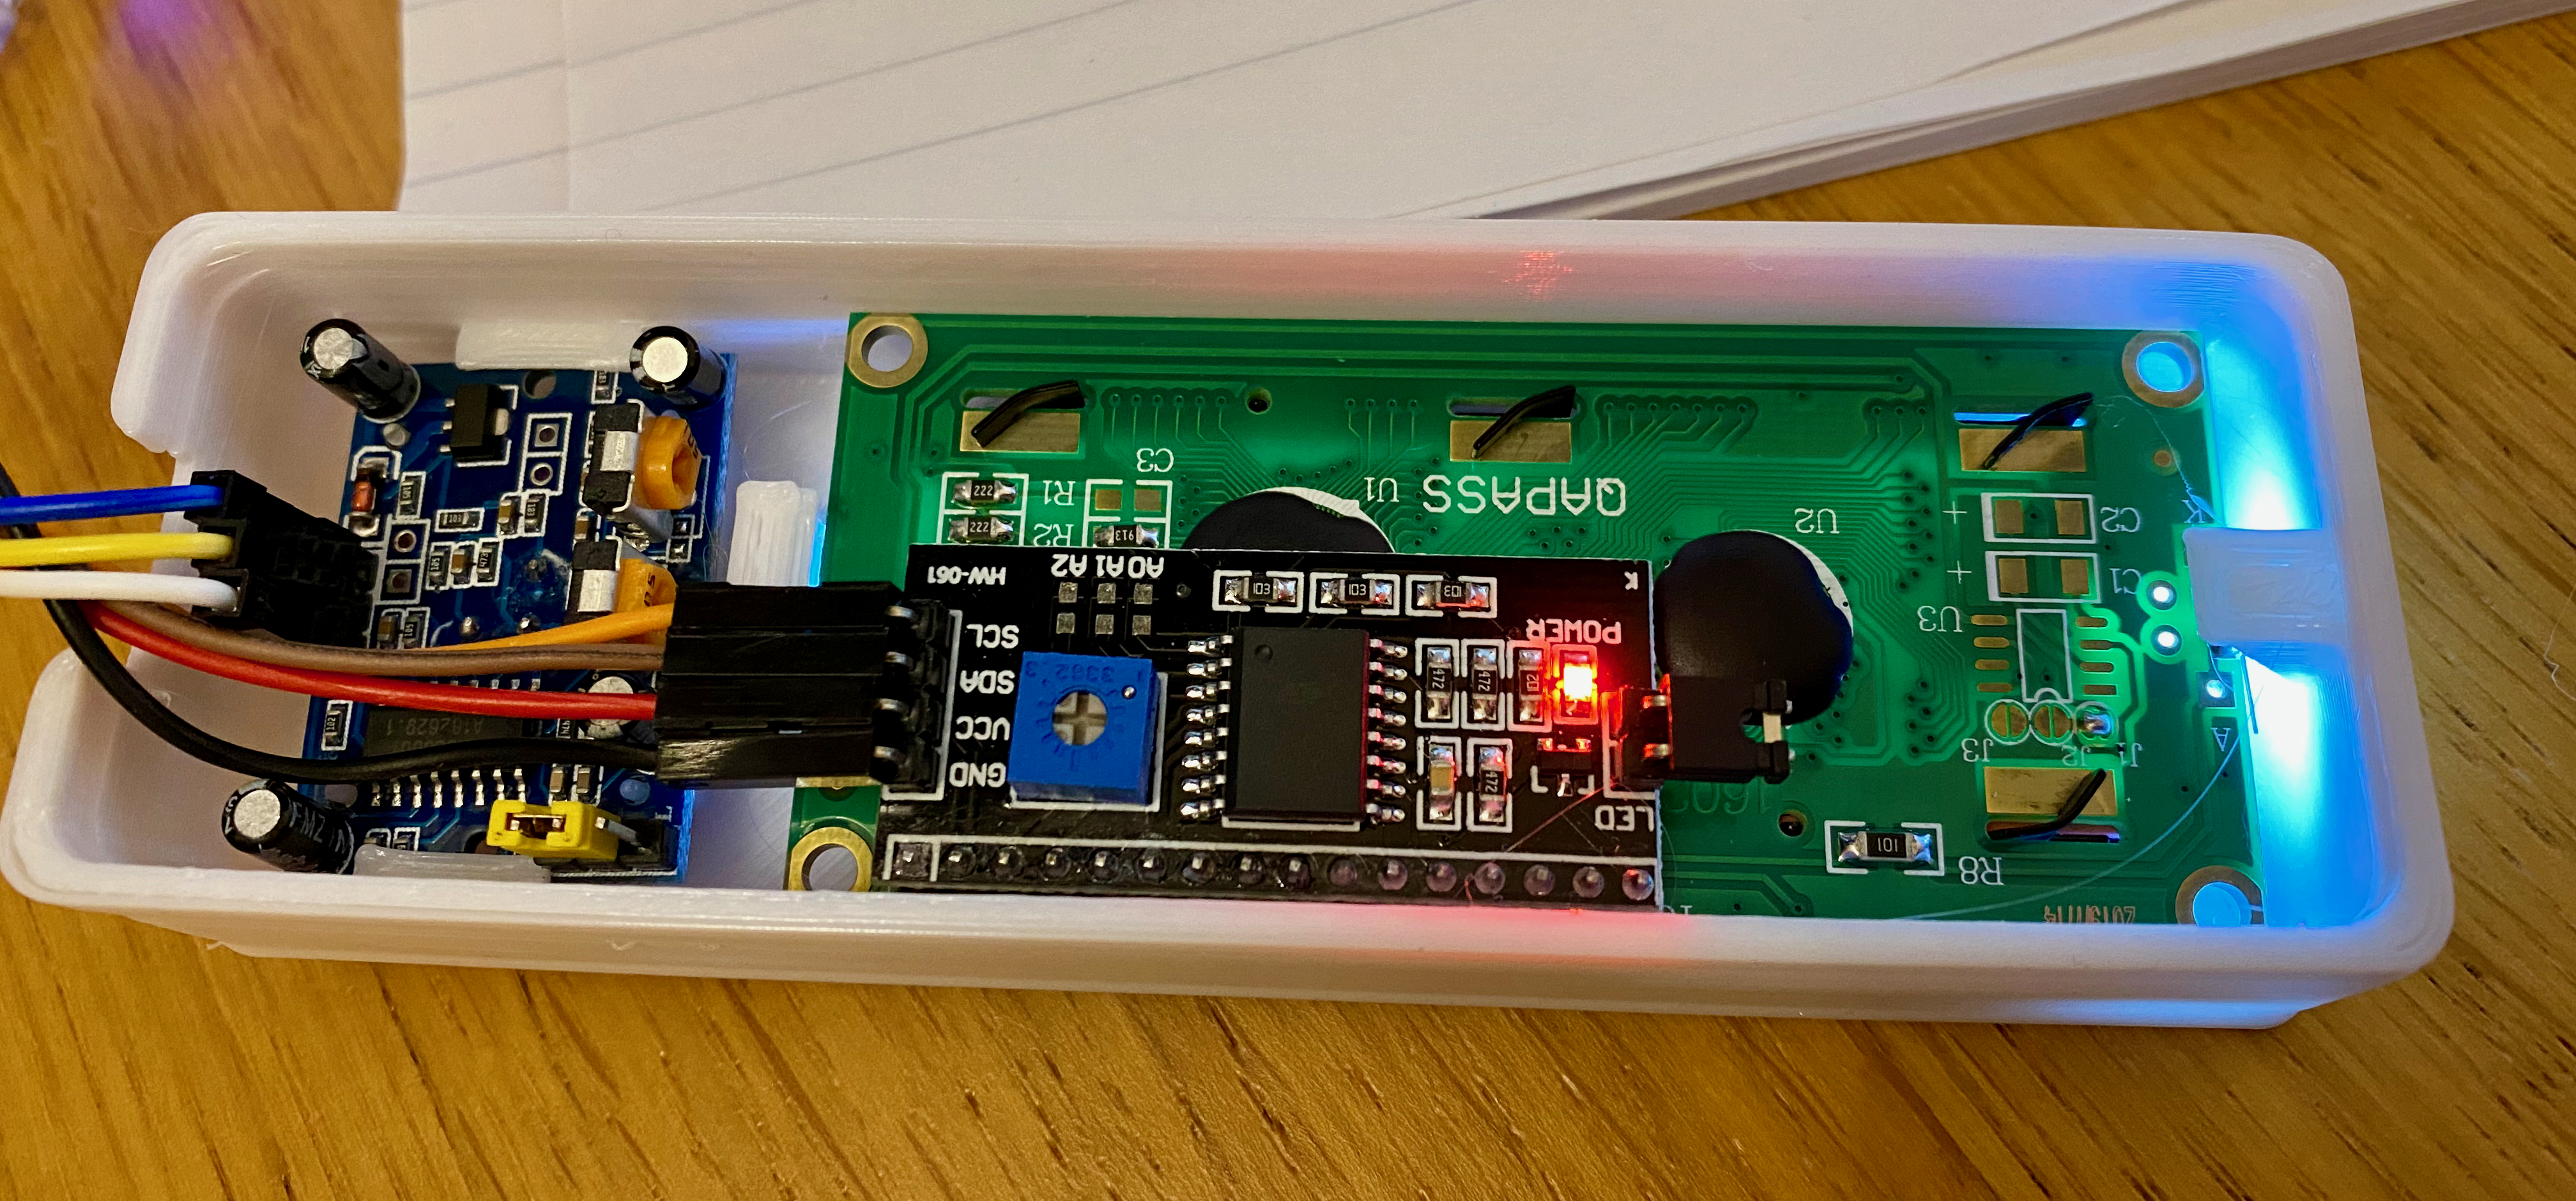
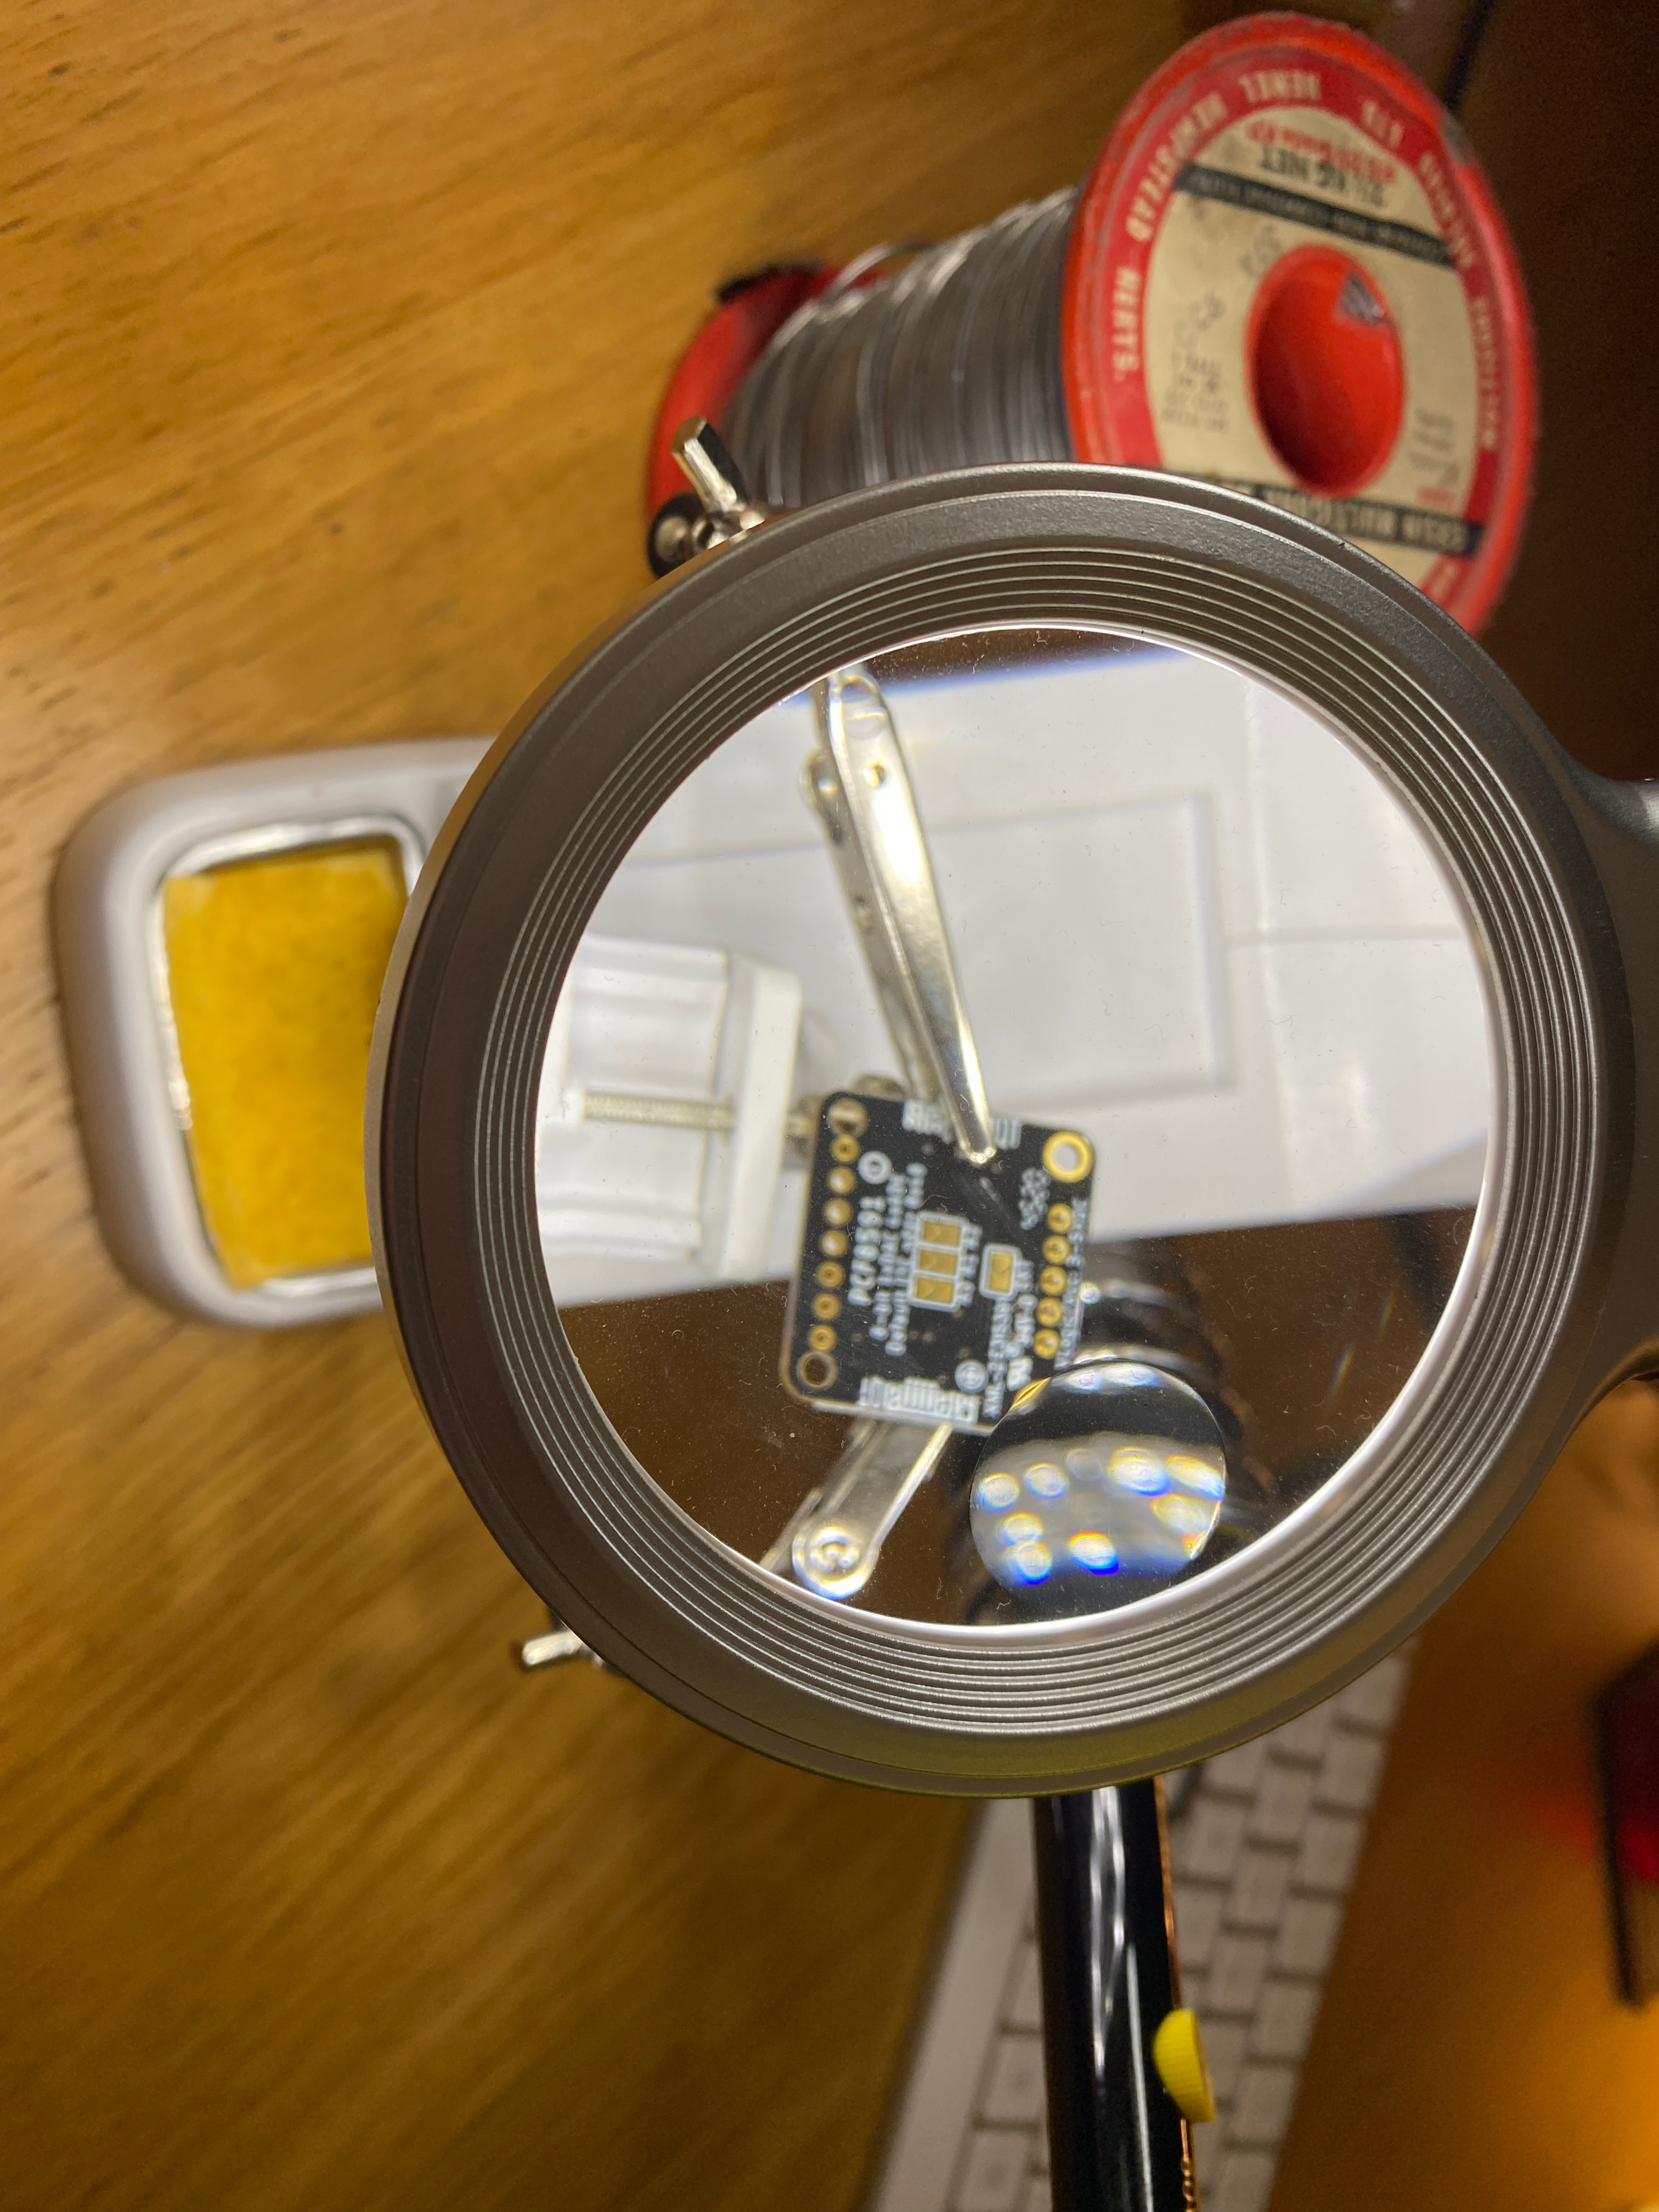
For the temperature sensor, I used a 100k NTC Thermistor and PCF8591 A/D Converter. Initially I liked this combination due to the Analogue/Digital Converter I2C connection which has five analogue input channels and one digital output channel. Though this particular converter is only 8 bit, the accuracy needed for this project this combination was more than sufficient.
After testing I found that the A/D converter could be unreliable under certain conditions due to potential noise on the connection. This could have been breadboard related, I opted for a slightly more robust solution utilising an two in one package the DHT11 Sensor.
Favouring simplicity, I swapped this combination out for a DHT11 Combination sensor which includes both Temperature and Humidity. Of course these aren’t necessary for the project, I just wanted some additional monitoring where my control board is mounted.
There’s much discussion about the suitability of the DHT11 in respect to accuracy, again for this project needs, it’s more than sufficient. Humidity is provided as an integer percentage and temperature to 1/10th a Degree Centigrade.
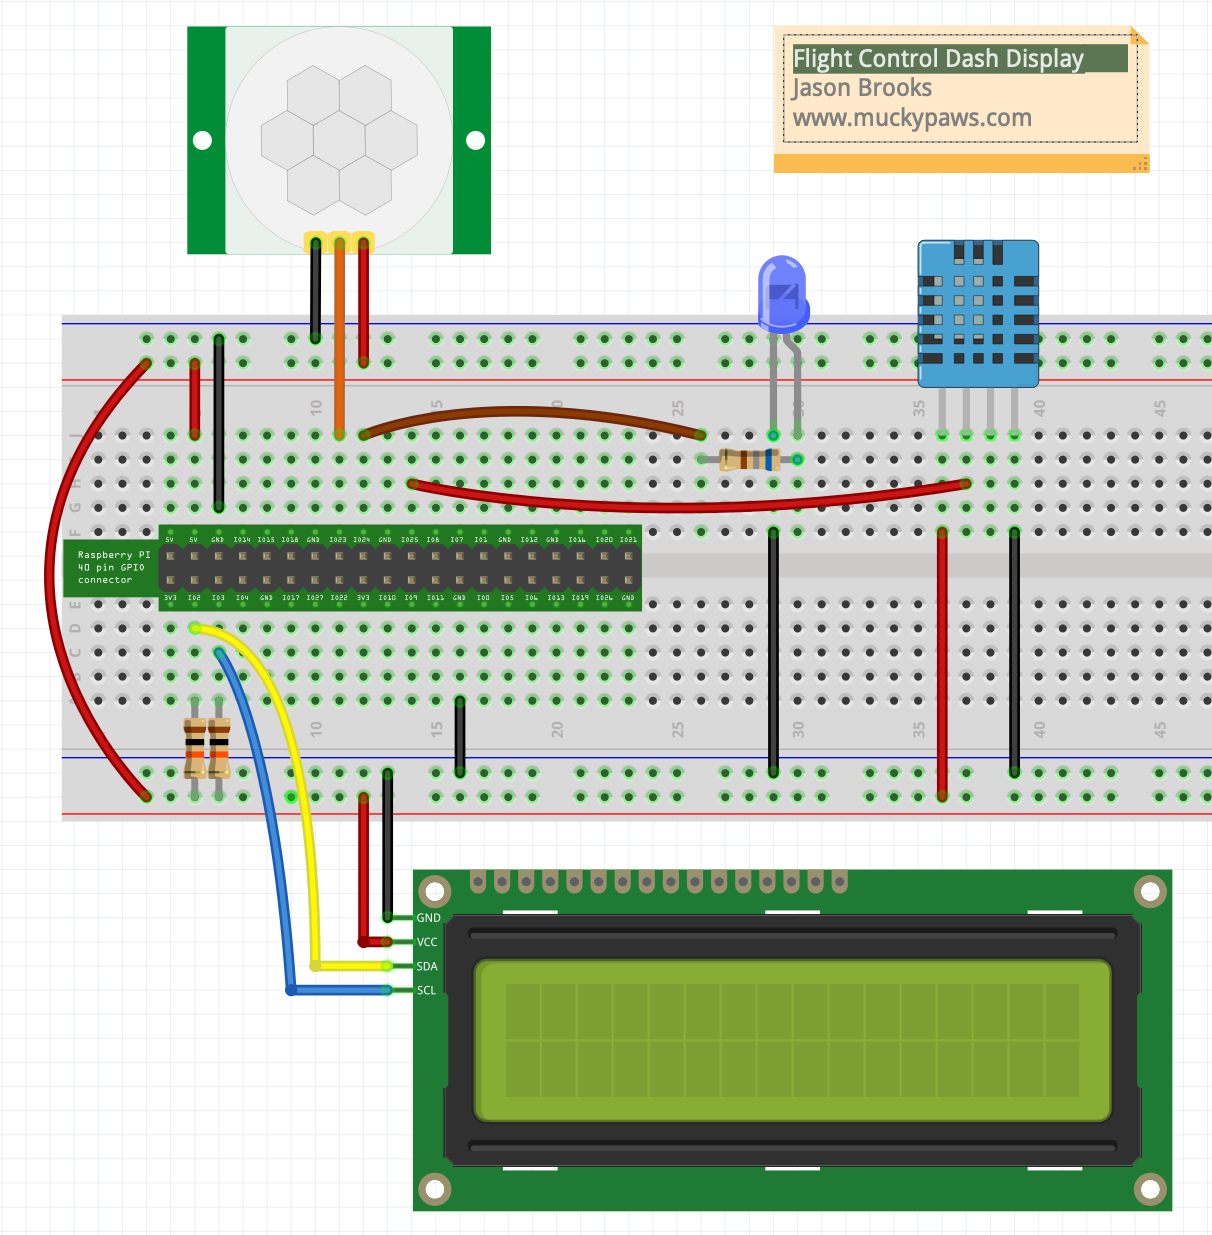
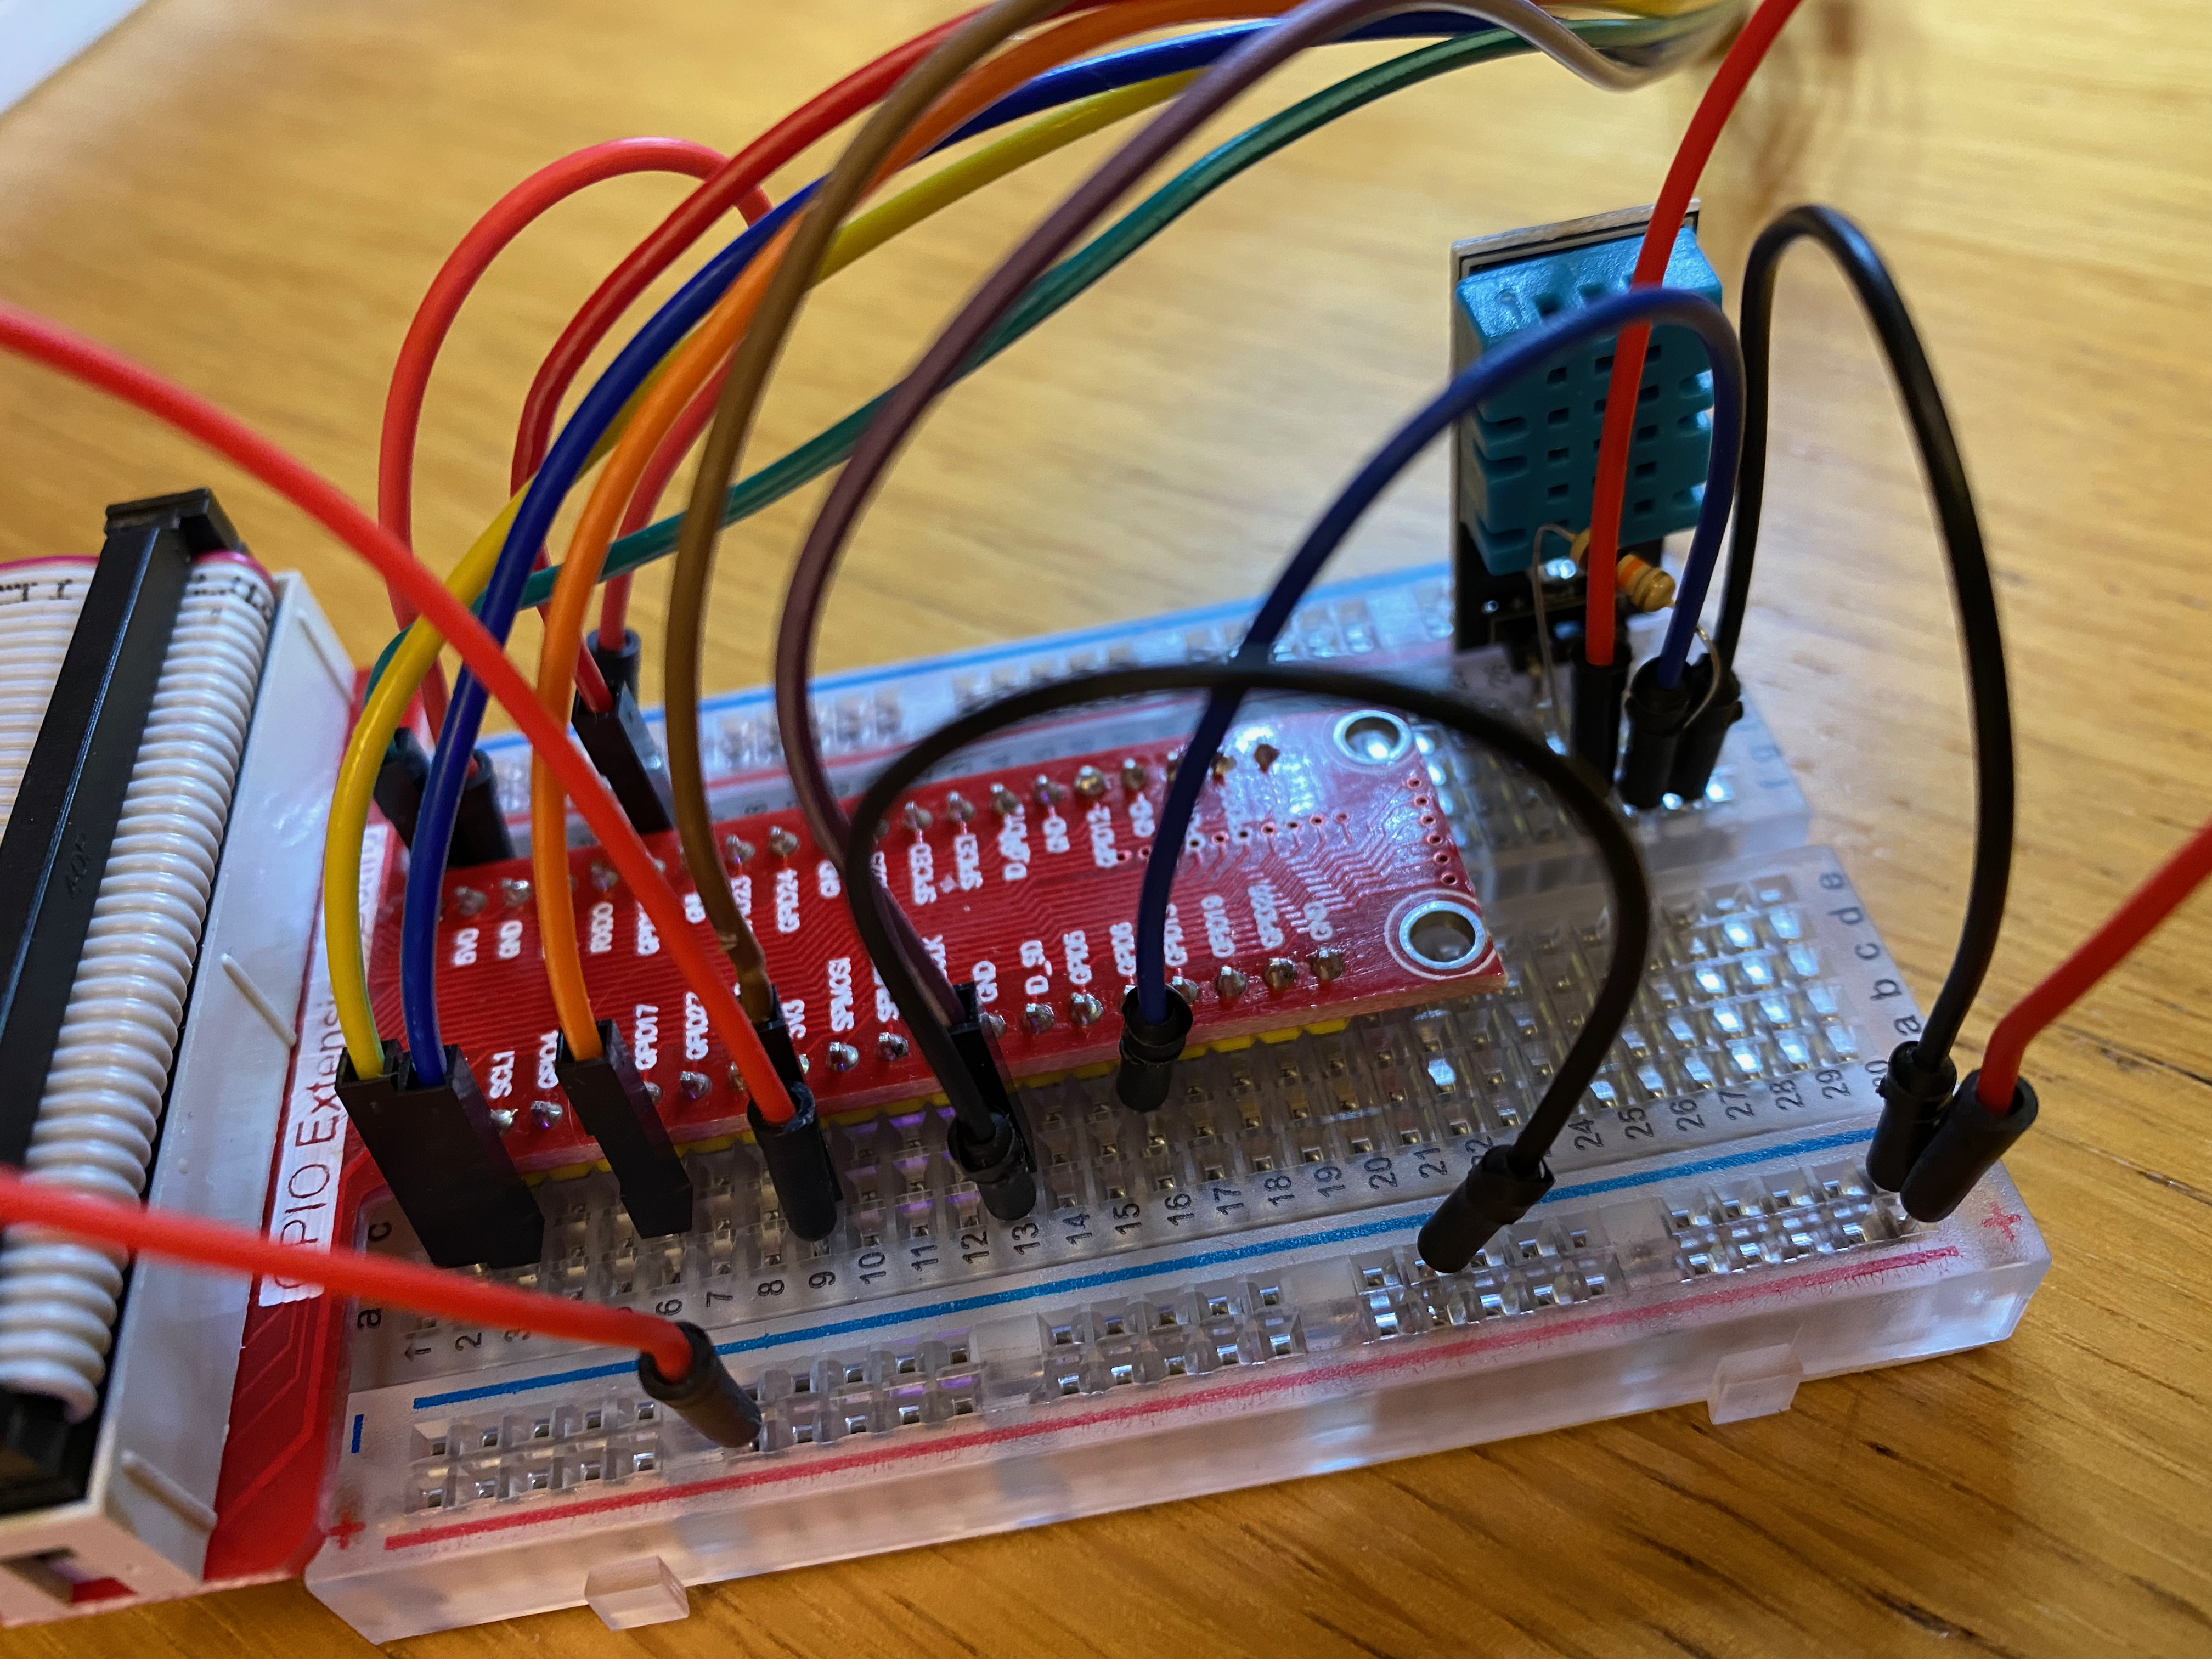
Prototyping
You can imagine there were a number of iterations of design, however I settled on the the final version below, which I feel is a more simplified design with the same functionality.
If you have an LCD1602 which doesn’t have an I2C module, you will need a PCF8574T pre-built module which I found on AliExpress, this will convert the I2C Signals to driver the hardware. I don’t cover this off.
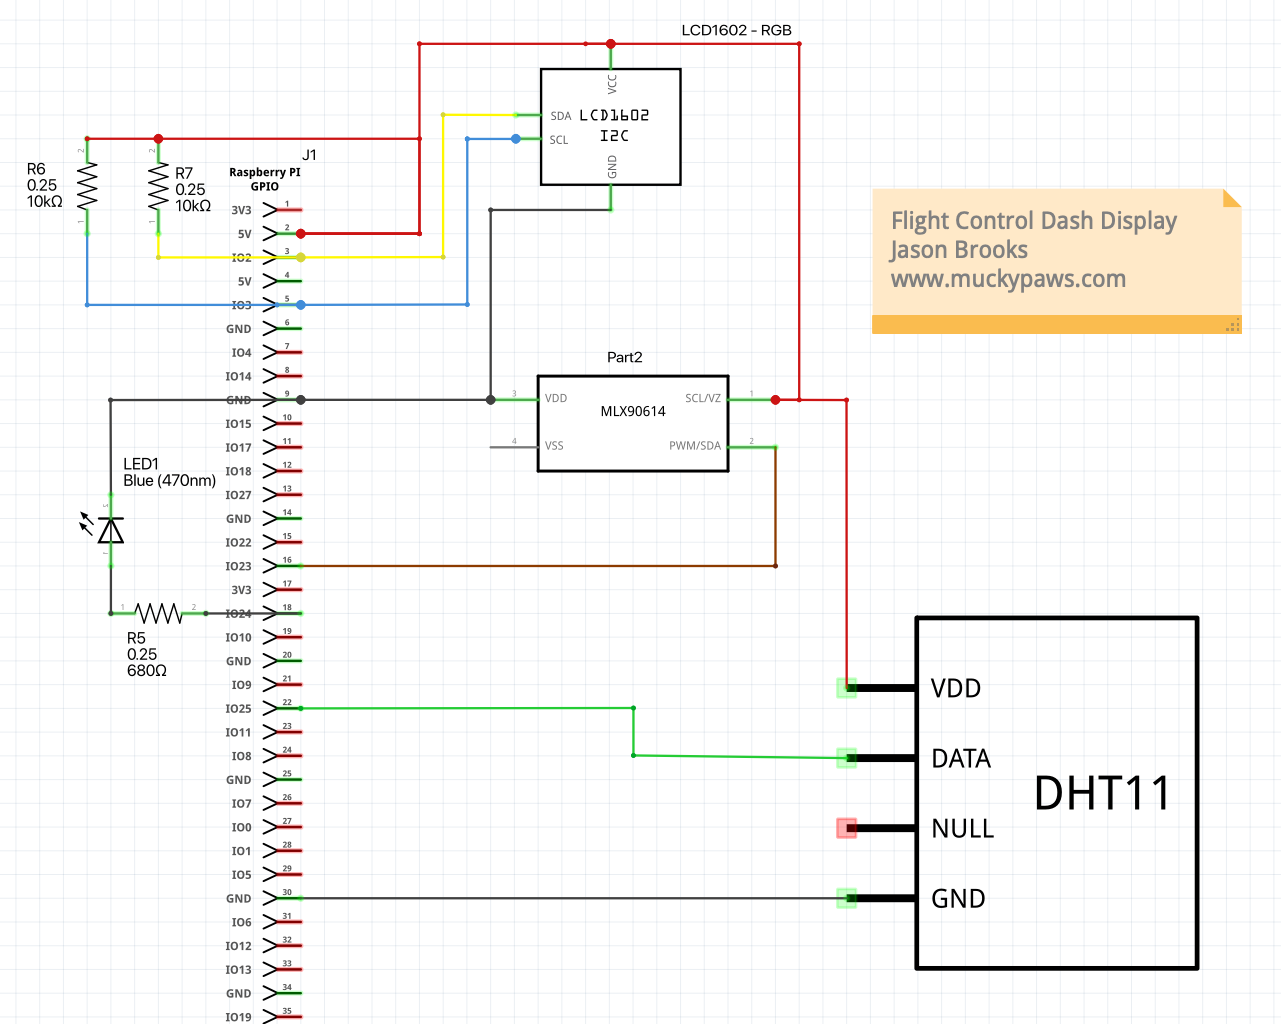
Circuit Diagram
Here’s the circuit diagram for the breadboard design above. I’m a bit rusty and for reasons unknown Fritzing made the DHT11 sensor a smidge oversized 😳
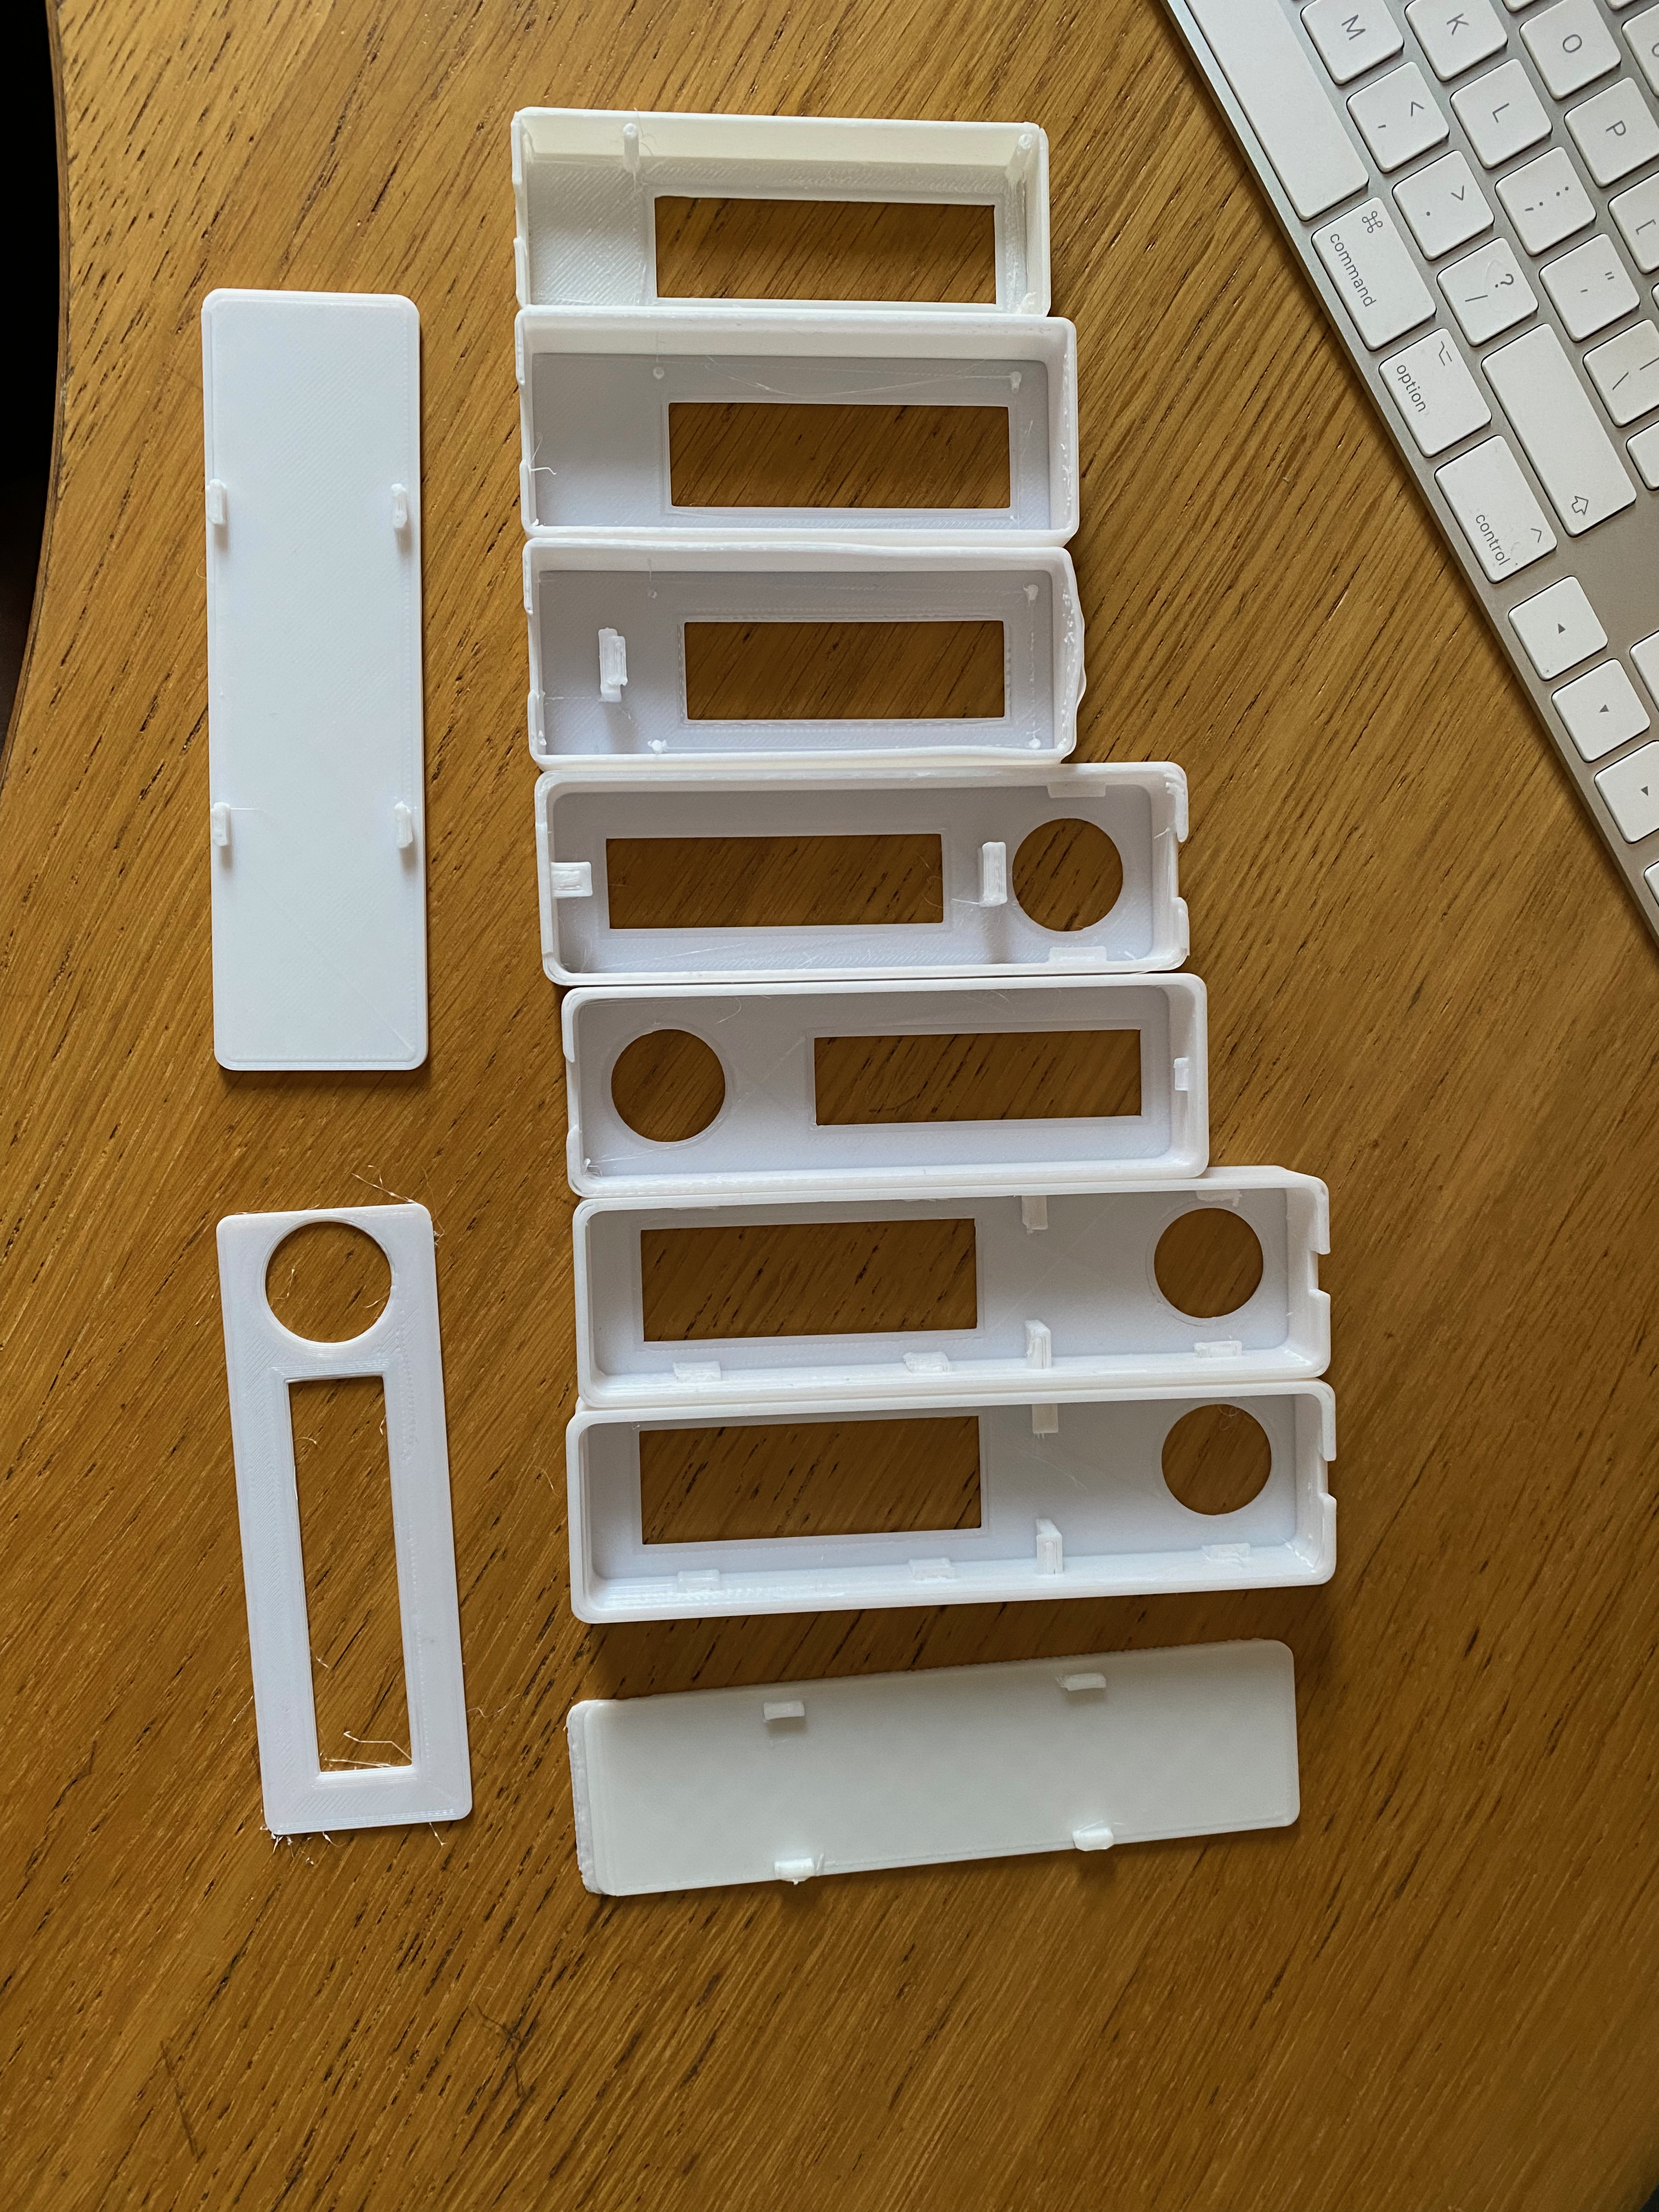
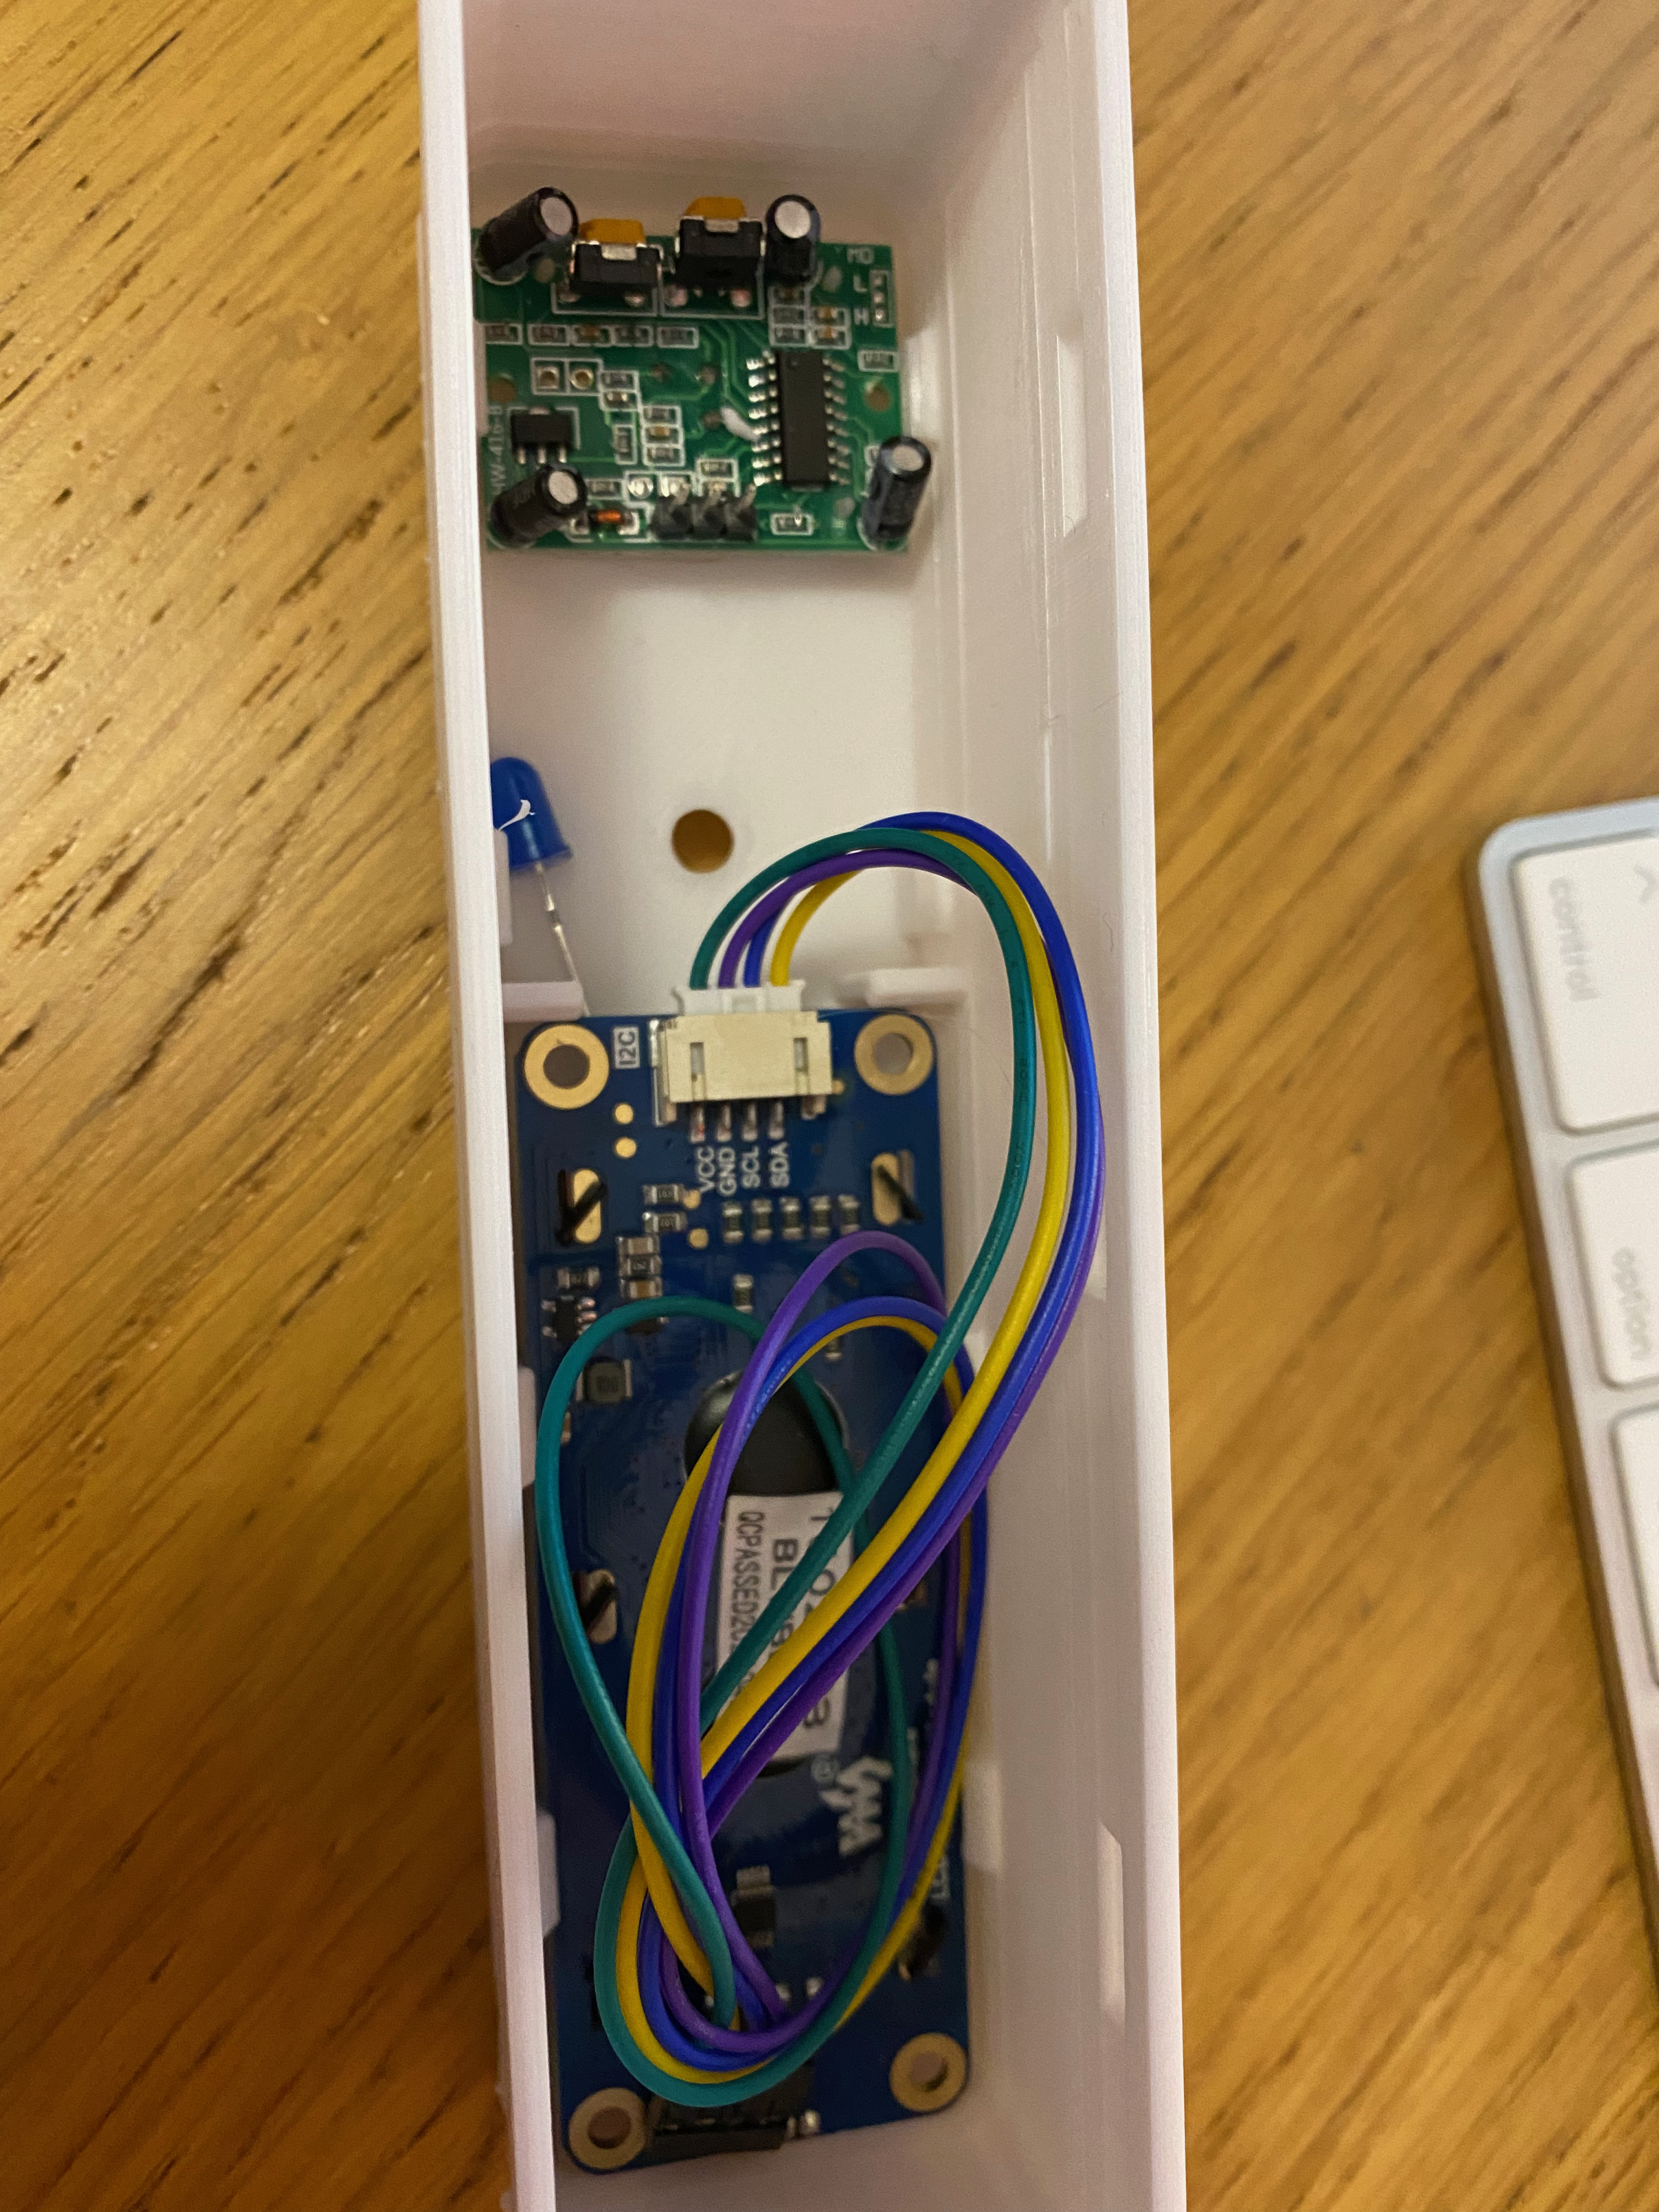
The Case
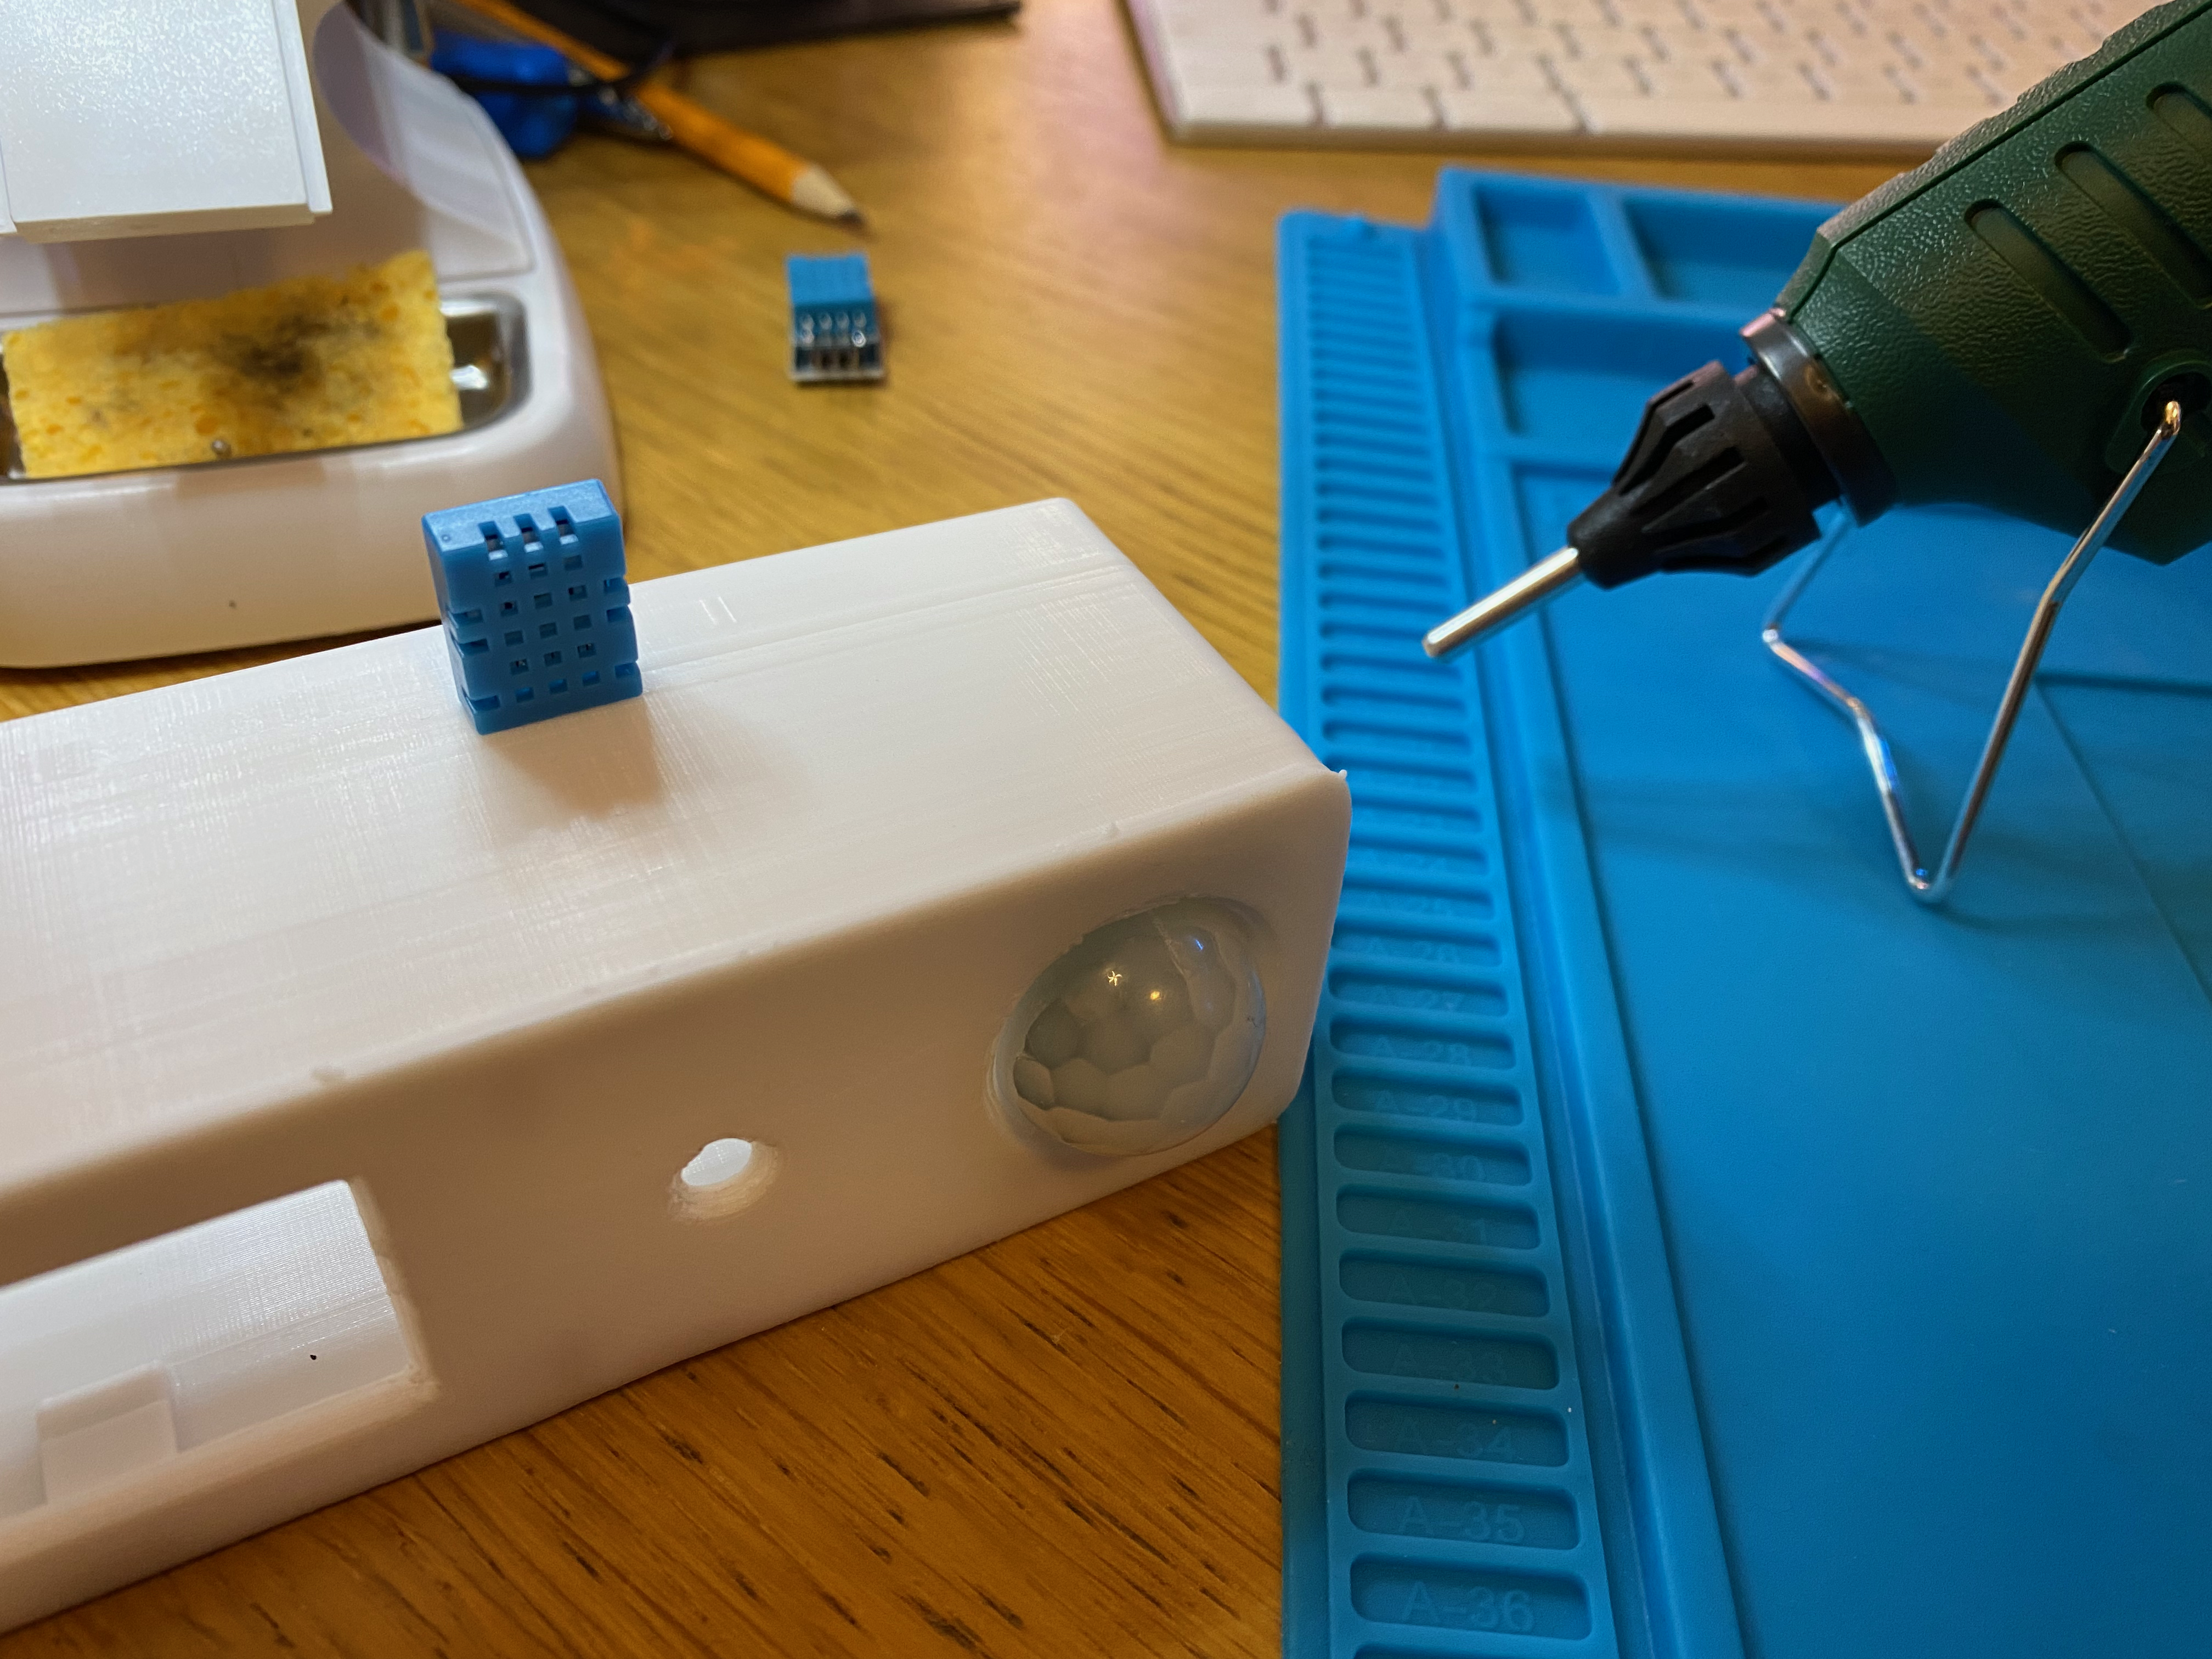
If you’re planning on keeping this dashboard display up and running 24×7, you might consider housing the project in a nifty wall mountable case. If you have a 3D printer, I have you covered! You can download the STL for free from Thingiverse.
https://www.thingiverse.com/thing:4978346
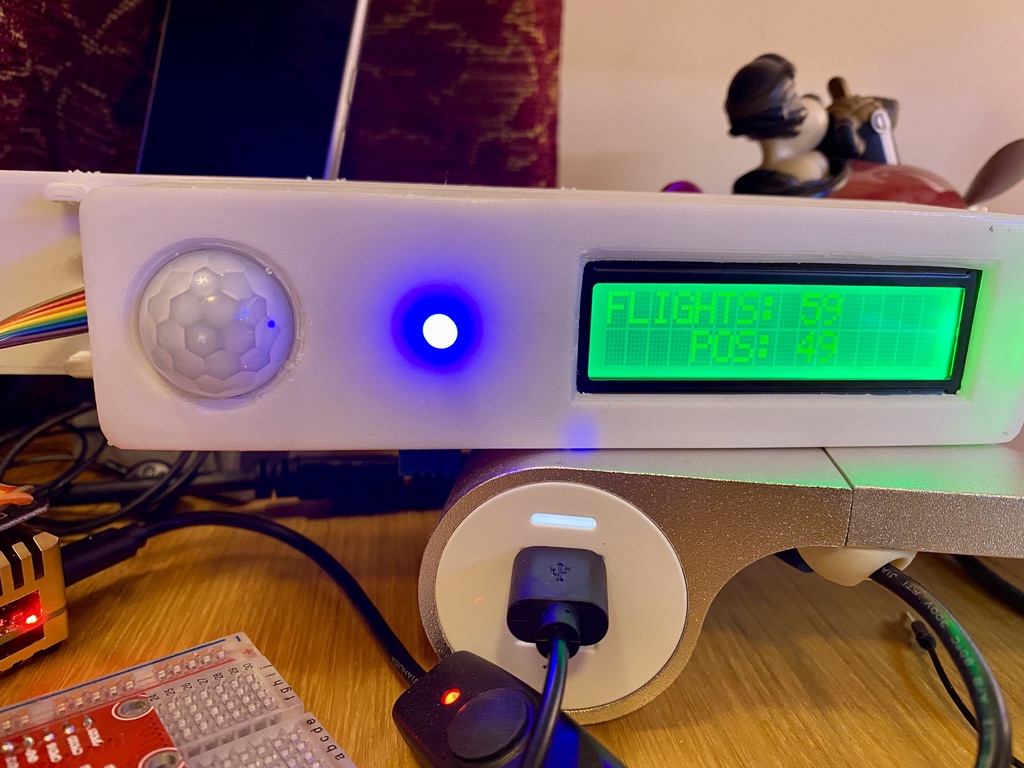
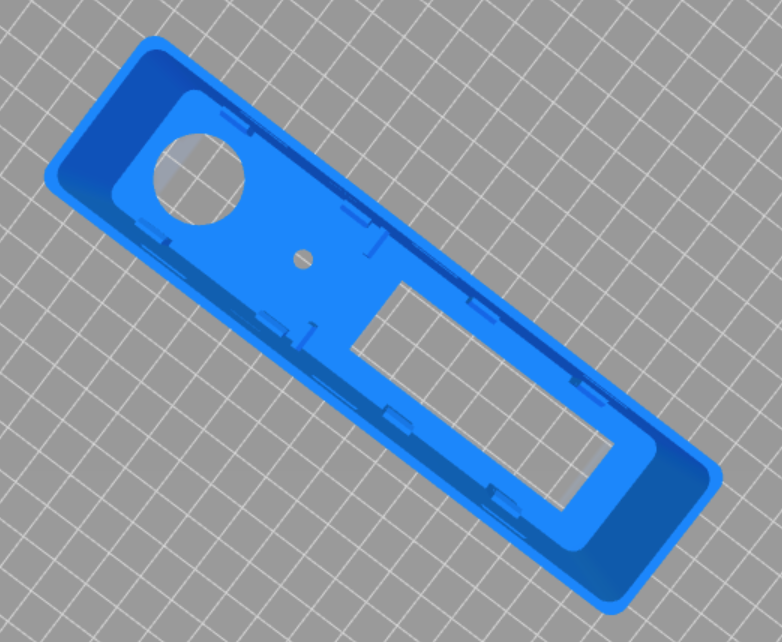
The design is self explanatory, with appropriate fixings for PIR, LED and LCD Display, it also features two slots (top/bottom) of the case for inserting the DHT11 through to ensure we’re sensing outside and not internal temperatures.
After printing, you may need to sand/file the case design for your boards. I found when printed on my calibrated Geeetech A20M printer, the components slotted in with a bit of persuasion in their clips quite nicely. For this style casing a slicing height of 0.3mm is more than adequate and will speed up printing time.
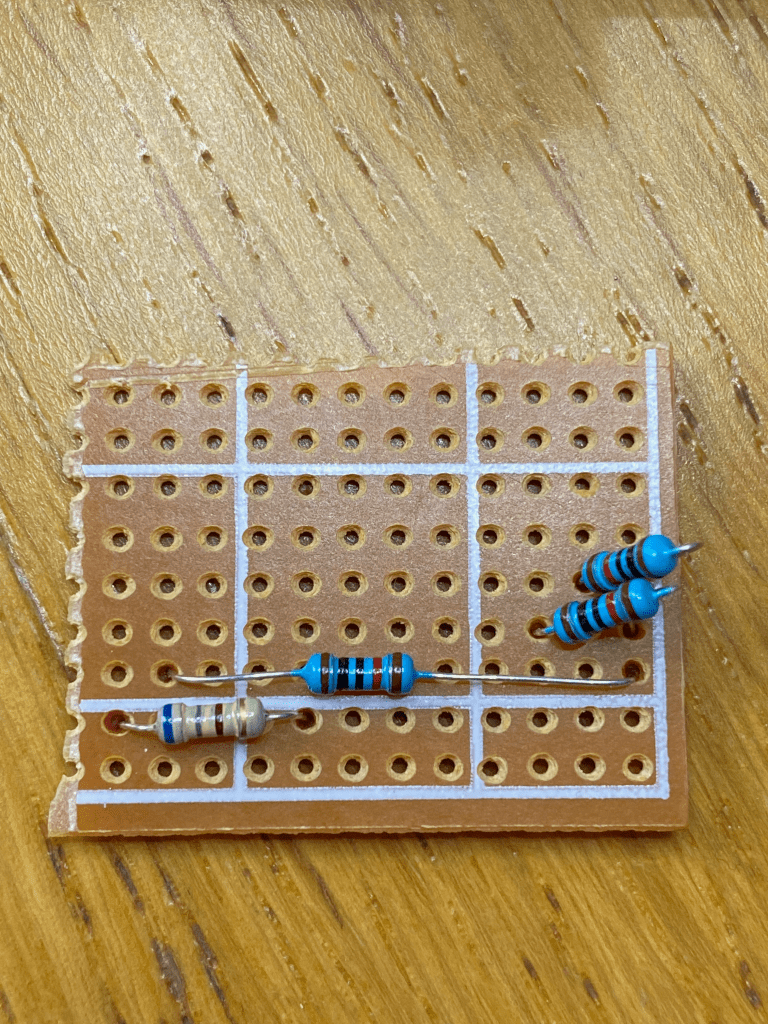
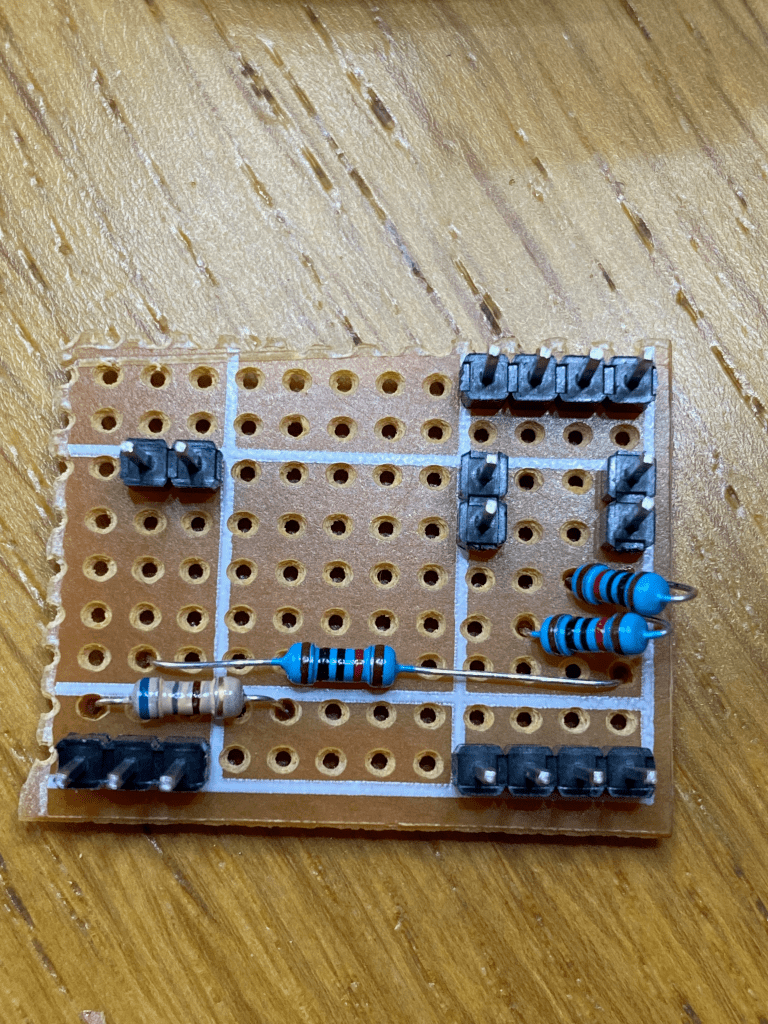
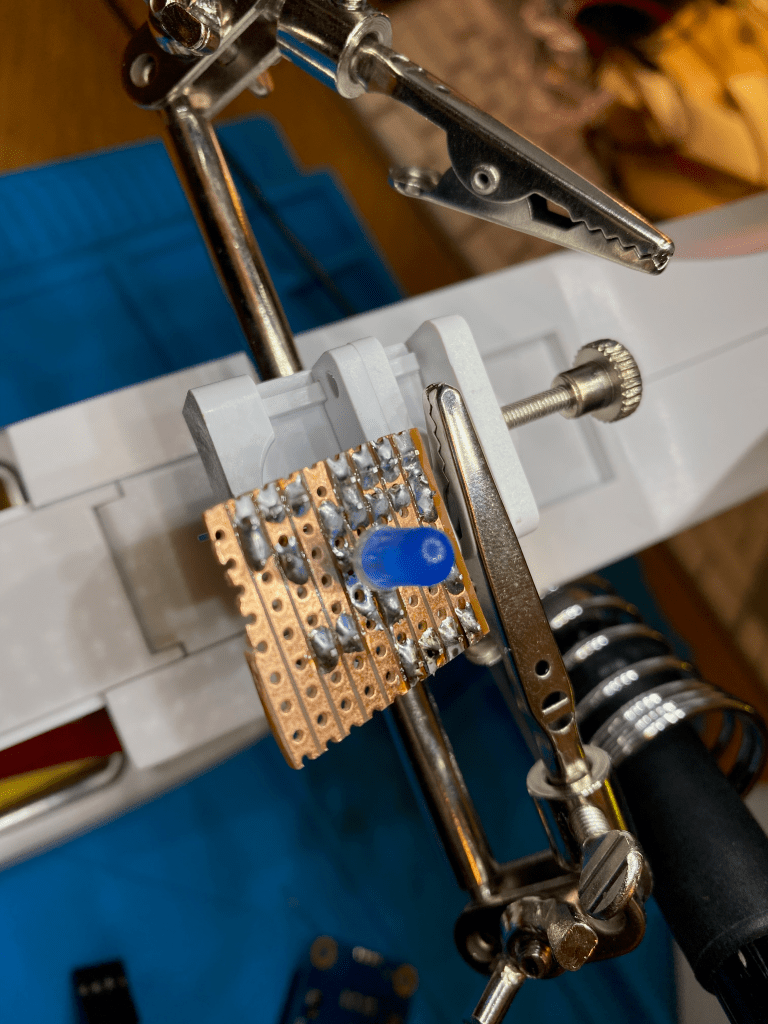
Putting the hardware together
For simplicity I opted to use standard VeroBoard or commonly known as strip board. I’ve not picked up a soldering iron since my early 20’s so I’m a bit rusty and I’m certainly not keen on this new Lead Free solder. It stinks bad and I’m unable to get the nice shine I remember with Lead. You’ll notice I soldered the LED on the reverse of the board, enabling the LED to poke through the case with the connectors exposed above for easy connection via dupont. You can just solder the wires direct rather than use connectors. Connectors just made the project easier when debugging and changing components out.


The Code Base
Thankfully this is a straight forward task, you can deploy the code on your RaspberryPi using the following :-
git clone https://github.com/muckypaws/FlightControl.git
This will create a Directory called FlightControl and the necessary structures required. If you working path is anything other /home/pi/ you will need to modify the PATH in FlightControl.py

Modify PATH_INSTALLED_DIRECTORY to your path.
To start the program up.
./FlightControl.py &
This will start the code as a background task and your display will start showing stats from your receiver.
Other variables of note are :-
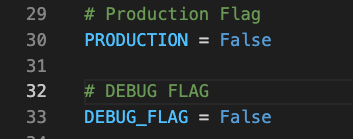
I have built two of these, one on my desk, the other in the FlightRoom, since my receiver is connected to my local network I have to use the Networked URL, on the actual receiver Pi itself, I use localhost instead. Setting PRODUCTION = True will change the URL to localhost.
And it was as simple as that! A very easy project polling the local flight receiver using an HTTP Request and parsing the returned JSON File.
The project is currently focussed on 1080mhz transmissions, though 978 support will be added although we don’t see those transmissions outside of the US generally.
If you build this project, I would love to see your builds and maybe your contribution to the source code/project via GitHub. The code has more optimisation and needs to be converted to a class rather than using Globals.
Other ideas include adding support for different types of 1602 or 2004 displays.
Stats Files
In the FlightControl/Data directory you will find three files.
ICAOData.json
internalData.json
statsData.json
ICAOData.json
This file contains the current flight list within the days 24 hour period and is used a restart of the program is needed, such that you won’t lose the entire days data, it can be deleted and not necessary.
internalData.json
An internal save state file when there’s significant updates which will be restored when restarting the program. It was more useful when debugging, and useful if you’re testing/making changes to the software, otherwise it can be ignored.
statsData.json
Contains Daily Flight Data stats from your receiver, including the most amount of flights detected, the most flights in a one minute period etc. Its not necessary, again it was for my own amusement to see how much traffic was overhead at a point in time.
Displaying JSON Files
There’s a Python Tool that you can use to nicely format the data from these three JSON Files.
python -m json.tool internalData.json

{
    "flightBestDayDate": "Mon 22 Nov 2021",
    "flightBestDayTotal": 2052,
    "flightCount": 66,
    "flightDailyTotal": 2052,
    "flightInvalid": 23,
    "flightMax": 156,
    "flightMaxAllTime": 158,
    "flightMaxPos": 130,
    "flightMaxPosAllTime": 131,
    "flightSeen": 52,
    "flightSeenPos": 46,
    "flightWithName": 43,
    "highestRoomHumidity": 57,
    "highestRoomTemp": 29.1,
    "lowestRoomHumidity": 37,
    "lowestRoomTemp": 18.8,
    "max24": 0,
    "pirSensorLastTrigger": "Mon 22 Nov 2021 21:04",
    "todaysDate": "Mon 22 Nov 2021"
}
Begging Time
Want to buy me a coffee? Who am I to say no and Thank you at the same time 🙂
Choose an amount
Or enter a custom amount
I’m fuelled by coffee, and nothing beats this anti-murdery juicey juice to keep me going and make me more bearable to the world after waking up. Seriously though, all donations will be used for maintaining the blog and paying hosting fees etc.
If you enjoy my blog, please consider offering a coffee, thank you x

