
Installing Geeetech Thunder Cura Configurations Files on macOS
This article I’ll focus on the the amazing Geeetech Thunder printer that has recently been released. I received mine in the new year being an early backer of the project.
One of the questions that’s cropped up on the official FB Group is how to install the Thunder Configuration to Cura on macOS. The supplied instructions focused on Windows devices. This text supplements the video created. The process should take a few minutes and has a muckypaws rating of Two Paws.

First you’ll need the official files from Geeetech which were supplied on the memory stick with the printer, though if you’ve misplaced it, take a look on the official website: https://www.geeetech.com/download.html?download_id=60

The official guide is in the Slicing Software Folder. Though it doesn’t help casual macOS users.
Open Finder on your Desktop:
From the Menu hold down the ALT key and click GO, this will show the hidden Library folder. From here you want to navigate to :-
Application Support -> cura -> 5.1

Or the version number you’re using.
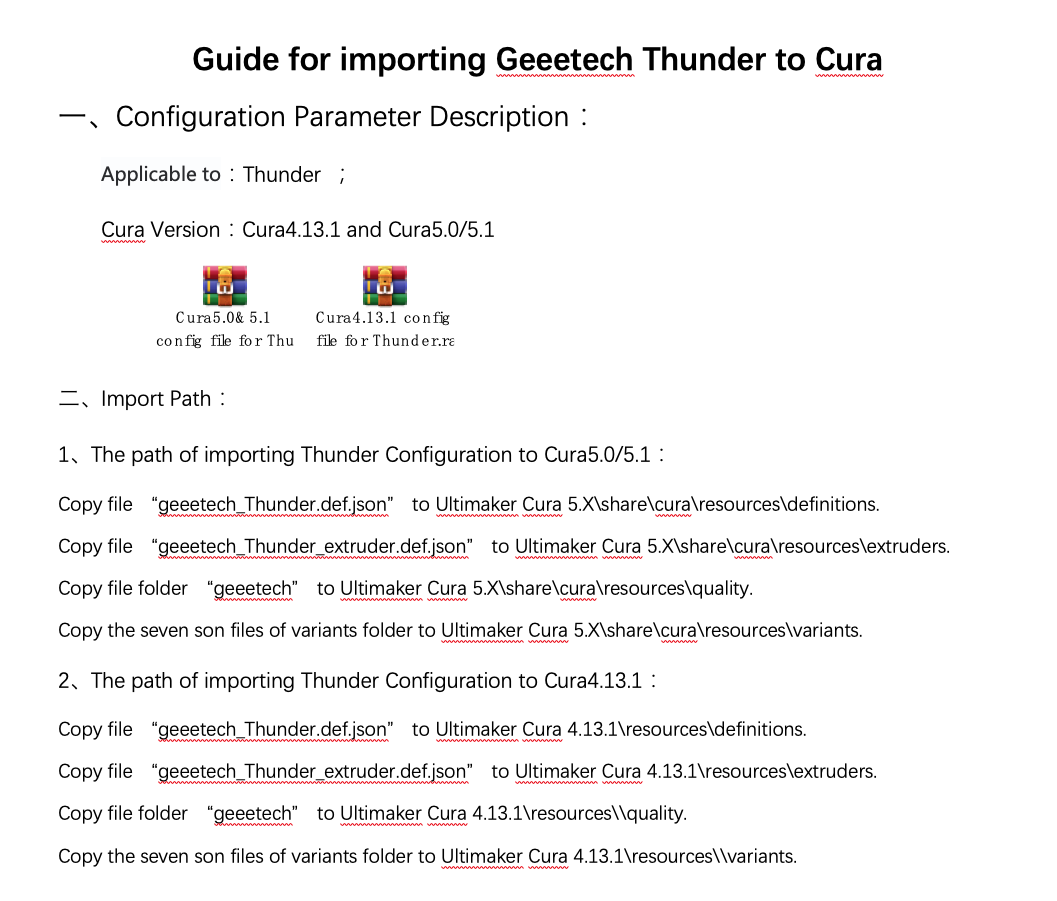
Copy the following files from the USB Memory Stick/Desktop to the following :-
| File/Folder | Location |
| geeetech_Thunder.def.json | definitions |
| geeetech_Thunder_extruder.def.json | extruders |
| Folder geeetech | quality |
| variants/geeetech* | variants |


Once done, you can now start Cura and add your Thunder printer.


It’s as simple as that! Happy Printing!
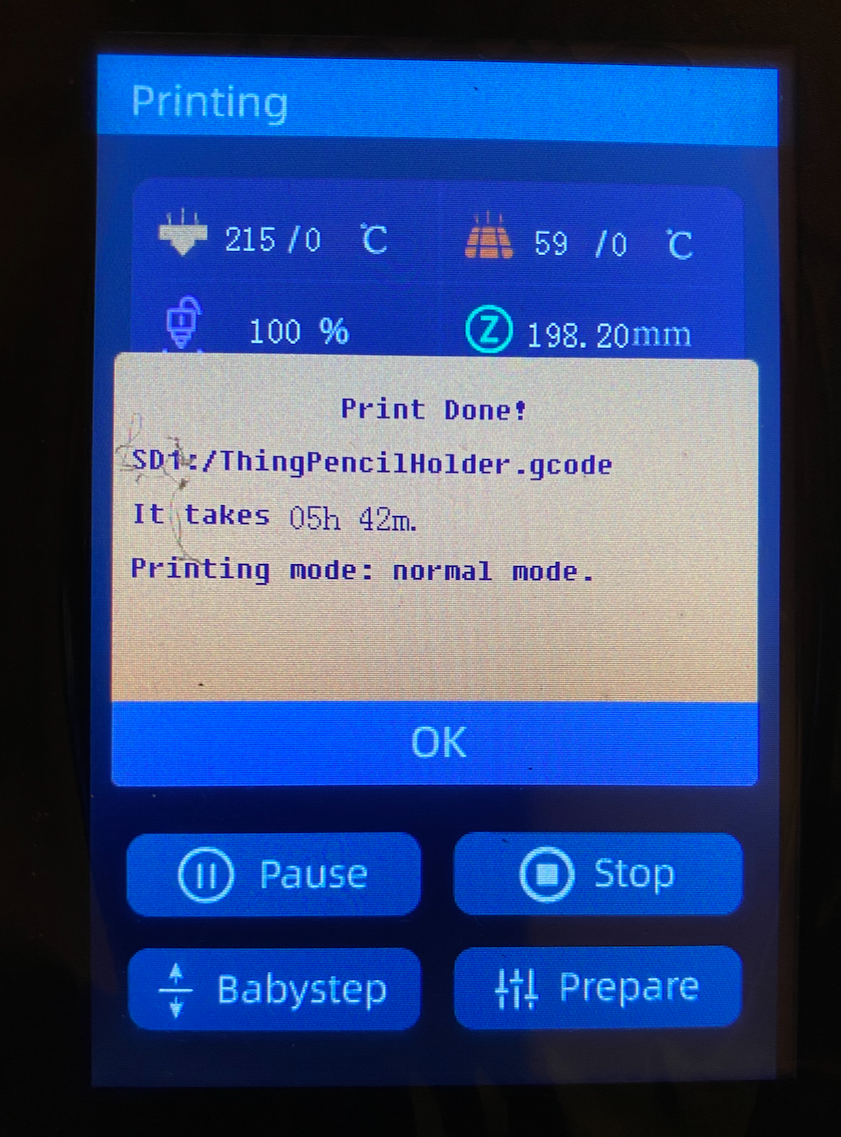
I used the default Cura Profile from Geeetech (No changes) to slice the Thing Hand that’s doing the rounds right now. Printed in under 6 hours which is very impressive, given my other printers take 18+ hours for the same model.


Jason

