
OctoPrint USB Camera Config and Camera Pulsing Fix
Project Complexity:

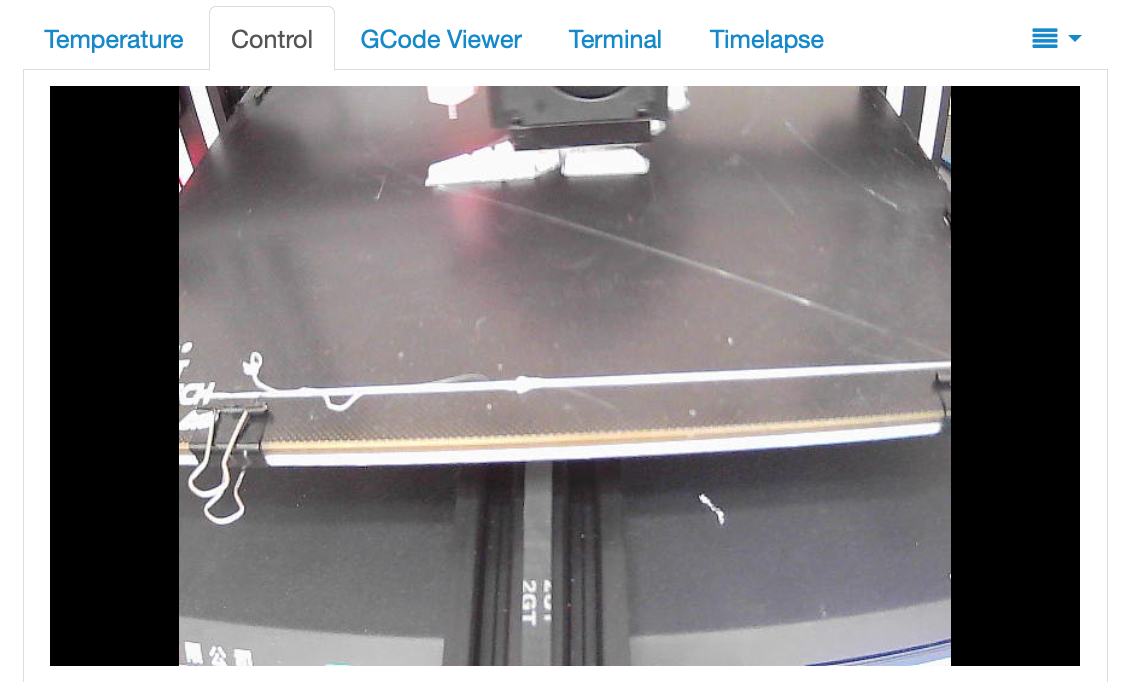
Following on from my previous article on a manual installation of OctoPrint on your existing Raspberry Pi installation: https://muckypaws.com/2021/07/27/octoprint-basic-installation/ There are some configuration options for your USB Camera you may wish to consider, especially if you’re experiencing an issue with Auto-Exposure creating a pulsing effect on the camera image like below.
First off, let’s just cover some of the basic camera config options.
The first port of call are the basic configuration options in the webcamDaemon file which should be located in ~/scripts/webcamDaemon or take a look on my Git: https://github.com/muckypaws/Raspberry-Pi/blob/main/OctoPrint/Webcam/webcamDaemon
# init configuration
camera="auto"
camera_usb_options="-r 640x480 -f 10"
camera_raspi_options="-fps 10"
This sets the basic resolution to 640×480 and a frame rate of 10FPS for USB Options.
Change this up to 1920 x 1080 and -F 20
# init configuration
camera="auto"
camera_usb_options="-r 1920x1080 -f 20"
Reboot your OctoPrint Server and check the camera inside OctoPrint UI. If the video image is stuttering or skipping frames, try switching down the frame rate, and then the resolution. All cameras are not made equal, back off each setting until you find something suitable.
For Timelapse videos of your creation, 10 FPS or even 5FPS should be more than adequate.
/boot/octopi.txt configuration
Alternatively, creating /boot/octopi.txt configuration file will override the settings and a more structured place to keep configuration.
#!/bin/bash

MJPGSTREAMER_HOME=/home/pi/mjpg-streamer/mjpg-streamer-experimental
MJPGSTREAMER_INPUT_USB="input_uvc.so"
MJPGSTREAMER_INPUT_RASPICAM="input_raspicam.so"

# init configuration
camera="auto"
camera_usb_options="-r 1920x1080 -f 20"
camera_raspi_options="-fps 10"

if [ -e "/boot/octopi.txt" ]; then
    source "/boot/octopi.txt"
fi

# runs MJPG Streamer, using the provided input plugin + configuration
function runMjpgStreamer {
    input=$1
    pushd $MJPGSTREAMER_HOME
    echo Running ./mjpg_streamer -o "output_http.so -w ./www" -i "$input"
    LD_LIBRARY_PATH=. ./mjpg_streamer -o "output_http.so -w ./www" -i "$input"
    popd
}

# starts up the RasPiCam
function startRaspi {
    logger "Starting Raspberry Pi camera"
    runMjpgStreamer "$MJPGSTREAMER_INPUT_RASPICAM $camera_raspi_options"
}


# starts up the USB webcam
function startUsb {
    logger "Starting USB webcam"
    runMjpgStreamer "$MJPGSTREAMER_INPUT_USB $camera_usb_options"
}

# we need this to prevent the later calls to vcgencmd from blocking
# I have no idea why, but that's how it is...
vcgencmd version

# echo configuration
echo camera: $camera
echo usb options: $camera_usb_options
echo raspi options: $camera_raspi_options

# keep mjpg streamer running if some camera is attached
while true; do
    if [ -e "/dev/video0" ] && { [ "$camera" = "auto" ] || [ "$camera" = "usb" ] ; }; then
        startUsb
    elif [ "`vcgencmd get_camera`" = "supported=1 detected=1" ] && { [ "$camera" = "auto" ] || [ "$camera" = "raspi" ] ; }; then
        startRaspi
    fi

    sleep 120
done
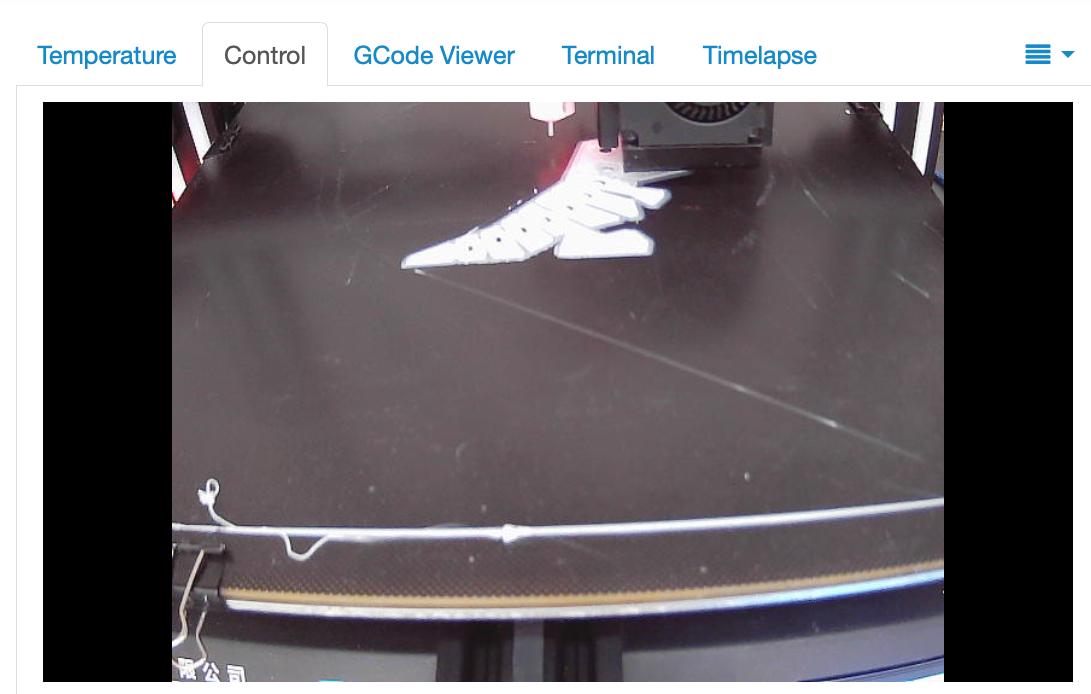
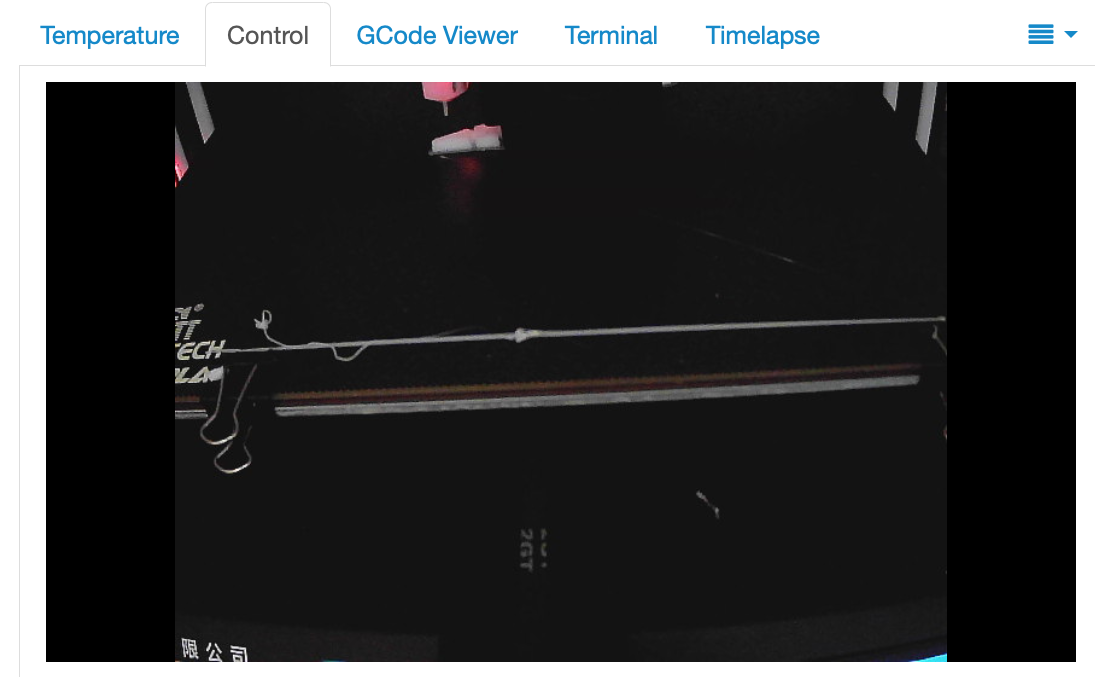
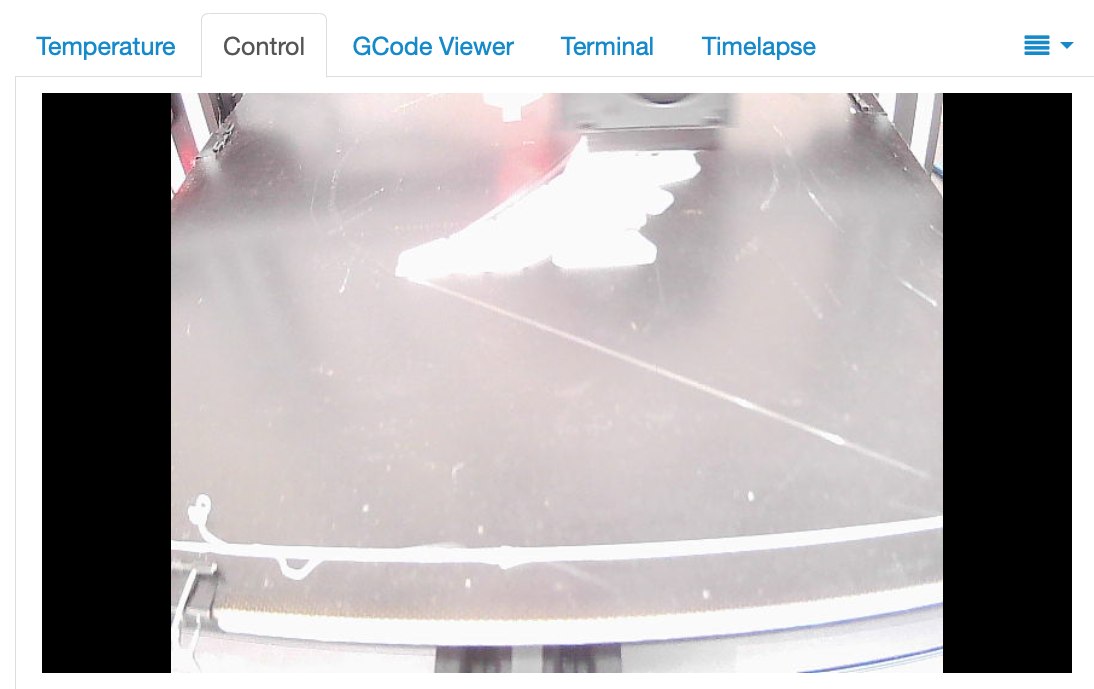
Pulsing Image Image
With the cheap USB Camera I purchased for the project, The resultant image started pulsing/flashing as it moved from under to over exposure. The reason behind this is simple, The camera is staring at a black glass build plate and has no other reasonable reference points to sample the image for correct exposure, and increases the exposure setting to try and find a contrast point, but doesn’t. The problem will reduce when something is in view with a contrast the plate, but that’s not always possible, especially when printing Black Filament on a Black Plate.
The problem lessens, as the build takes place and there’s enough contrast between the build plate and the object printed. After all the camera is reasonably expecting to see a human in front with enough contrast to work its magic.
Thankfully there’s an easy solution, to the problem, but it does come with compromise on image consistency. In my case the issue is moot given the lighting conditions are reasonably controlled where my printer is installed.
If your printer is in sunlight, then this solution may not be ideal for you.
Using the command line, you’ll need to experiment, using the command v4l2-ctl, please note that is the lowercase-letter ‘L‘ and not the number one.
Issuing the -l flag lists the available commands for your camera.
pi@octopi:~ $ v4l2-ctl -l
                     brightness 0x00980900 (int)    : min=-64 max=64 step=1 default=0 value=0
                       contrast 0x00980901 (int)    : min=0 max=64 step=1 default=22 value=22
                     saturation 0x00980902 (int)    : min=0 max=128 step=1 default=64 value=64
                            hue 0x00980903 (int)    : min=-40 max=40 step=1 default=0 value=0
 white_balance_temperature_auto 0x0098090c (bool)   : default=1 value=1
                          gamma 0x00980910 (int)    : min=72 max=500 step=1 default=110 value=110
                           gain 0x00980913 (int)    : min=0 max=100 step=1 default=0 value=0
           power_line_frequency 0x00980918 (menu)   : min=0 max=2 default=1 value=1
      white_balance_temperature 0x0098091a (int)    : min=2800 max=6500 step=1 default=4600 value=4600 flags=inactive
                      sharpness 0x0098091b (int)    : min=0 max=6 step=1 default=3 value=3
         backlight_compensation 0x0098091c (int)    : min=0 max=2 step=1 default=1 value=1
                  exposure_auto 0x009a0901 (menu)   : min=0 max=3 default=3 value=1
              exposure_absolute 0x009a0902 (int)    : min=1 max=5000 step=1 default=157 value=800
         exposure_auto_priority 0x009a0903 (bool)   : default=0 value=1
As you can see, there’s a few options you can play around with, for brightness, contrast, hue, saturation etc. feel free to experiment to suit your environment and video style.
To Address the pulsing issue, we’ll use just two of these parameters.
sudo v4l2-ctl --set-ctl=exposure-auto=1
I believe the default was set to 3, setting to one allows us to configure the next parameter.
sudo v4l2-ctl --set-ctrl=exposure_absolute=800
This parameter you need to experiment with until you find the correct value for your setup, I started with a value of 100 and worked my way up in steps of 200 until I found an exposure value I was happy with.
Configure webcam script in ~/scripts/webcam
By adding the values you’ve identified for your environment, simply adapt the webcam start/stop script as follows :-
#!/bin/bash
# Start / stop streamer daemon
# Fix to set Exposure on USB Camera if pulsing/flickering
# Issue is observed - www.muckypaws.com

case "$1" in
    start)
        /home/pi/scripts/webcamDaemon >/dev/null 2>&1 &
        # Set USB Camera Options to Prevent the Pulsing/Flashing Image Issue

		# Change the exposure_absolute Parameter to a value suitable to your environment
		sleep 2
    	v4l2-ctl --set-ctrl=exposure_auto=1 >/dev/null 2>&1
    	v4l2-ctl --set-ctrl=exposure_absolute=500 >/dev/null 2>&1
        echo "$0: started"
        ;;
    stop)
        pkill -x webcamDaemon
        pkill -x mjpg_streamer
        echo "$0: stopped"
        ;;
    *)
        echo "Usage: $0 {start|stop}" >&2
        ;;
esac
https://github.com/muckypaws/Raspberry-Pi/tree/main/OctoPrint/Webcam
Once done, simply use the UI Script to start the webcam service again, and the new settings will kick in.
If you’ve found this article of interest, why not follow this blog.
Jason x

