
3D Printing – Bed and Adhesion
When it comes to 3D Printing, Bed adhesion is absolutely everything, the last thing you need is for your print to lift or simply not adhere to the bed in the first place.
There are a number of potential issues which affect print adhesion, these include room temperature, bed temperature, type of surface, levelling, type of material you’re printing with etc, which I will cover off in separate articles.
This article assumes your bed has been levelled correctly, but prints are still struggling to stick to the bed.
My printer arrived with a Mylar sticker as standard, and for the first print (even with an uncalibrated printer) the result was pretty good, too good in-fact since the print needed a wallop with something blunt and heavy to remove it from the build plate.
The sticker will wear fairly easily and you’ll be looking for alternatives in a short amount of time, especially if you want to swap beds over during print runs whilst waiting for one to cool down.
The most common reason for printing to lift is usually due to a temperature shift that shrinks the material on the plate losing adhesion and simply pops off.
There are a number of tricks the community uses.
Clean Your Bed
Sound obvious? Though many a novice forget this one simple trick. It’s important to clean the bed before each print for optimal results. Removing any residue may be fiddly, it will save you a world of pain. With the printer bed at room temperature use solvents like IPA (Isopropyl Alcohol) or Acetone and spray a little on the surface and wipe with a lint free cloth (or kitchen roll I tend to use).
Bed Temperature
This is important, look at the manufacturers recommendation for the material you are printing, since these will vary from using PLA, TPU, PETG, ABS.
For example, when printing PLA I use a bed temperature of 50-60 degrees centigrade. This keeps a constant temperature for the filament to adhere to the plate without shrinking too much. Once the print is complete, a bed temperature of <40 is usually enough to peel the print off without too much force.
Try and minimise the drafts that can occur where your printer is located, sometimes opening a door can be enough to lift a sensitive print. If you’re using your garage, try and keep the humidity low, by putting the printer in it’s own cupboard.
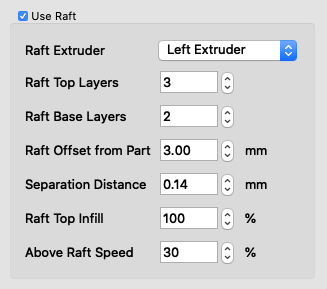
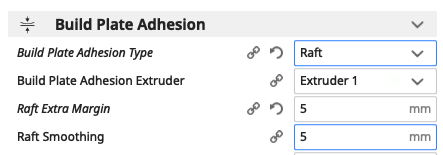
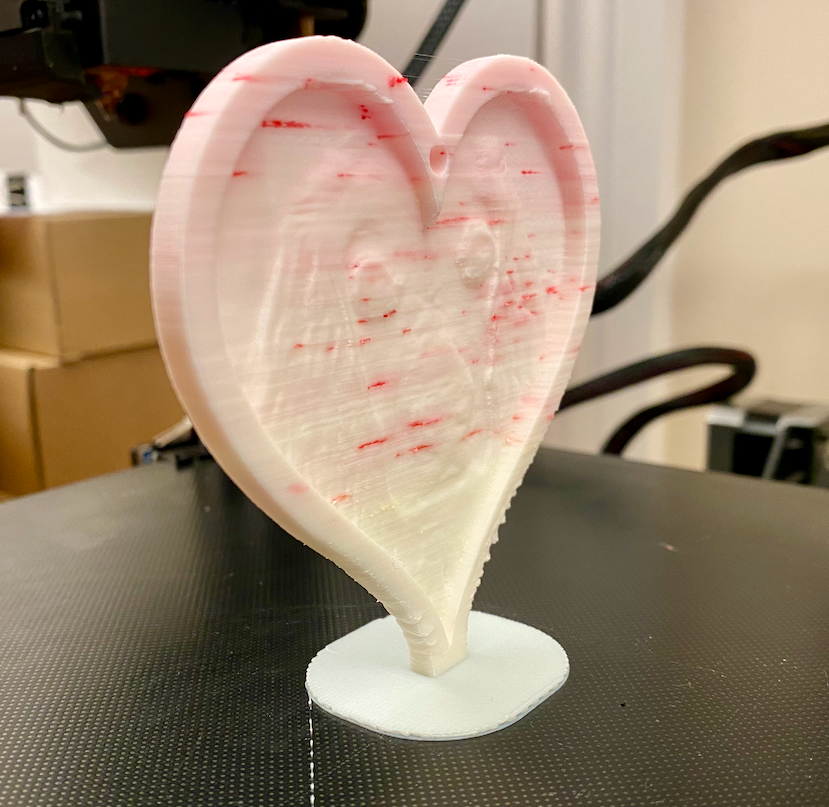
Raft
Especially useful for small or delicate parts with minimal surface area on the first layer. Using your Slicer and find the Build Plate Adhesion Options and Select Raft (Refer to your software of choice for this option). Select a raft size (extra Margin) sufficient to hold your model down. You may need to experiment with this setting. This gives a wider surface area for the print to grab onto.
Painters Tape
A fairly simple trick, using painters tape, carefully align and stick it across the bed making sure there are no gaps or overlaps.
The advantage here is that tape is easy to remove from the bed and provides a good adhesive first layer surface.
If you require the first layer to be smooth, you will want to add a raft.
Sometimes the tape can adhere too well to the bottom layer of your print, be prepared to carefully remove it, since IPA can damage your print (use a diluted IPA Solution 1 part IPA to 4 parts water).
Glue Stick
Another Simple Trick popular with the community is to use a simple Glue Stick. I’ve used Pritt but other brands work well, simply scribble a couple of zig-zags over the cold bed, and add a spray of IPA solution. Use some kitchen towel to rub the solution over the plate, to give a thin, even coating of glue over the print surface.
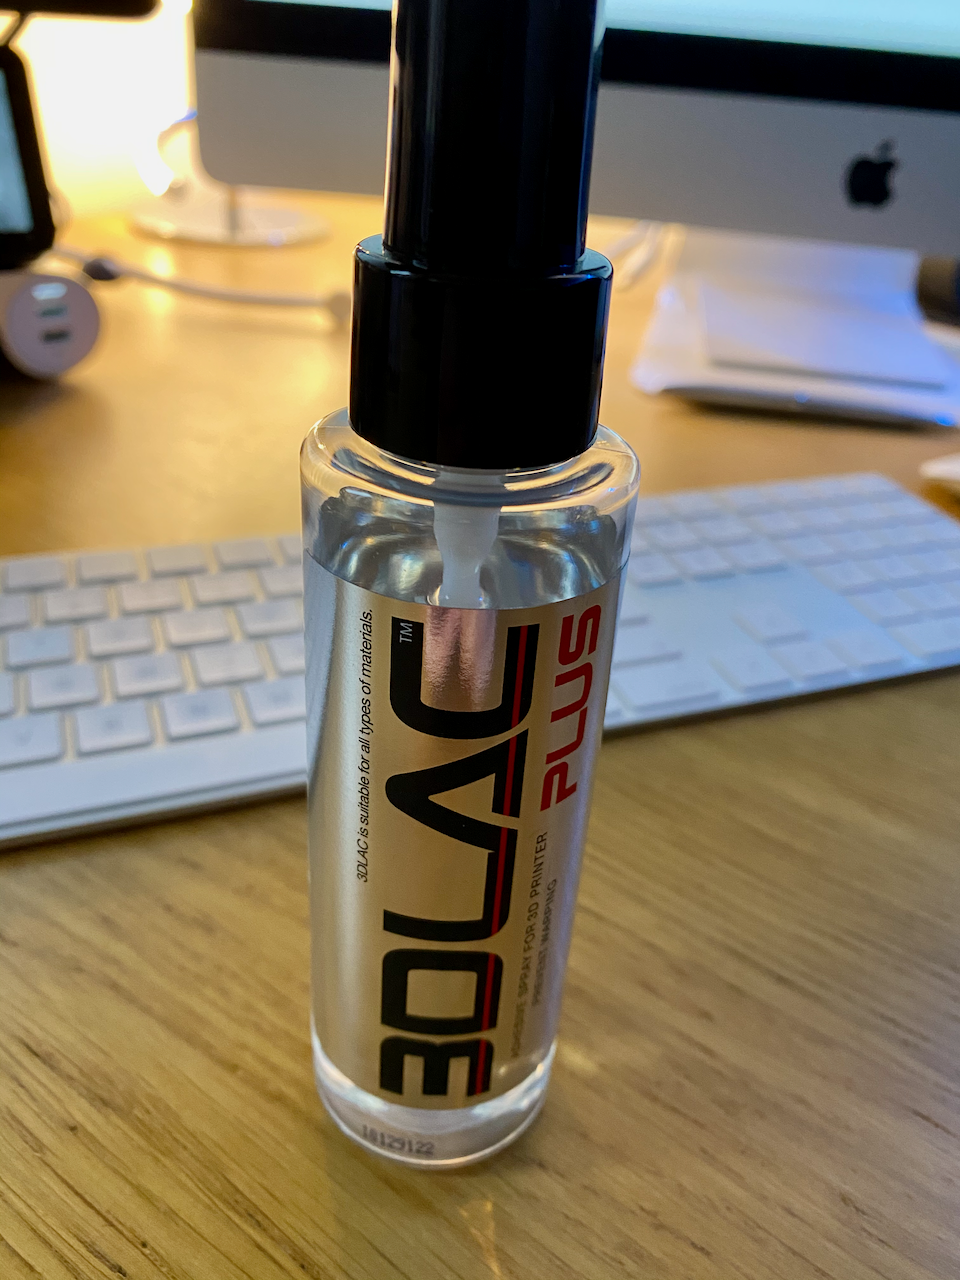
3D Lac / Hairspray
An extremely popular solution (No pun intended) is 3D Lac Plus, it has a surprisingly pleasant odour, spray a small amount on your bed and use a cloth to give an even coating. Sometimes… it does the job a little too well and I’ve had to remove the glass plate to put in the freezer to remove the print from the surface. If you don’t want to spend money on 3D Lac and have a can of Hairspray knocking around your home, this is a popular and suitable alternative.
Glass Bed
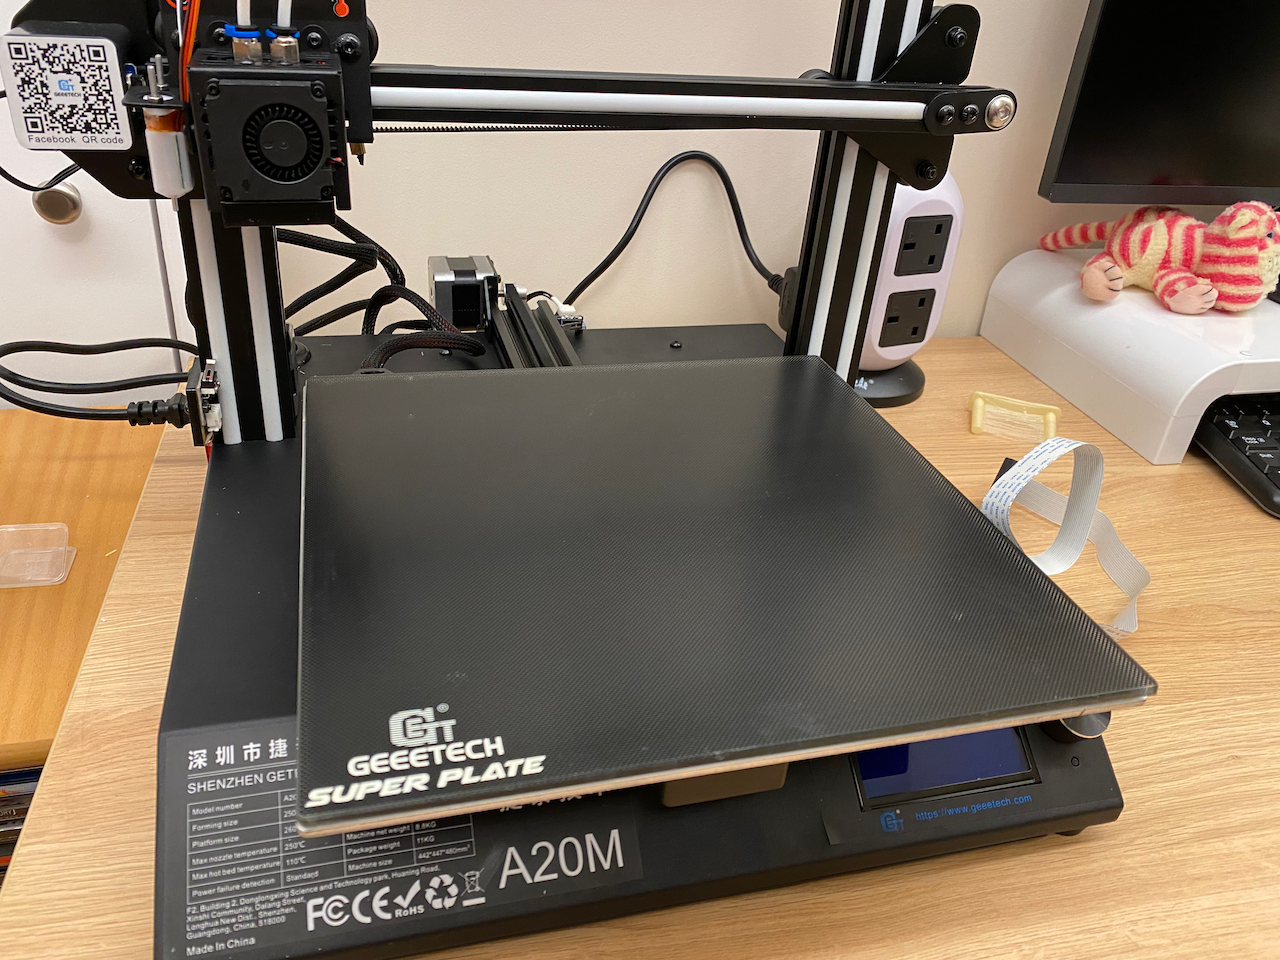
Many of us have upgraded to using a Glass bed. In fact I’m using the Geeetech Super Plate, though you can cut a piece of mirrored glass or other suitable material. Borosilicate glass is very popular for this reason.
My first mistake was taking off the glue backing and sticking it to the printer bed. The glue is super strong, so much so that I sneezed when placing the plate which resulted in it being skew whiff… There was no opportunity to lift and reset the plate since the glue attached to the aluminium so fast and rock solid. The only way I could reset it, was to heat the bed to 100 degrees and use a guitar string to slice through the glue. Followed by cleaning the Aluminium heat plate with Goo Gone and other chemicals.
Don’t make my mistake, use binder clips to attach the plate to the heated bed. This will serve two fold, the first allows you to quickly swap plates over between prints reducing print down time, maintenance and cleaning is much easier when you need to give the plate a thorough washing.
Upon installing the plate, you will need to recalibrate your bed again, and quite possibly move the Z-Axis limiter switch a smidge to prevent the hard nozzle breaking the glass. This is a simple procedure by loosening a couple of bolts and moving the Limit Switch up by about 3mm.
I’ve found that once the printer was correctly calibrated, I didn’t need to use any of the tricks above, just a clean bed and a correctly sliced print and you’re done.
Calibrate, Calibrate, Calibrate
Did I mention Calibration? Just when you thought it was all over, you need to calibrate and fine tune, which I will cover in a separate article. Take a look at my Blogs Menu and look for 3D Printing.


1 Comment »