
The Joy of 3D Printing – What You Need to Know
Have you found when working on your projects the need for a custom made part, or just wanted to prototype your ideas before committing to a full build? My wood and metalworking skills haven’t been tested since the 80’s, and I probably won’t have the patience, therefore I decided to invest in a new hobby by acquiring a 3D Printer.
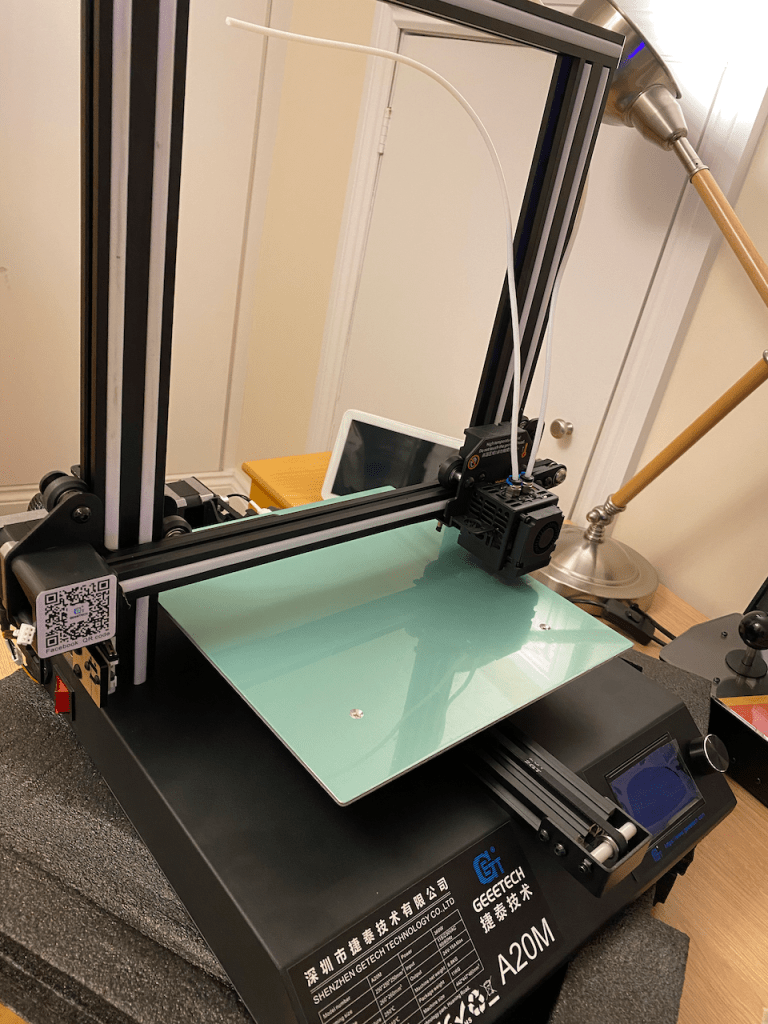
Price of 3D printers have become more affordable than they were five years previously. After much deliberation, I chose a Geeetech A20M Dual Filament Printer. It fitted my criteria of a medium sized bed, good reviews, and low cost point. I’d asked friends who had been printing for much longer and they all said they wish they’d gone multi-extruder, hence the multi-extruder model and not the single.
I used to wonder why Motorcyclists spent so much time adjusting and tweaking their bikes, surely they can’t need that much maintenance? I think I have a better understanding now, since 3D Printing becomes more of a way of life than a hobby, since you’ll be spending time tweaking, adjusting, modifying and occasionally feel almost ready to throw the printer out the window in true Rock and Roll styleee….
With that in mind, I’m going to split this article up into multiple posts to cover the many aspects of getting the most from your 3D Printing, in addition to aid with my own steep learning curve. I’m not an expert, these articles are based on my own experience and consulting with those who know this stuff inside out.
Current articles are (More will be added over time): –
- Installation
- Print Bed and Adhesion
- Extrusion/eSteps Calibration
- X, Y, Z Calibration
- Retraction Calibration
- Manual Bed Levelling
- BL Touch Installation and Firmware Upgrade
- Slicing and Tools
- Clearing Blockages and Multi-Extruding Printers
- Marlin G-Code
Installation
When the printer arrived, I was excited as a five year old on Christmas Day and couldn’t wait to try it out. The instructions for assembly weren’t very good for the first timer, and that seems to be echoed over the various forums out there.
The official assembly video can be located on the Geeetech YouTube channel, which if you’re experienced in these things, it’s more than enough to get you started.
That said, I found this video to be more user friendly for the first timer like myself.
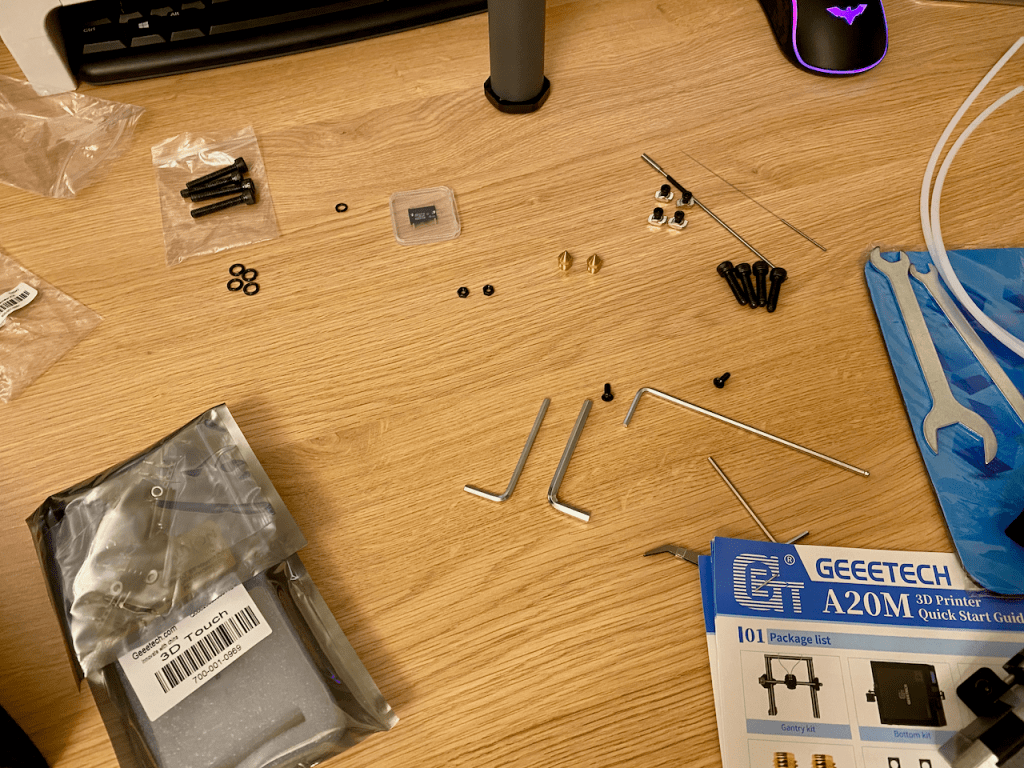
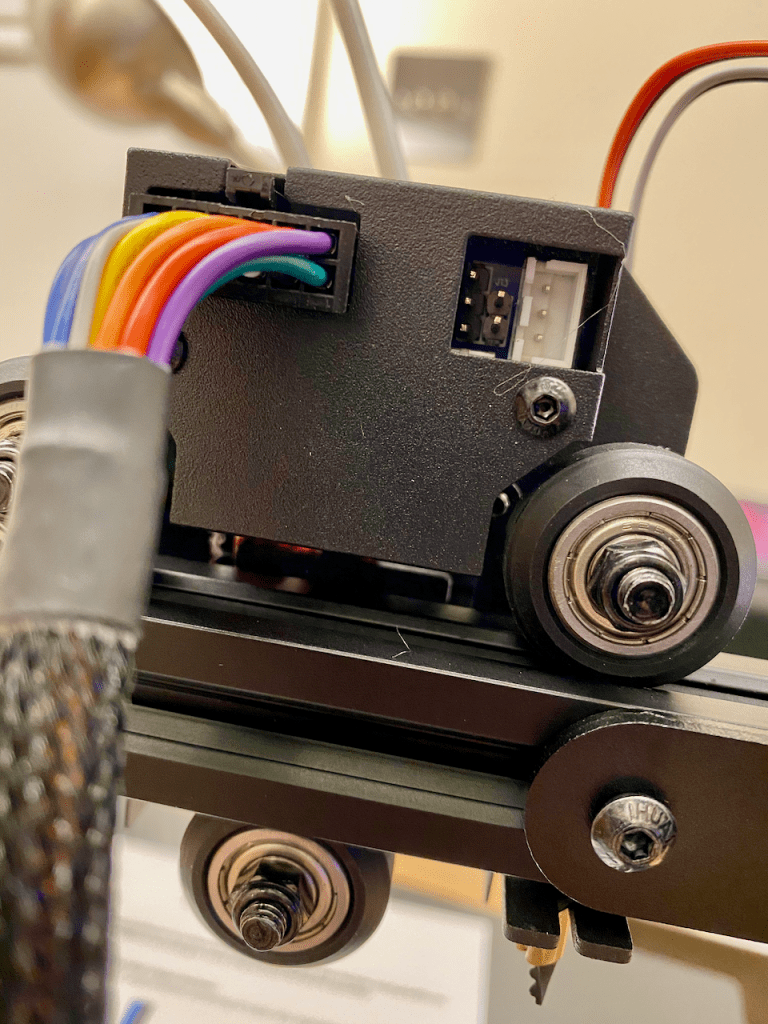
You get everything you need in the box, including rudimentary tools to assemble the printer and get your first print up and running. In addition I opted for the Bed Levelling Touch Sensor (BL Touch) as I’d heard good things about them (and a sucker for a gadget).
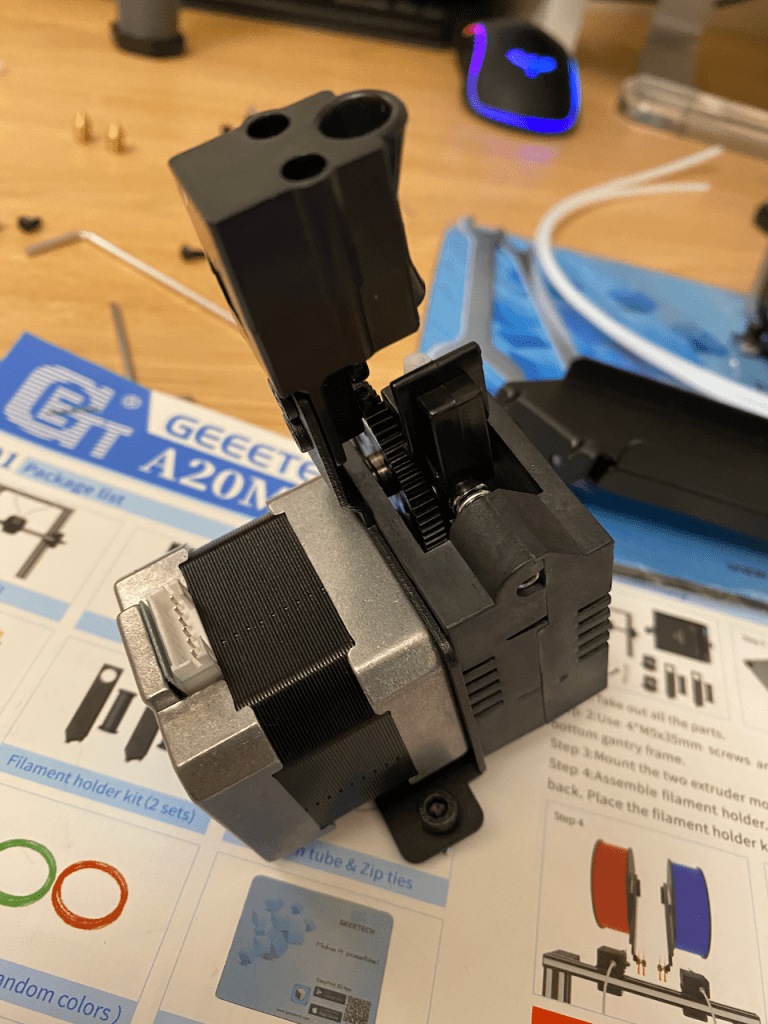
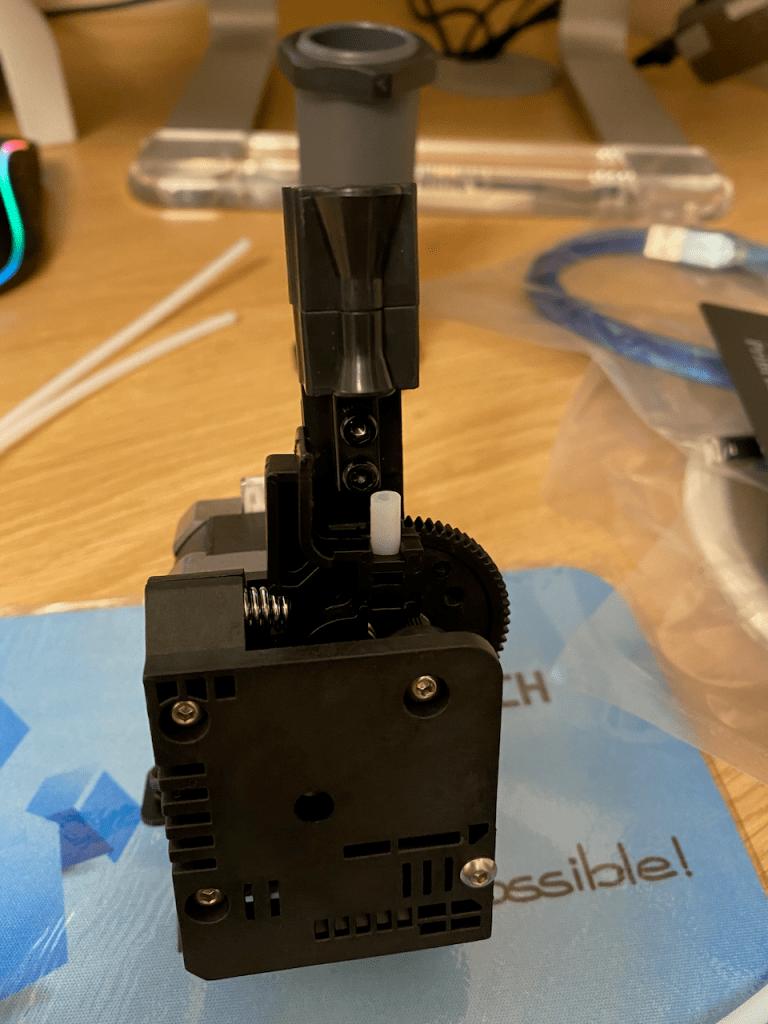

It took me around 2 hours to set this printer up, now I know what I’m doing it shouldn’t take more than 45 minutes. Most of the time involved was checking, double checking and making sure components were the right way round.
I had only two filaments, Wood PLA and Apple Green which had arrived before the printer, other colours are available, so I loaded these up.
With the printer an included TF Card contains a mystery test print, I levelled the bed using the instructions included with the printer, using the levelling card and set the printer off for it’s first ever run!
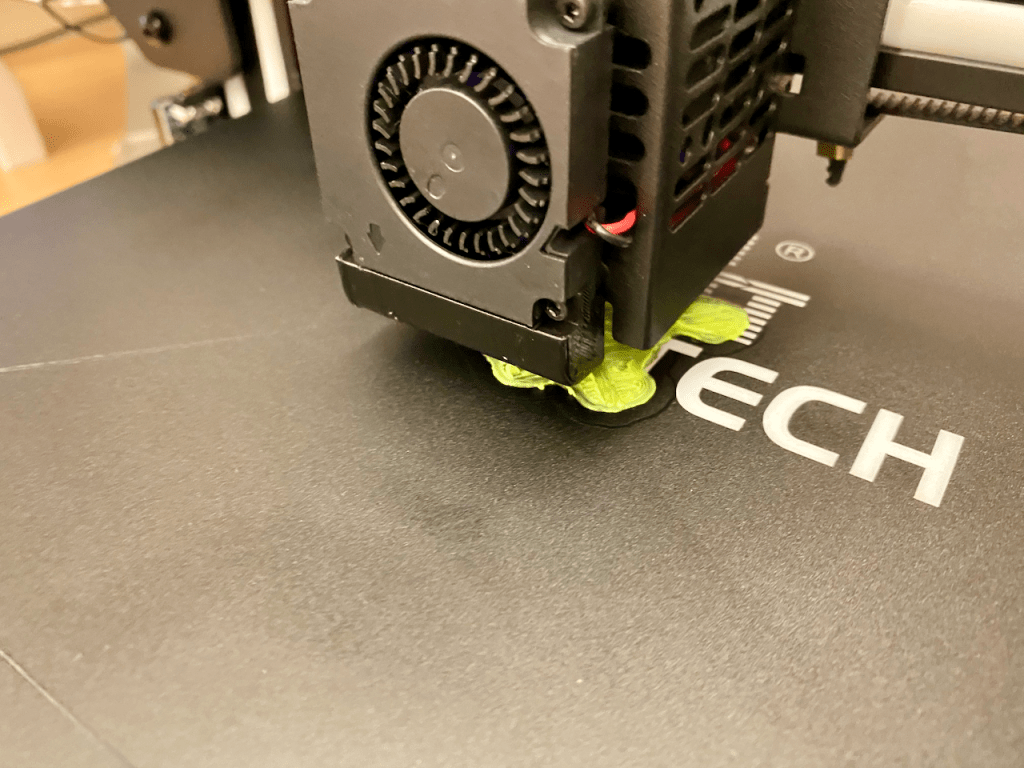
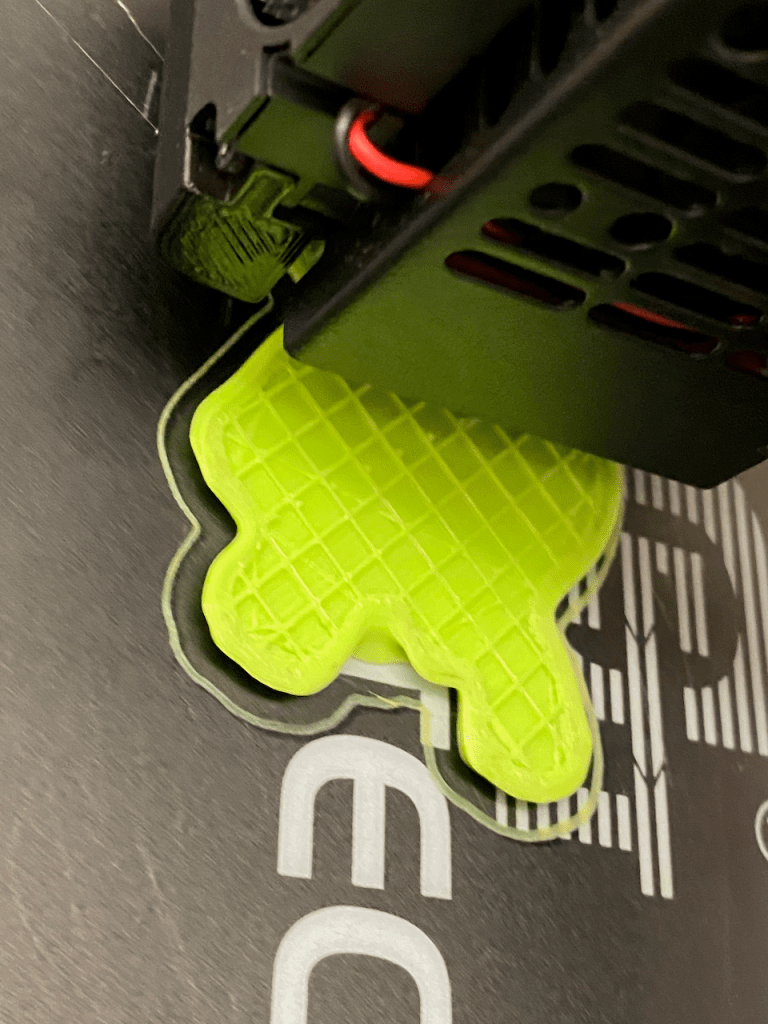
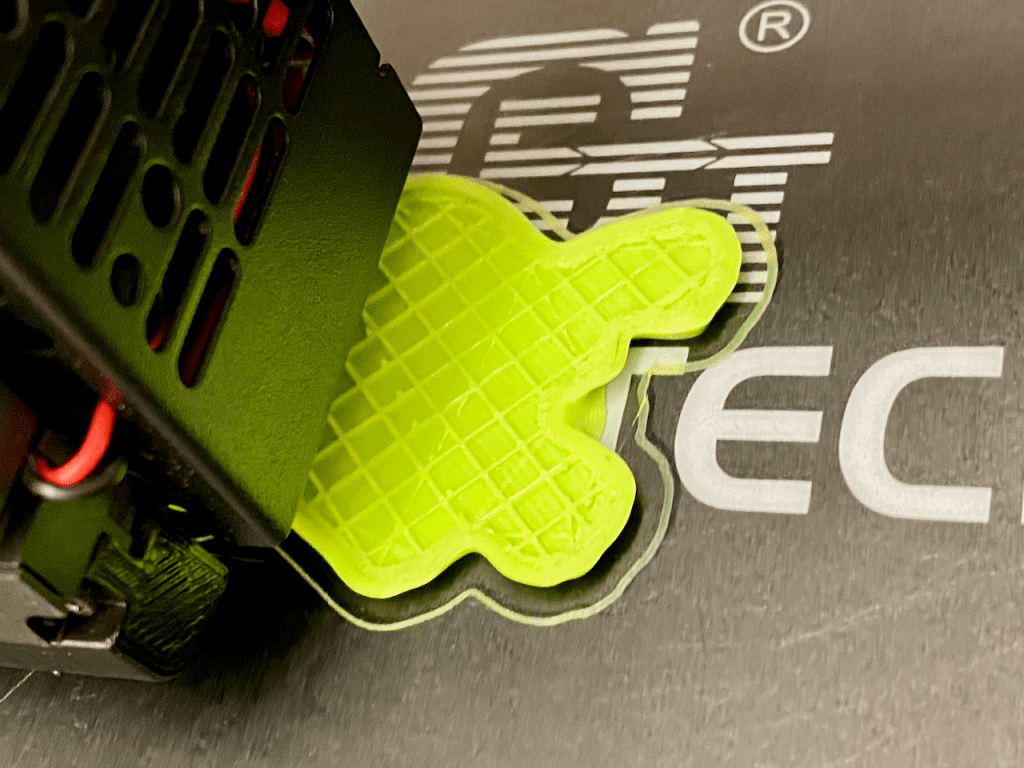
The first layer looked like a mess. 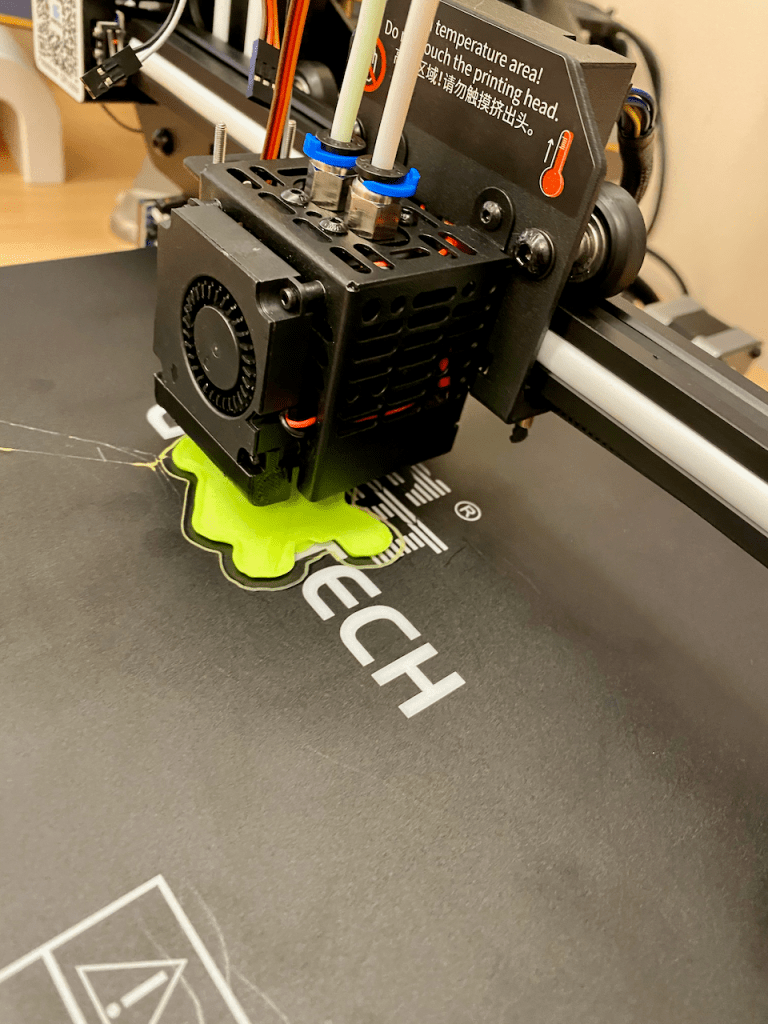
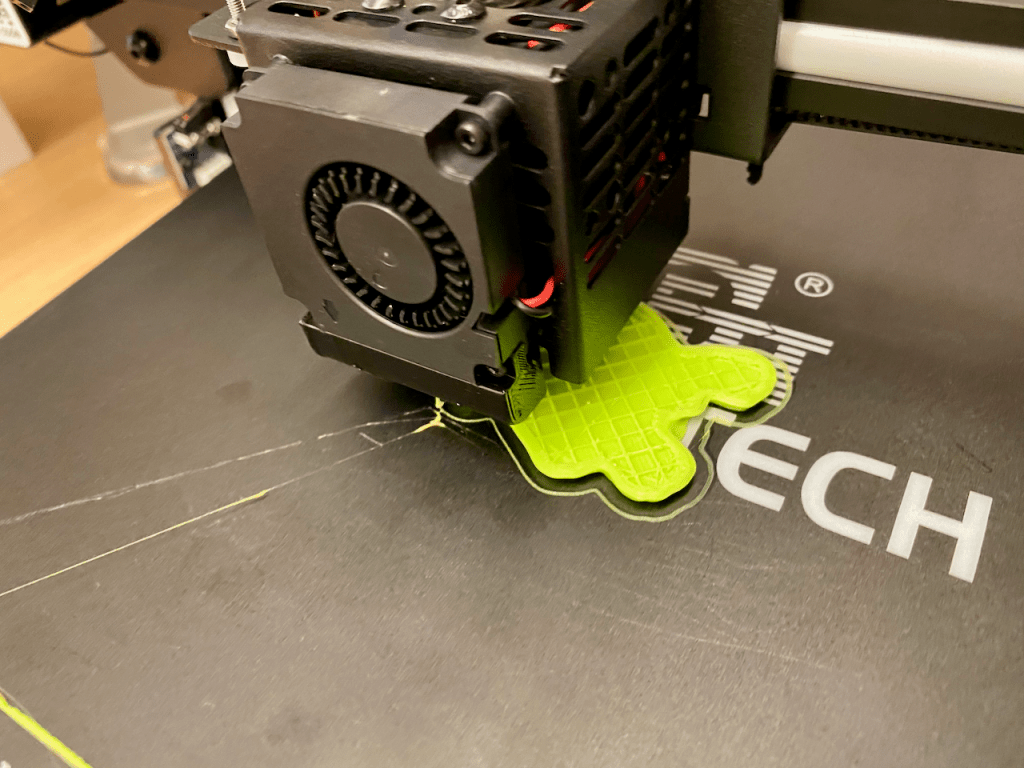
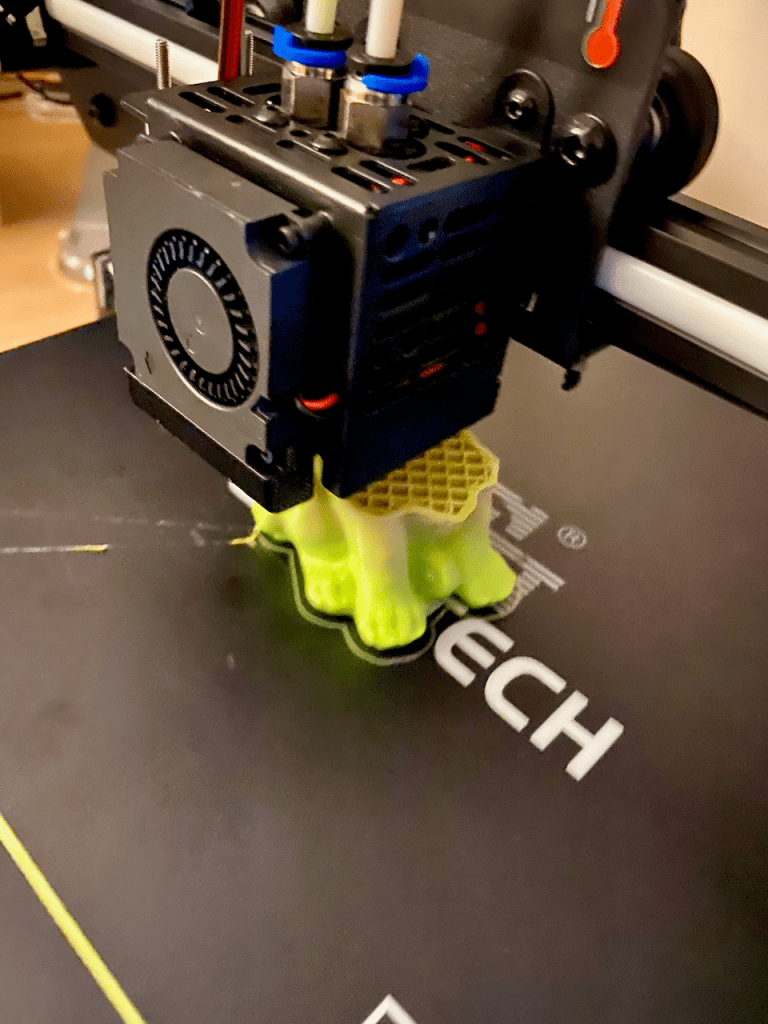
Some Stringing is evident 
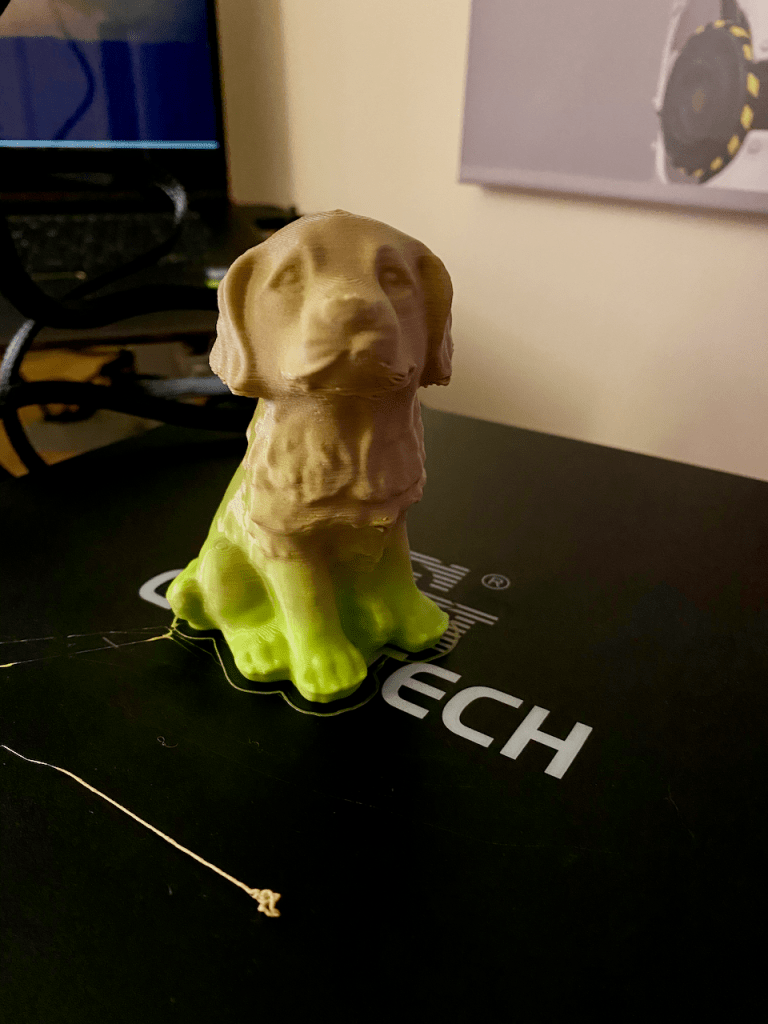
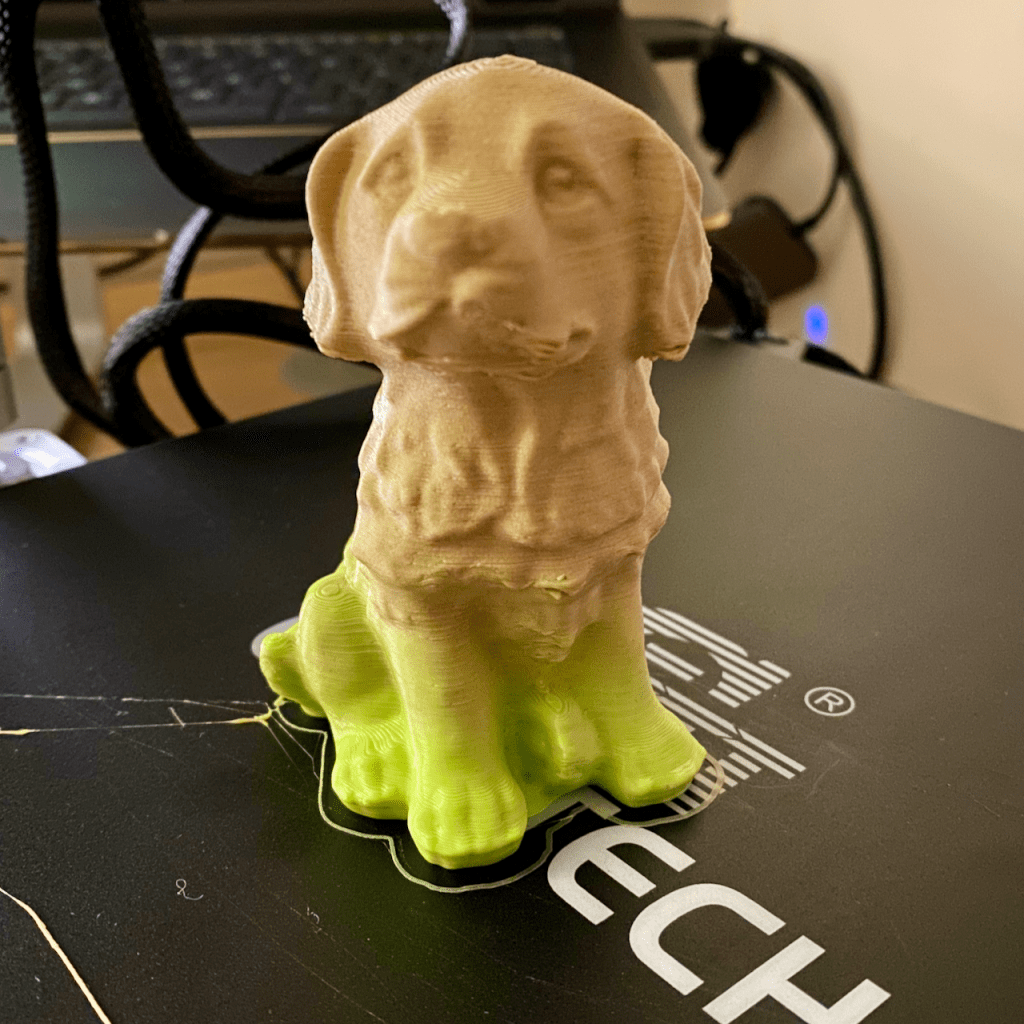
The final print, the Geeetech Dog
As the initial layer of molten plastic was being printed, it looked a mess. Not knowing better I thought this was normal (It’s not, its a sign of either an unlevelled bed, or the print head too close to the print surface). Three hours later I had my first 3D Print of the Geeetech Dog printed as a gradient of the two loaded filaments.
Removing the print from the bed took the force of a lump hammer as no amount of scraping was going to free that dog.
Top Tip! If you have canned air, turn that upside down and spray the model until the drop in temperature contracts the plastic from the bed
To be fair, I was pretty chuffed with the end results, before turning to my CAD Package to print off one of my designs. That was when my troubles started, and it was with the help of the Geeetech Multi Extruder Printers A10M & A20M & A30M & A10T & A20T & A30T User group that I tackled that steep learning curve with novices like myself and the professionals. The group is run by a gentleman by the name of Bruce Greenleaf who is extremely knowledgeable when it comes to all things 3D Printer related, between him and the group, no problem appears to be too big or small, someone will have experience of your problem and it’s usually between the user and the chair!
Before you start printing you’ll need to calibrate your printer! I naively thought like a 2D printer it should work straight of the box, how wrong was I, since we’re printing in 3D there are many variances that occur during shipping and assembly, and even being 0.1mm out can create big issues for your prints.
Please take the time to peruse the other 3D Print Articles https://muckypaws.com/category/3d-printing/ and hopefully this will help you on your way to an addictive and fulfilling hobby.
Good Luck,
Jason


I found the magnetic bed such a huge improvement for both adhesion and removing prints (otherwise like you say “hammer” required!) I bought mine from Bruce Greenleaf.
LikeLike
I’ve bought a couple of magnetic beds, I’ve yet to try them out. Since dialling in my printer levelling settings, it’s been less of an issue, plus I’ve been using the upside down compressed air in a can trick to drop the temperature of the bed that the models now pop off (Or stick the plate in the freezer).
Bruce is a top man, he gave me a lot of useful advice and helped solve many problems for me being a Novice. He’s patient, very humble and highly knowledgeable. I don’t think I’d be as far down this journey without his help, along with many others in that group 🙂
LikeLike